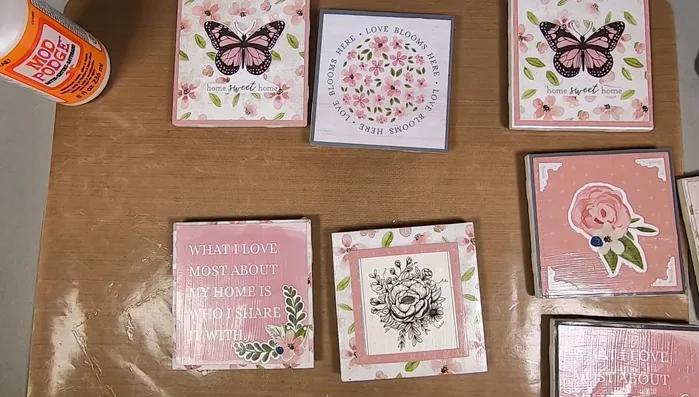
Tired of the same old, boring coasters cluttering your coffee table? Yearning for a touch of unique, personalized home décor that reflects your style? Then look no further! This project transforms discarded scrapbooking paper into stunning, one-of-a-kind coasters, adding a splash of vibrant personality to your living space. Upcycling not only saves you money but also contributes to a more sustainable lifestyle, proving that beautiful home décor doesn't have to come at the expense of the planet. You'll be amazed at how easily those forgotten scraps can be repurposed into functional and stylish additions to your home.
This simple DIY project requires minimal supplies and is perfect for crafters of all skill levels. From bold floral prints to subtle watercolor washes, the possibilities are endless when it comes to choosing your scrapbooking paper designs. Ready to transform your scrap paper stash into a set of beautiful, personalized coasters? Let's dive into the step-by-step guide below!
Preparation and Safety Guidelines
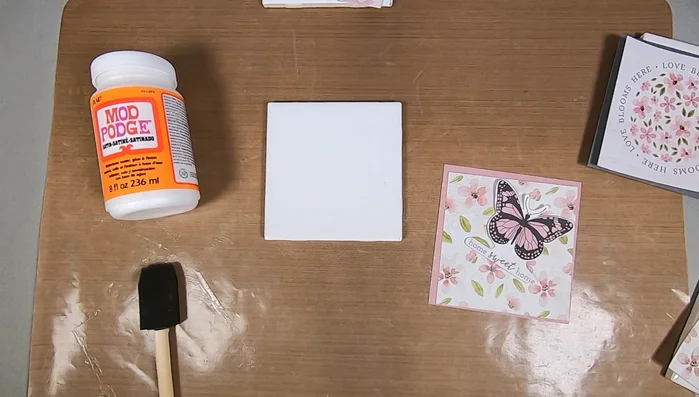
- White ceramic tiles (4x4 inches)
- Mod Podge (satin finish)
- Scrapbooking paper
- Sponge applicator
- Tombow adhesive
- Tombow adhesive remover
- Cork tiles (4x4 inches)
- Damp paper towels
- Brown craft layout paper (optional)
- Always use a heat-resistant surface when applying heat to your coasters (e.g., ironing board, silicone mat). Direct heat on a non-heat-resistant surface can damage it.
- Ensure your chosen sealant is suitable for use with food and drink. Avoid sealants containing harmful chemicals that may leach into beverages.
- Supervise children around crafting materials, especially if using sharp tools like scissors or potentially hazardous adhesives.
Step-by-Step Instructions
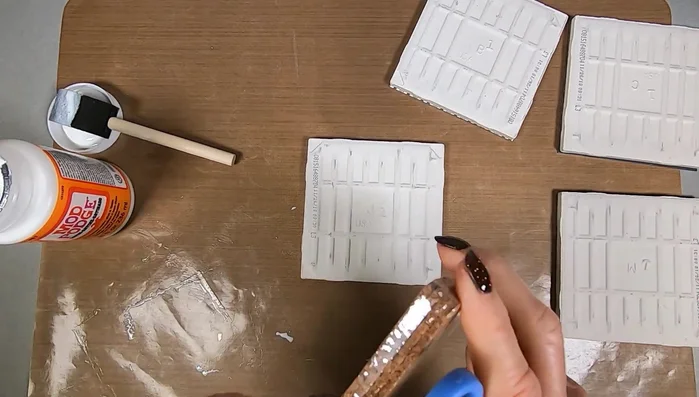
Prepare the Tiles
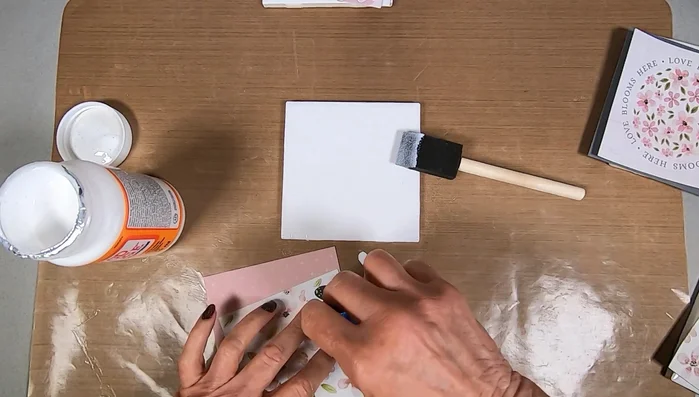
- Apply an even coat of Mod Podge to the back of each ceramic tile, extending to the edges.

Prepare the Tiles Prepare the Scrapbooking Paper
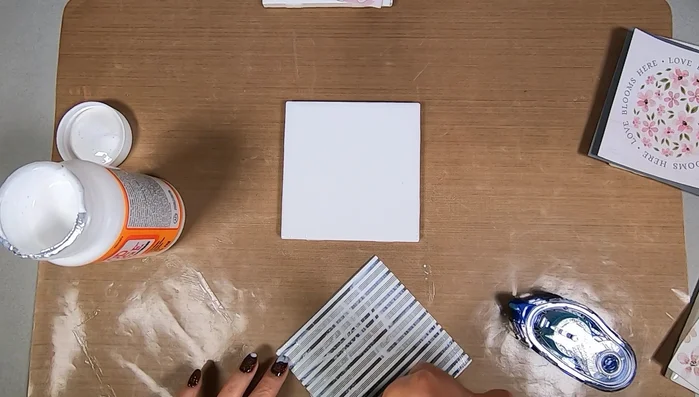
- Apply Tombow adhesive to the edges of the scrapbooking paper to prevent buckling.
- Apply Mod Podge to the back of the scrapbooking paper, extending to the edges.
Prepare the Scrapbooking Paper Adhere Paper to Tile
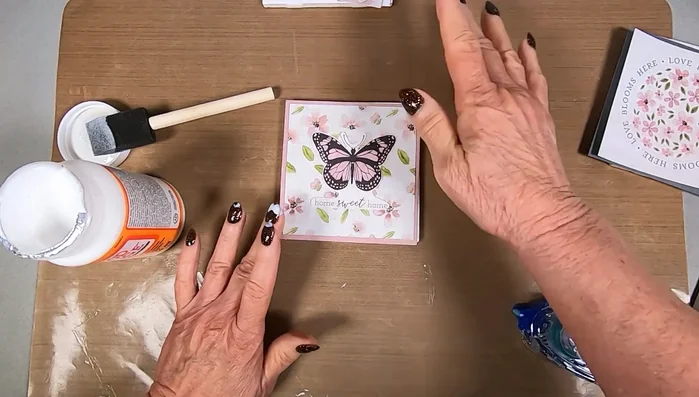
- Place the prepared scrapbooking paper face down onto the Mod Podge-coated tile. Smooth out any wrinkles or air bubbles, working from the center outwards.
Adhere Paper to Tile Seal and Protect
- Apply additional layers of Mod Podge to seal the paper and create a durable coaster. Allow adequate drying time between each layer.
Seal and Protect Attach Cork Backing
- Apply Mod Podge to the back of the coaster and adhere the cork tile. Smooth out any air bubbles.
Attach Cork Backing
Read more: DIY King-Size Tufted Headboard: Budget-Friendly Guide
Tips
- Use a satin finish Mod Podge for a subtle shine. High gloss or matte finishes are also options.
- Brown craft layout paper is useful for cleaning up excess Mod Podge.
- Cork is a better choice than felt for coaster backing because it's washable.
- Multiple layers of Mod Podge ensure durability and help to hide imperfections.