Tired of the same old lighting fixtures? Want to add a touch of personality and style to your home without breaking the bank? Then look no further! Transforming a plain lampshade into a stunning, bespoke piece is easier than you think. With just a few simple materials and some basic crafting skills, you can create a unique and eye-catching lampshade that perfectly complements your interior décor. Forget expensive designer shades; this DIY project allows you to express your creativity and inject your personal flair into your living space, all while enjoying the satisfaction of a job well done.
This quick and easy guide will walk you through the process of crafting your very own DIY fabric lampshade, turning a drab lamp into a stylish statement piece. From choosing the right fabric to securing the final touches, we'll provide clear instructions and helpful tips to ensure a successful and enjoyable crafting experience. Ready to get started? Let's dive into the step-by-step process!
Preparation and Safety Guidelines
- Fabric (about one yard)
- Marking tool (pen)
- Rotary trimmer
- Lampshade
- Spray adhesive
- Ribbon (optional)
- Hot glue gun
- Always unplug the lamp before handling the shade or wiring. Electricity is dangerous!
- Use a fire-resistant fabric. Never use fabrics that are easily flammable.
- Ensure the lampshade is securely attached to the lamp fitting to prevent it from falling and causing damage or injury.
Step-by-Step Instructions
Prepare the Fabric
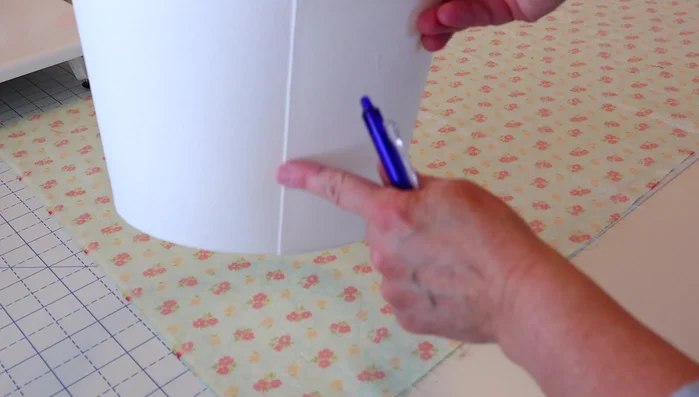
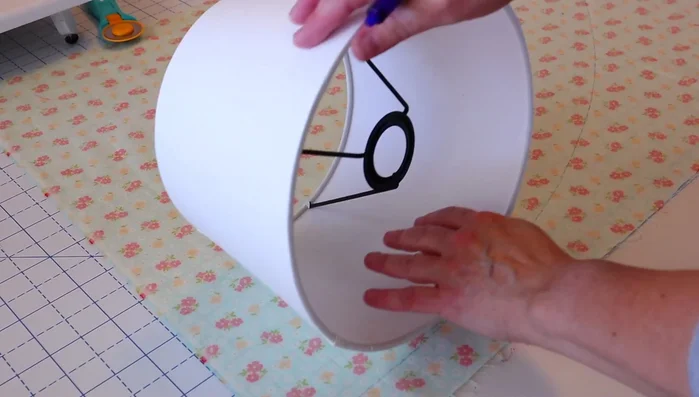
- Place fabric right side down on a table. Position the lampshade on top, starting at the seam.
- Trace the bottom edge of the lampshade onto the fabric using your marking tool, creating a slight curve to accommodate the lampshade's shape.
- Rotate the lampshade and repeat the tracing process along the top edge.
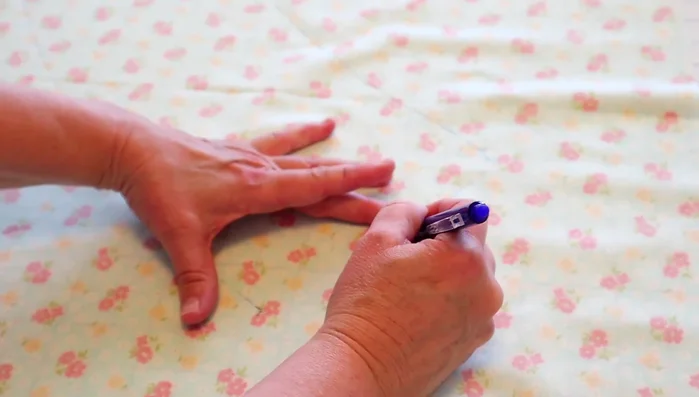
- Connect the two endpoints of your tracings with a straight line, extending about one inch past the seam on both sides.

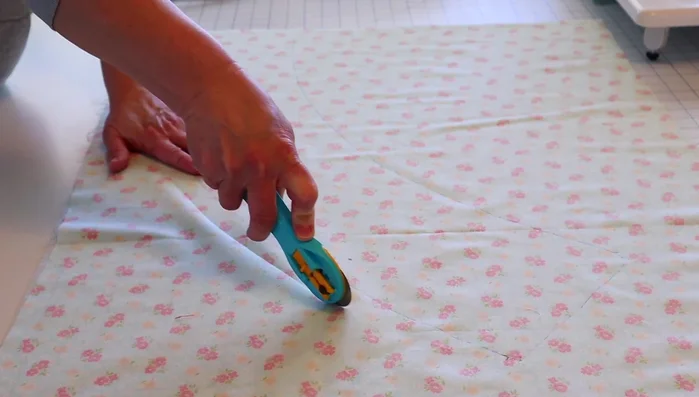
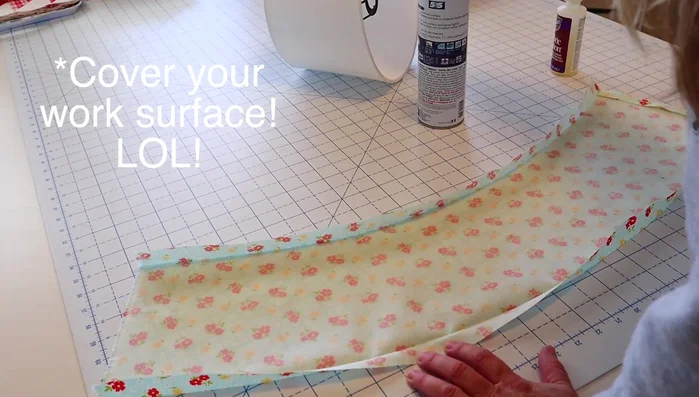
Prepare the Fabric - Trim the excess fabric using a rotary trimmer, leaving about a half to one inch of extra fabric beyond your drawn line.
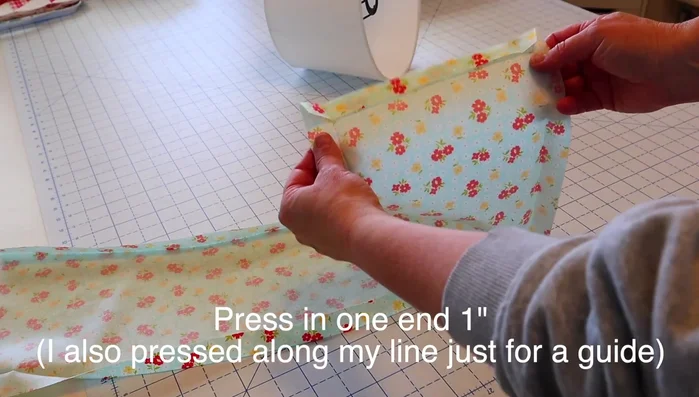
Prepare the Fabric Prepare Fabric Edges
- Press in one short end of the fabric by about an inch. Press along the drawn line to create a guide.
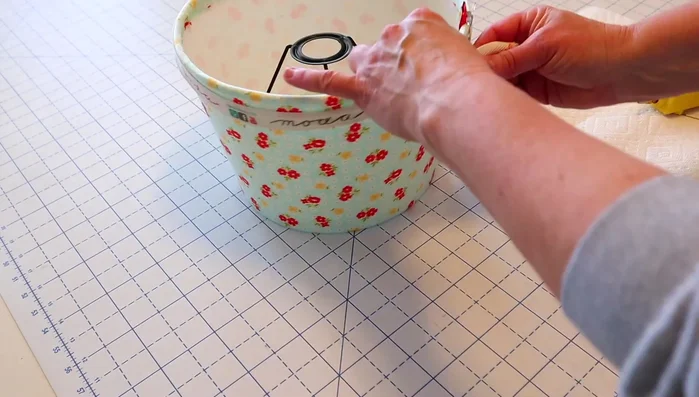
Prepare Fabric Edges Apply Fabric to Lampshade
- Spray the back of your fabric template with adhesive. Carefully roll the lampshade onto the fabric, smoothing out any creases.
Apply Fabric to Lampshade Finish and Decorate
- Fold the excess fabric edges inward, securing them with adhesive. Trim any excess overlapping fabric.
- Add ribbon (optional) to cover raw edges. Apply hot glue to secure the ribbon.
Finish and Decorate


Read more: DIY Farmhouse X-Style Coffee Table: Easy Step-by-Step Guide
Tips
- Pre-press or starch your fabric for better structure.
- Take your time tracing to ensure accuracy and prevent the lampshade from sliding.
- If you don't use ribbon, fold raw edges under and press to create a finished inside edge.
- Make small slits in the fabric to accommodate any wires or fixtures on the lampshade.