Tired of staring at blank walls? Yearning for a statement piece that's both stylish and budget-friendly? Then look no further! This guide unveils two incredible methods for crafting your own giant wall clock using nothing but thrifty finds from your local Dollar Store. Forget expensive, generic timepieces; we’re diving into the world of creative DIY, transforming inexpensive materials into stunning, personalized clocks that will become the envy of your friends and family. We'll explore two distinct design approaches, each offering a unique aesthetic and a rewarding crafting experience.
Prepare to be amazed at how easily you can elevate your home décor with these incredibly affordable projects. From choosing the perfect base materials to mastering the clock mechanism installation, we'll guide you through every step of the process with clear instructions and helpful tips. Ready to get started on your own magnificent, oversized timepiece? Let's dive into the step-by-step instructions for each method!
Preparation and Safety Guidelines
- Dollar Tree tray
- Mirror reflective paper
- Exacto knife
- Mod Podge
- Kirsch
- Foam board
- Clock machine
- Spray adhesive
- Flexible mirror sheets
- Felt pads
- Hot glue gun
- Always use a sturdy clock mechanism appropriate for the size and weight of your clock face. A lightweight mechanism could fail under the stress.
- Ensure the clock hands are securely attached to the mechanism to prevent them from falling and causing injury.
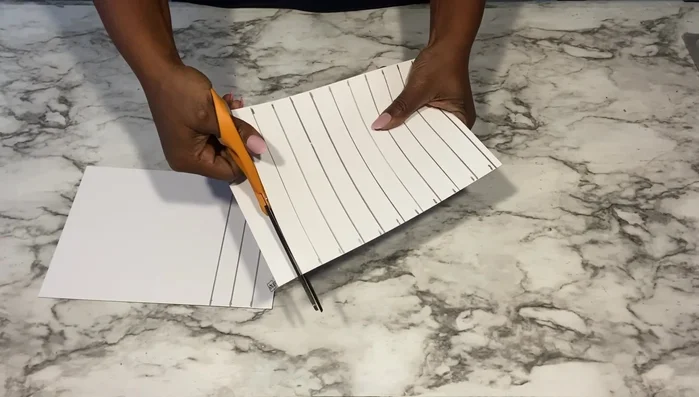
- Exercise caution when handling sharp objects like scissors or knives, especially when cutting materials for the clock face.
Step-by-Step Instructions
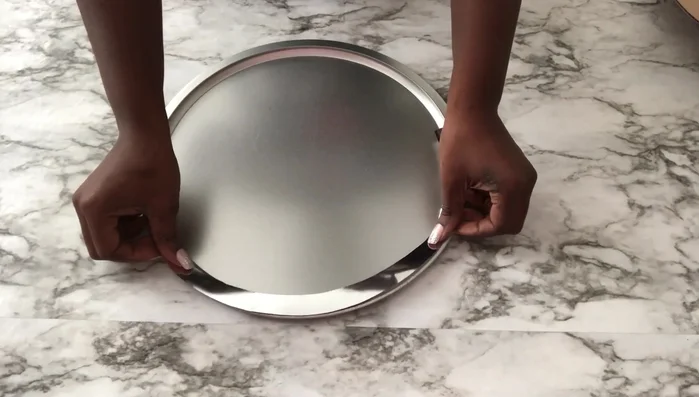
Prepare the Clock Face Base (Method 1)
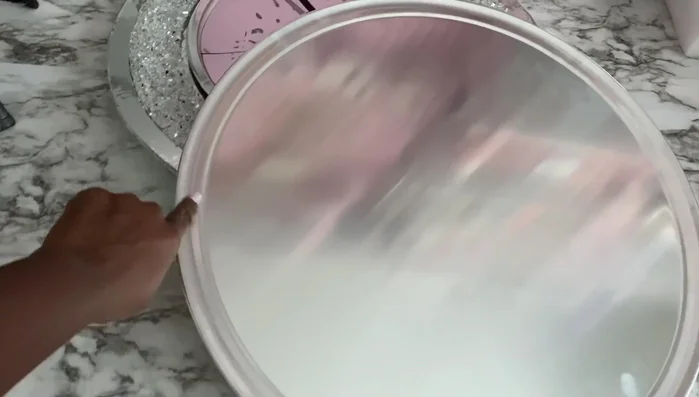
- Cover a Dollar Tree tray's lip with mirror reflective paper and carve out rough edges with an exacto knife.
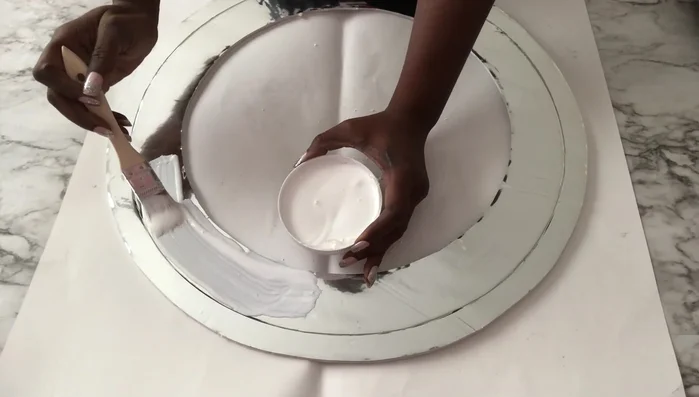
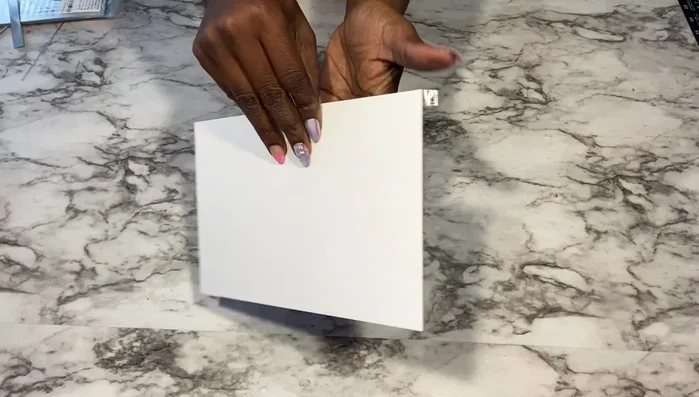
- Cover the inner side of a foam board cutout (or a similar shape) with Mod Podge, sprinkle Kirsch, and seal with another layer of Mod Podge.

Prepare the Clock Face Base (Method 1) Prepare the Clock Base (Method 1)
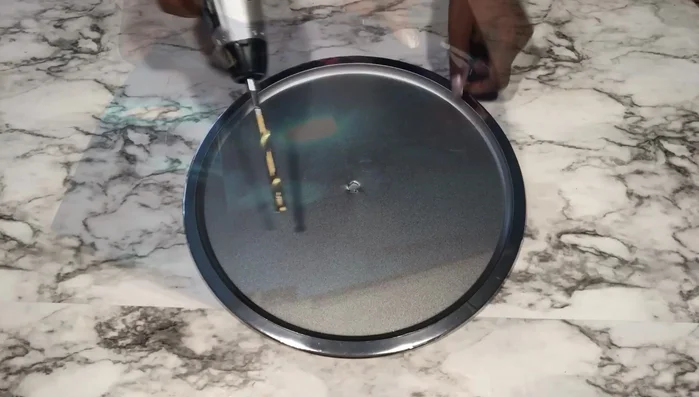
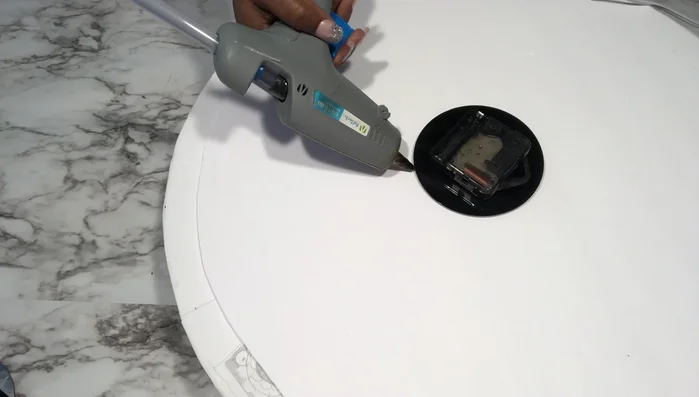
- Make a hole in the middle of a Dollar Tree decorative tree for the clock machine.
Prepare the Clock Base (Method 1) Assemble the Clock (Method 1)
- Use spray adhesive to securely attach the prepared clock face pieces to a tray.
- Attach the clock machine to the back of the assembled clock.
- Use a larger tray covered with mirror reflective paper to create a clean edge if the first cut is imperfect.
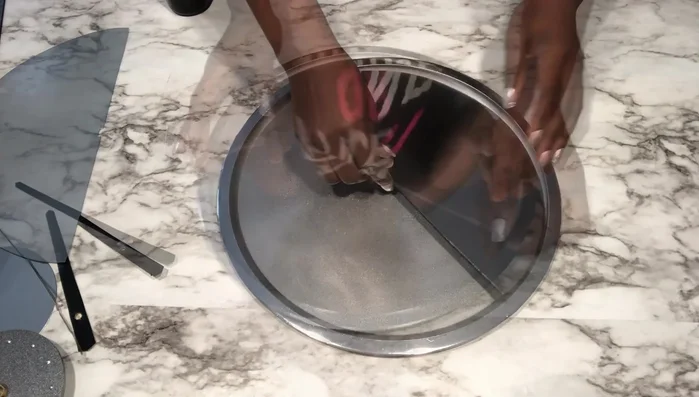
- Use flexible mirror sheets or mirror reflective paper on poster board to cut out Roman numerals and glue them onto the clock.
Assemble the Clock (Method 1) Prepare the Clock Base (Method 2)
- Use felt pads from Dollar Tree, which are less thick than the foam boards originally used in the video, but provide sufficient shadow casting.
Prepare the Clock Base (Method 2) Prepare the Clock Face (Method 2)
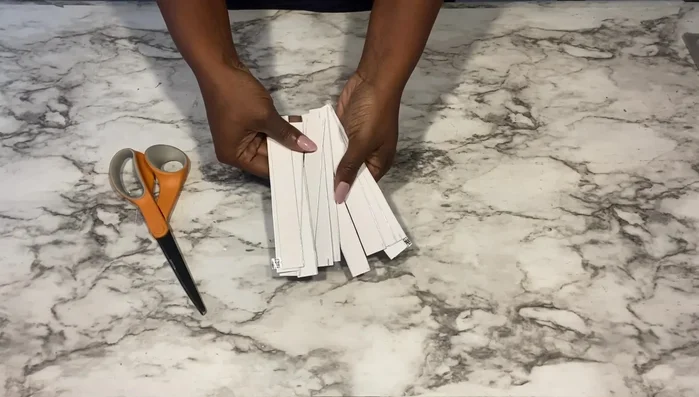
- Use flexible mirror sheets to cut out all the time indications for the clock, applying them to the felt pads.
Prepare the Clock Face (Method 2) Assemble the Clock (Method 2)
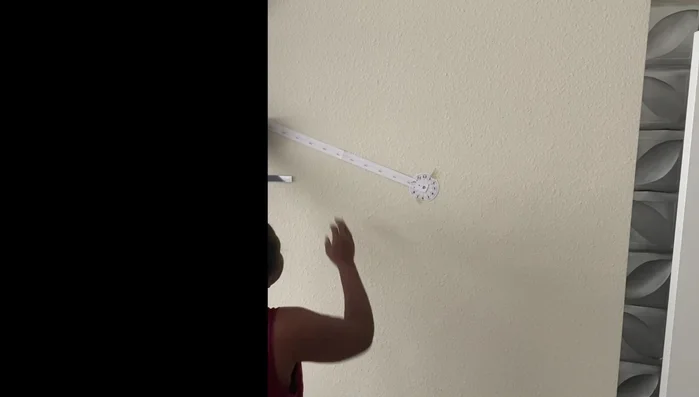
- Arrange and glue the time indications onto the felt pads, mount the clock machine, and remove protective films.
Assemble the Clock (Method 2)
Read more: DIY Farmhouse X-Style Coffee Table: Easy Step-by-Step Guide
Tips
- Repurpose leftover materials from previous projects to save money and reduce waste.
- Use spray adhesive for easier and more secure attachment of components, especially when a glue gun isn't suitable.
- Don't be afraid to experiment with different sizes and materials to achieve your desired aesthetic.