Kitchen drawers. The chaotic heart of culinary chaos, overflowing with utensils, gadgets, and odds and ends that seem to multiply overnight. Are your drawers a jumbled mess, making even the simplest task of finding a spatula feel like an archaeological dig? We understand the frustration! Cluttered drawers aren't just unsightly; they waste precious time and energy, hindering your efficiency in the kitchen. A disorganized drawer is a recipe for frustration, leading to wasted time searching for everyday items.
Fortunately, regaining control of your kitchen drawers doesn't require a complete overhaul or a professional organizer. With a little creativity and some readily available materials, you can transform your messy drawers into organized havens. This step-by-step guide will show you how to create a custom DIY kitchen drawer organizer that perfectly suits your needs and style, keeping your kitchen neat, efficient, and looking its best. Let's get started!
Preparation and Safety Guidelines
- Wood (boards)
- Plywood (quarter-inch)
- Pocket hole jig
- Table saw
- Crosscut sled
- Stop block
- Wood glue
- Pocket hole screws
- Brad nails
- 5/8 inch dowel
- Hanger bolts
- Wing nuts
- Pegboard
- Always measure your drawers before purchasing or cutting any materials. Improper measurements can lead to organizers that don't fit.
- Use caution when using sharp tools like knives or box cutters. Always cut away from yourself and on a stable surface.
- Ensure any materials used (e.g., paints, adhesives) are appropriate for food contact if the organizers will be used to store food items. Look for non-toxic and food-safe options.
Step-by-Step Instructions
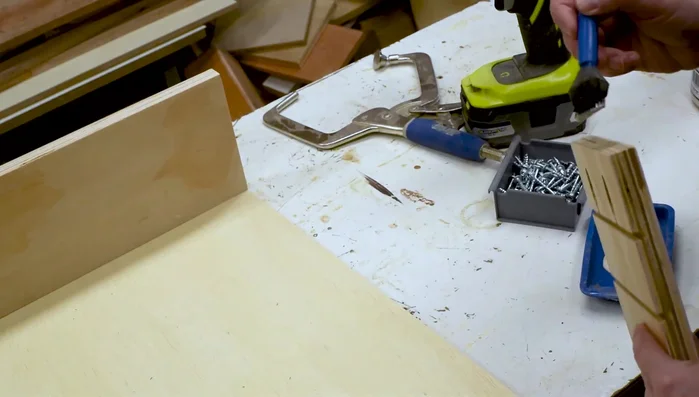
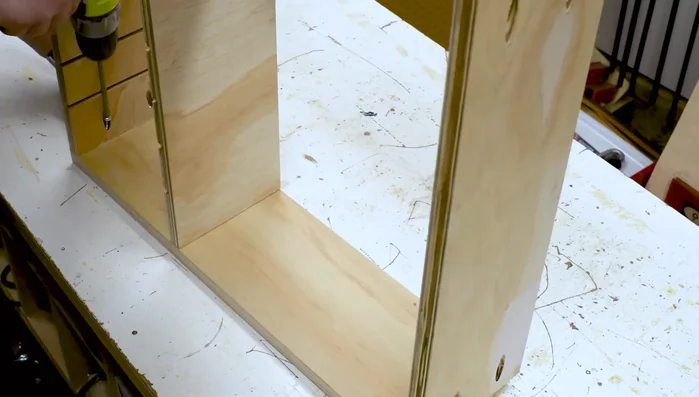
Prepare the Frame
- Drill pocket holes into both ends of three shorter pieces.
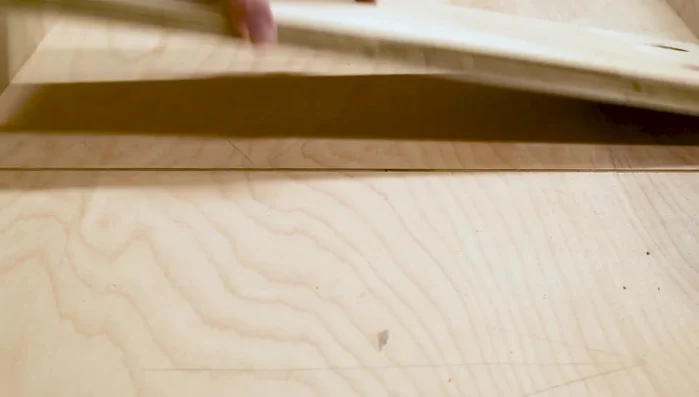
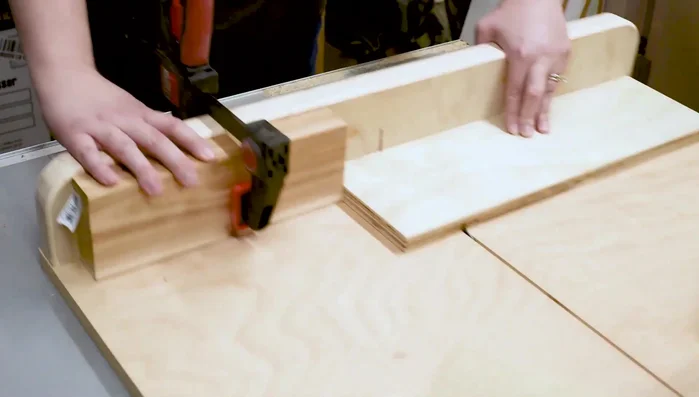
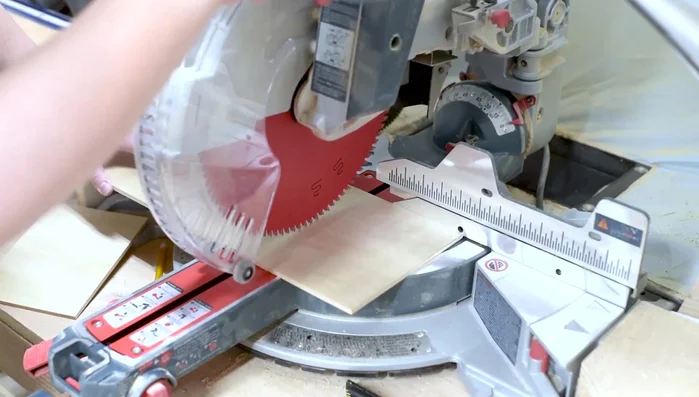
- Adjust table saw blade height, use crosscut sled and stock block to cut grooves below pocket holes on both boards. Make identical grooves by moving the stock block.
- Test groove width with plywood, adjust stop block if needed. Cut additional grooves at 2-inch intervals.

Prepare the Frame Assemble the Frame
- Apply wood glue to board ends and attach back using pocket hole screws. Use a divider to mark middle board position, check squareness.
- Apply wood glue, stand upright on front board. Screw end boards in place, check middle board spacing with a divider and squareness.
Assemble the Frame Add the Bottom
- Cut plywood bottom to match box dimensions. Mark middle board position and attach with wood glue and brad nails.
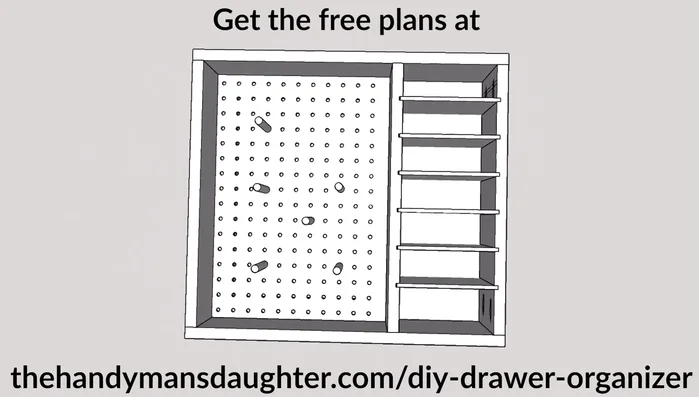
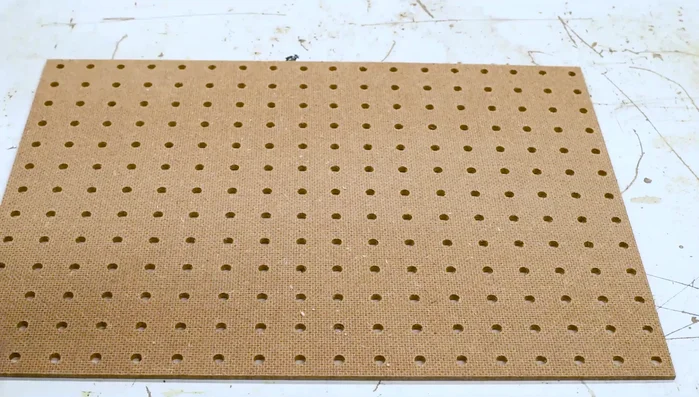
Add the Bottom Create and Attach the Pegboard
- Cut pegboard to fit, attach 1x2 scrap pieces to underside for elevation. Attach with wood glue and brad nails.
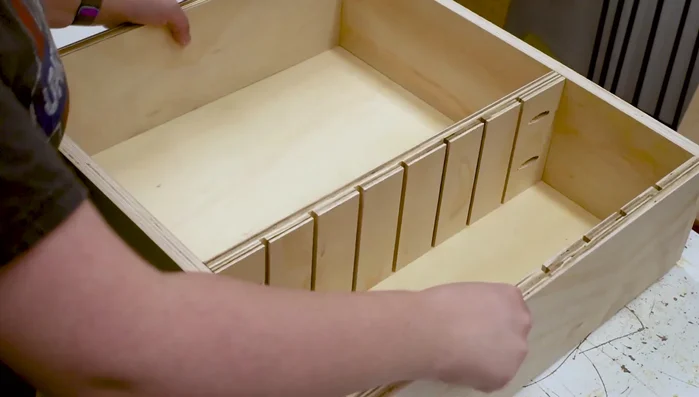
Create and Attach the Pegboard Install the Dividers
- Cut quarter-inch plywood strips for dividers (width of plastic lid + 0.5 inch), then cut into 5.5-inch pieces.
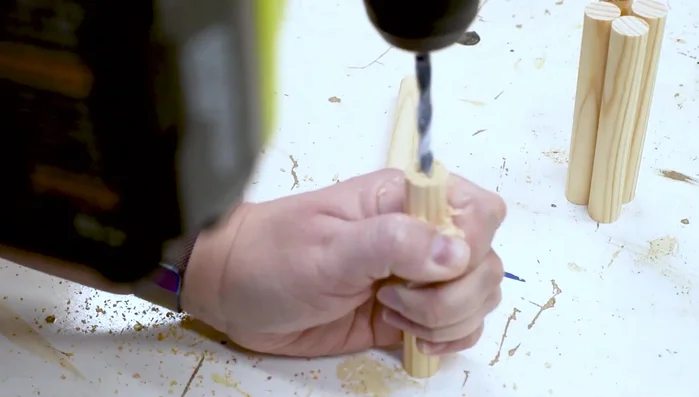
- Cut dowels into peg lengths. Drill pilot and larger holes to fit hanger bolts. Arrange pegs to fit containers, secure with wing nuts.
Install the Dividers
Read more: DIY Plastic Gallon Candy Basket: Upcycled & Adorable!
Tips
- Making identical grooves ensures dividers fit snugly but remain easily removable.
- Test fit of dividers frequently to guarantee a proper fit and easy slide.
- Check for squareness often during assembly to avoid misalignment.
- Pre-plan peg placement for optimal container support and to avoid shifting.