Transform your dining table from ordinary to extraordinary with this simple, no-fuss DIY table runner! Tired of searching for the perfect runner to match your décor or feeling overwhelmed by complex sewing projects? This tutorial offers a quick and easy solution, perfect for beginners and seasoned crafters alike. Forget expensive store-bought options and unleash your inner creativity with minimal effort and materials. You'll be amazed at how much impact a personalized touch can make, elevating any meal or gathering.
This project requires only basic sewing skills and readily available materials, making it a perfect weekend afternoon project. We'll guide you through each step, from choosing the fabric to the final stitching, ensuring a flawless finish. Ready to add a touch of handmade charm to your home? Let's dive into the step-by-step process and create your own stunning, personalized table runner!
Preparation and Safety Guidelines
- Fabric (featured and accent)
- Pins or Wonder Clips
- Matching thread
- Quarter-inch foot (recommended)
- Quilting ruler
- Rotary cutter
- Iron
- Ironing board
- Always use sharp scissors or rotary cutter to prevent fabric from fraying and ensure clean cuts. Dull blades can lead to uneven cuts and injuries.
- If using a sewing machine, ensure your fingers are kept away from the needle at all times. Use a seam ripper to remove any mistakes instead of trying to force the fabric.
- Handle your fabric carefully to avoid snags or pulls, especially delicate materials. Pre-wash your fabric to prevent shrinkage after the table runner is made.
Step-by-Step Instructions
Prepare Fabric
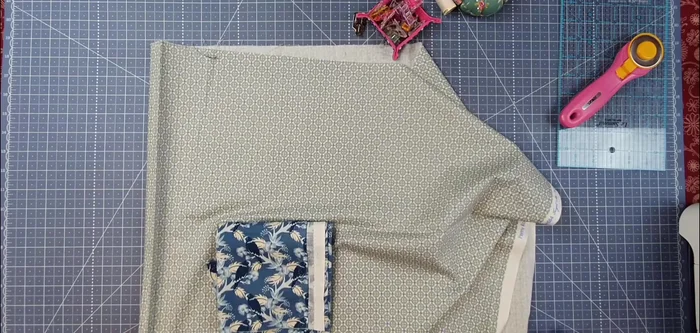
- 12-inch strip of featured fabric and 18-inch strip of accent fabric.
- Press fabric strips to remove creases.

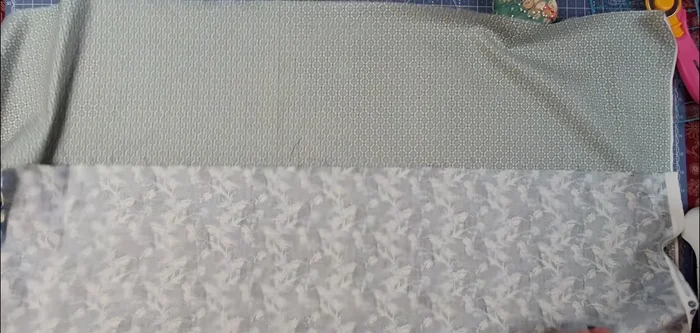
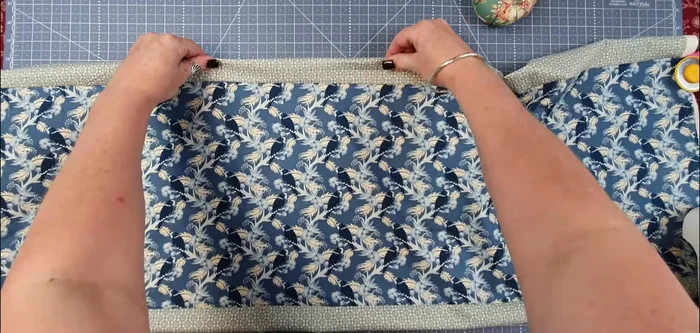
Prepare Fabric Sew Long Edge
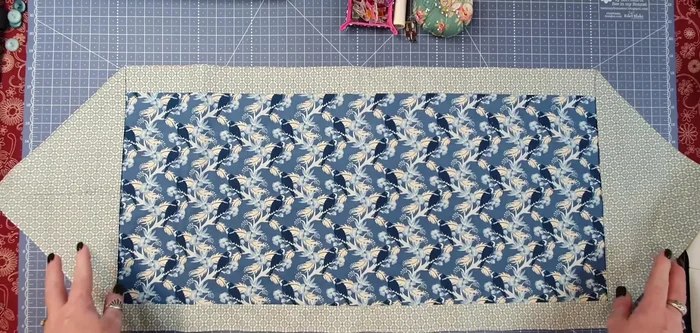
- Place featured fabric long edge against accent fabric long edge, right sides together. Pin along the entire length.
- Stitch along the pinned edge using a 1/4-inch seam allowance. Reverse stitch at the beginning and end.
- Press the seam towards the accent fabric.
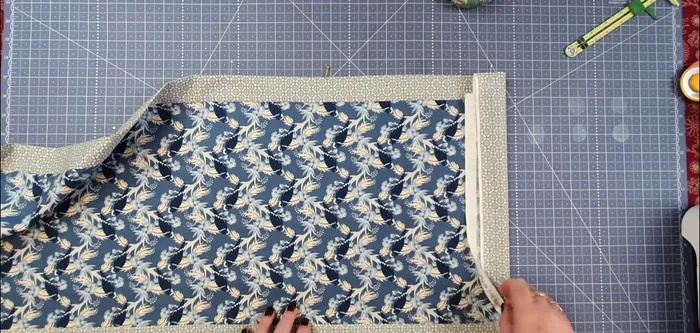
Sew Long Edge Sew Side Edge
- Align the raw edges of the feature and accent fabrics on the opposite side. Pin together.
- Stitch along the pinned edge using a 1/4-inch seam allowance. Reverse stitch at the beginning and end.
- Press the seam toward the accent fabric.
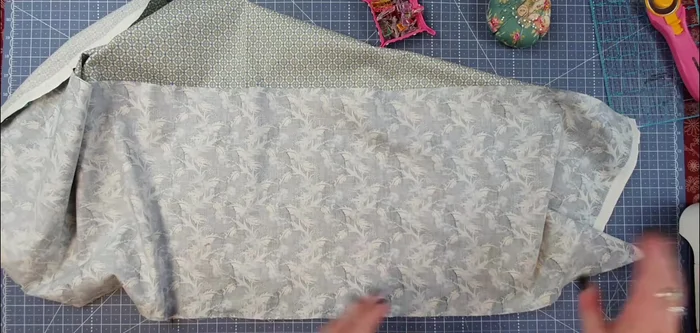
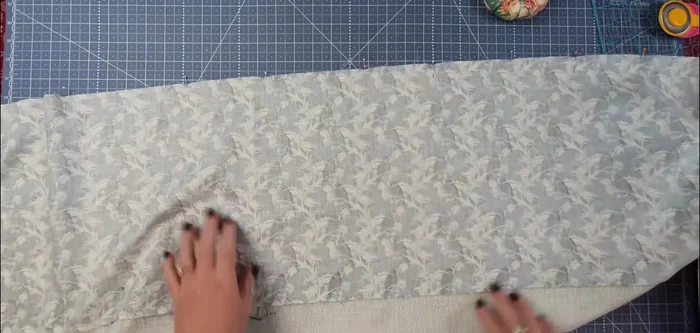
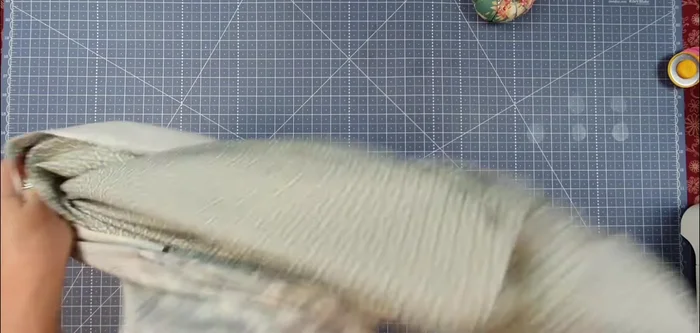
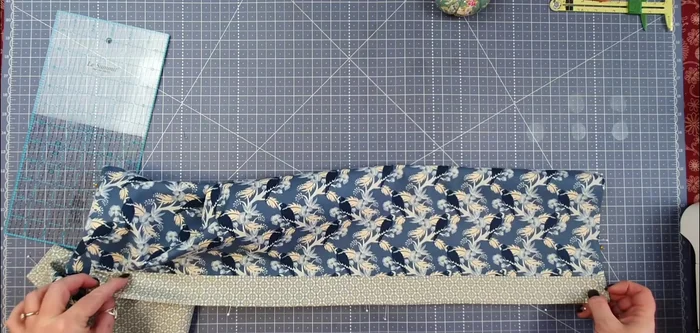
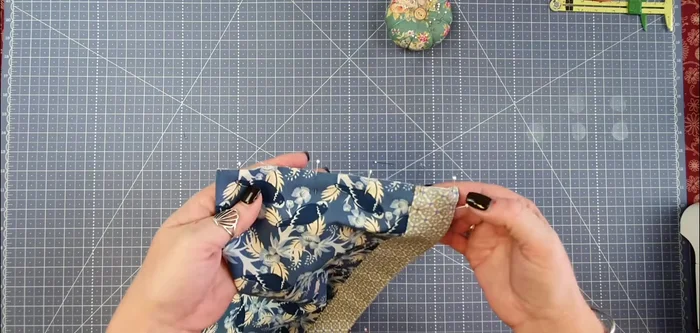
Sew Side Edge Finish Tube
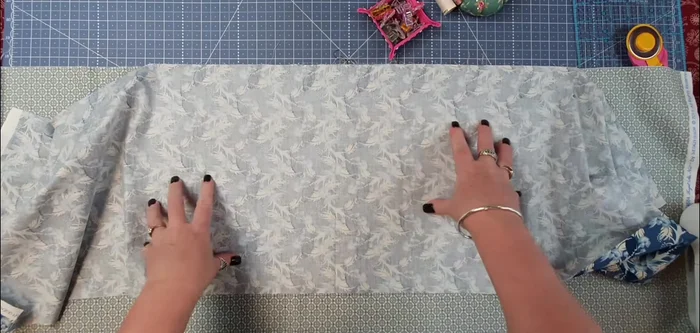
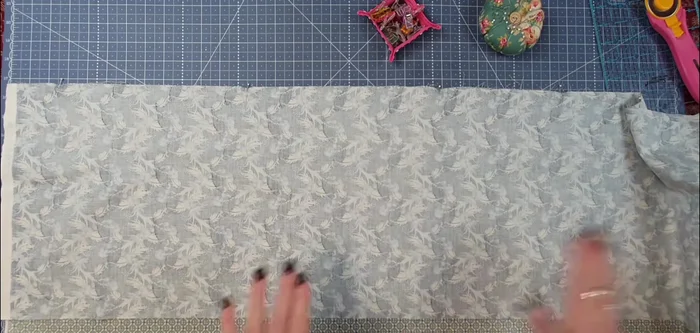
- Turn the sewn tube right side out.
- Adjust and press the fabric until borders are even using a ruler or seam guide to maintain a consistent border width (approximately 1.5 inches).
- Trim the excess fabric from both ends, ensuring straight edges.
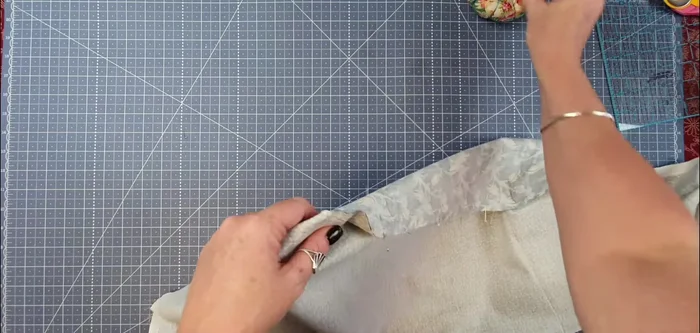
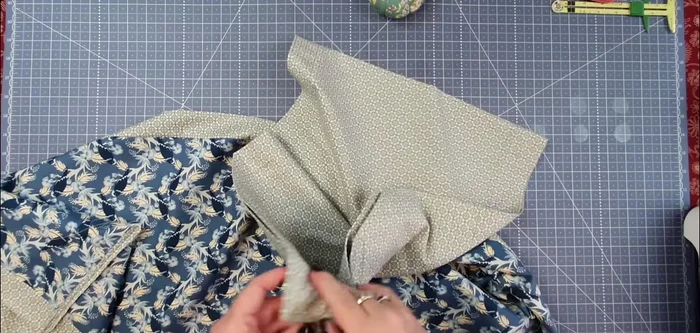
Finish Tube Close Ends
- Fold the tube in half lengthwise, matching the seams. Pin in place.
- Stitch across the raw edges of one end using a 1/4-inch seam allowance. Repeat for the opposite end. Press seams open to reduce bulk.
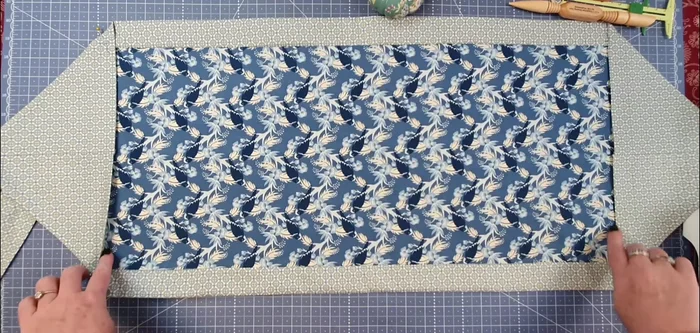
Close Ends Shape Ends
- Fold the seam allowances of one end to the inside. Press flat. Repeat for the other end.
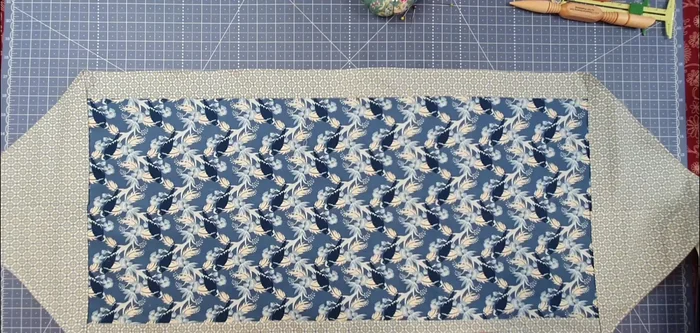
Shape Ends Topstitch and Finish
- Topstitch in the ditch of the side seams. Topstitch along the top edge using a 1/8 inch seam allowance. Topstitch around the entire perimeter of the table runner.
- Add optional buttons (if desired).
Topstitch and Finish
Read more: DIY Farmhouse X-Style Coffee Table: Easy Step-by-Step Guide
Tips
- Use a quarter-inch foot for consistent seam allowances.
- Square up fabric before cutting to ensure straight edges.
- Use pins or wonder clips to secure fabric while sewing.
- Press seams thoroughly after each sewing step for a neat finish.
- Use a seam guide or ruler to ensure even borders.