Are you tired of those overflowing spice jars cluttering your kitchen cabinets, and equally tired of constantly refilling your pet's treat jar? Why not combine practicality with adorable charm and upcycle those neglected spice jars into delightful pet treat dispensers? This clever project not only reduces waste and tidies your kitchen but also creates a unique and personalized feeding solution for your furry friend. You'll be surprised at how easy it is to transform something destined for the recycling bin into a functional and fun addition to your home.
This guide will walk you through a simple, step-by-step process to achieve this transformation, using materials you likely already have on hand. Get ready to unleash your creativity and give those old spice jars a new lease on life, turning them into irresistibly cute treat dispensers that both you and your pet will love. Let’s get started!
Preparation and Safety Guidelines
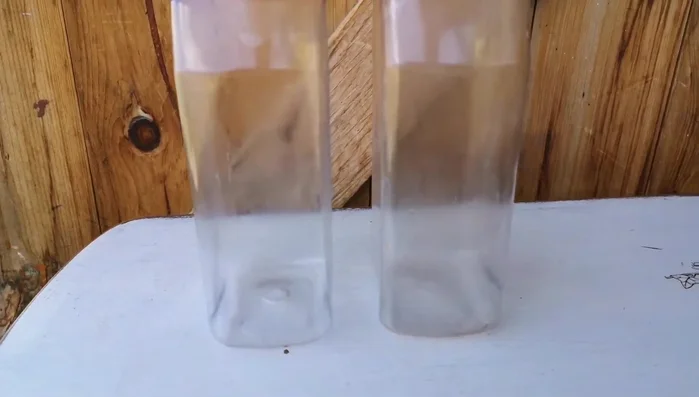
- Empty spice jars
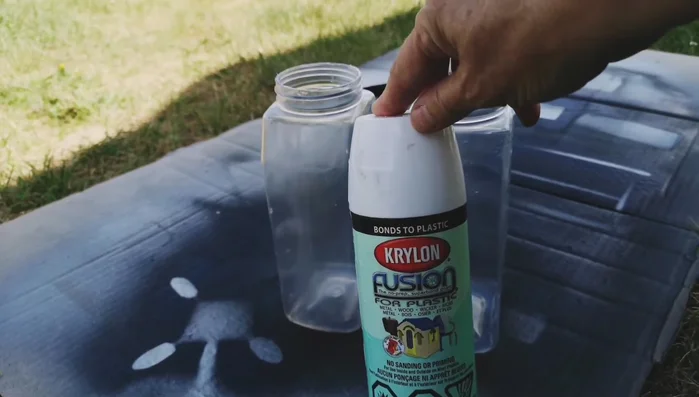
- Krylon Fusion for Plastic spray paint
- Homemade chalk paint
- Laser jet printer
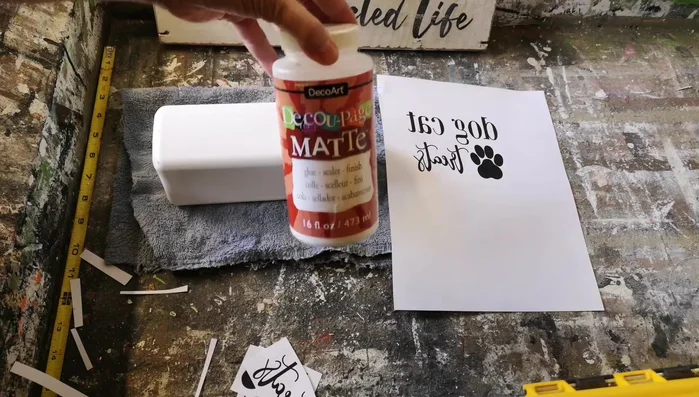
- Decoupage medium (DecoArt)
- Mod Podge
- Krylon lacquer spray
- Wet cloth
- Thoroughly clean and dry all spice jars before use. Residue from spices can be harmful to pets.
- Ensure the dispenser opening is large enough for your pet to access treats easily, but small enough to prevent choking hazards. Test the size with your pet's treats.
- Supervise your pet when using the upcycled dispenser to prevent any accidental damage or ingestion of broken glass (if applicable).
Step-by-Step Instructions
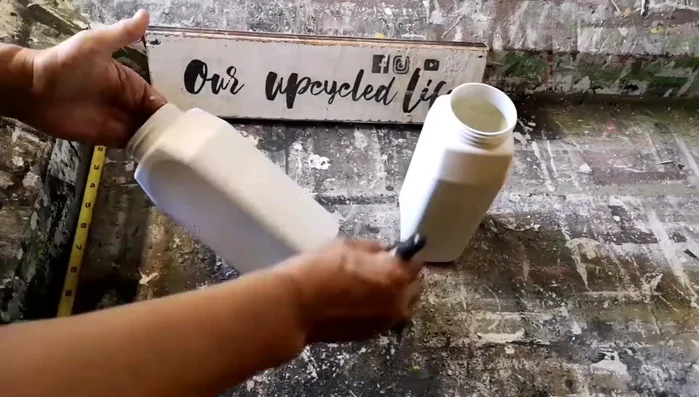
Prepare Spice Jars
- Soak empty spice jars in hot, salty water to remove labels.

Prepare Spice Jars Prime and Paint Jars
- Spray paint jars with Krylon Fusion for Plastic spray paint. Let dry completely.
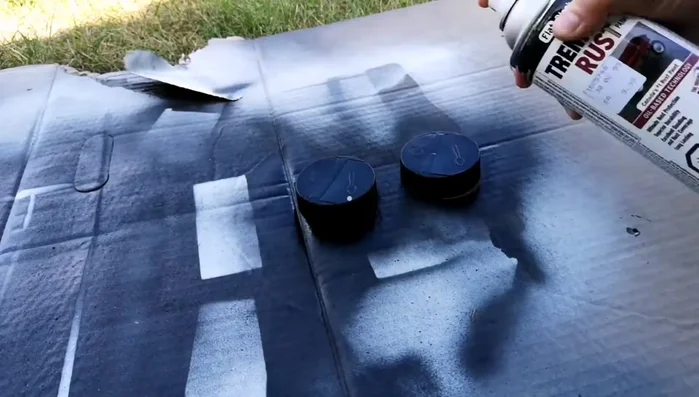
- Paint the lids with black Fusion paint.
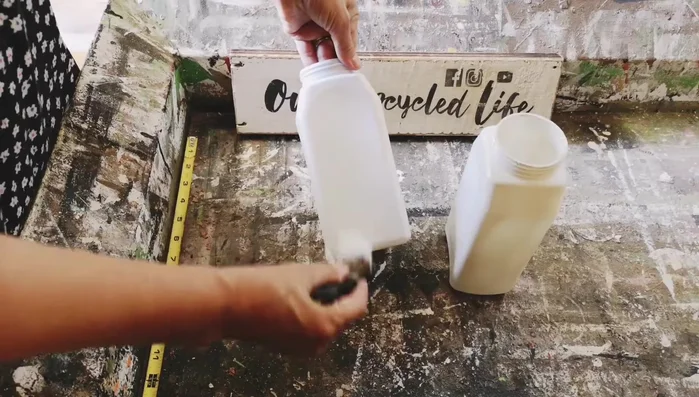
Prime and Paint Jars Apply Chalk Paint
- Apply a light coat of homemade chalk paint over the Fusion spray paint on the jars and lids. Do not apply thickly.
- Apply a second coat of chalk paint.
Apply Chalk Paint Apply and Seal Graphics
- Apply graphics (created using a laser jet printer and decoupage techniques – see linked tutorial for details). Ensure graphics are centered and not crooked.
- Wet the paper to expose the graphics and gently rub away the excess paper. Take your time to avoid removing the graphics.
- Spray with Krylon lacquer spray to make the jars water-resistant.
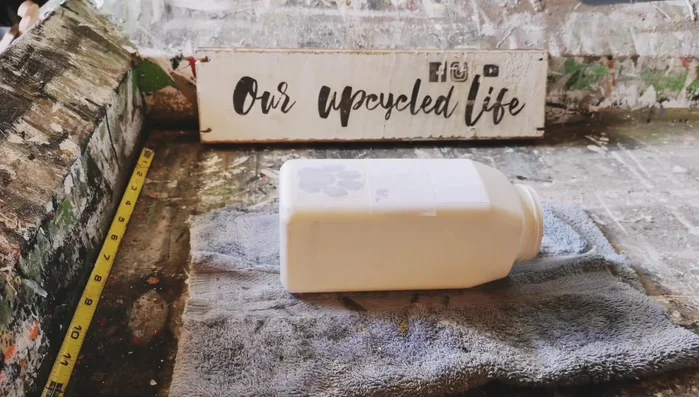
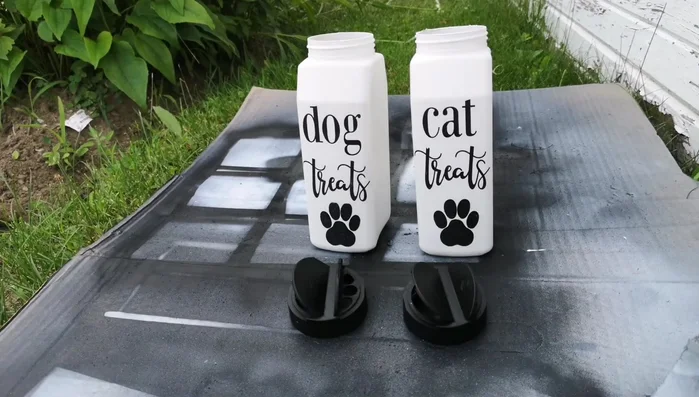
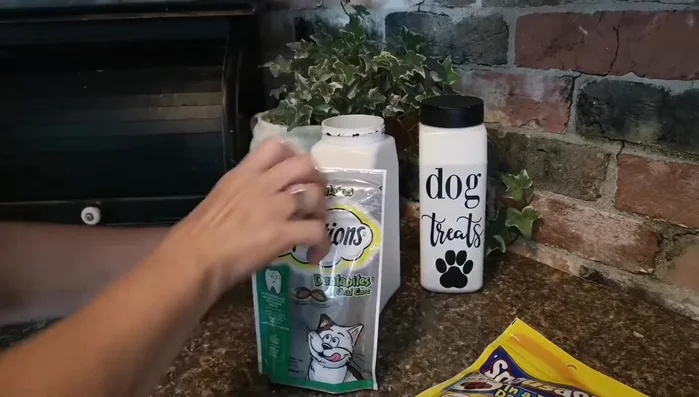
Apply and Seal Graphics Fill and Use
- Fill the jars with pet treats.
Fill and Use
Read more: DIY Plastic Gallon Candy Basket: Upcycled & Adorable!
Tips
- Use Krylon Fusion for Plastic spray paint for a durable finish on plastic. Regular paint will chip and peel.
- Apply chalk paint *only* over the Fusion spray paint on plastic. It will not adhere directly to the plastic.
- Use a laser jet printer for graphics; inkjet printers won't work well with this decoupage method.
- Take your time applying graphics to prevent crooked placement.
- When wetting the paper to reveal the graphics, dampen it lightly to avoid removing the image completely.