Are you tired of overflowing recycling bins and the ever-growing mountain of plastic bags piling up in your pantry? Then get ready to transform trash into treasure with this ultimate guide to making DIY plastic bag rope! This ingenious upcycling project not only tackles plastic waste but also allows you to create a surprisingly strong and versatile crafting material from something you likely already have in abundance. Imagine the possibilities – sturdy shopping bags, cozy rugs, even functional plant hangers, all crafted from discarded plastic. This environmentally friendly endeavor is surprisingly simple and incredibly rewarding.
Forget expensive store-bought rope; learn how to craft your own durable and sustainable alternative using nothing more than plastic bags and a little bit of patience. This comprehensive guide will walk you through each step of the process, from preparing your plastic bags to mastering the braiding techniques necessary to create a strong and aesthetically pleasing rope. Ready to get started? Let's dive into the detailed step-by-step instructions!
Preparation and Safety Guidelines
- Plastic grocery bags
- Scissors
- Crochet hook
- Always wash plastic bags thoroughly before using them to make rope. Residual chemicals or food particles can be harmful.
- Use caution when working with a heated crochet hook or knitting needle, especially if melting the plastic bag edges. Avoid burns.
- Proper ventilation is important when melting plastic bags, as fumes can be irritating or potentially harmful. Work in a well-ventilated area or outdoors.
Step-by-Step Instructions
Prepare the Plastic Bags
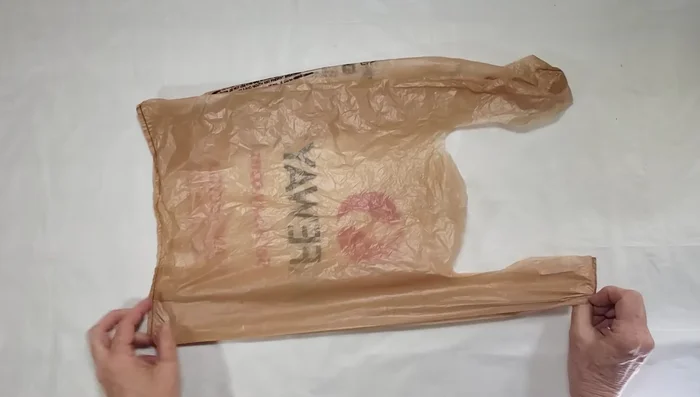
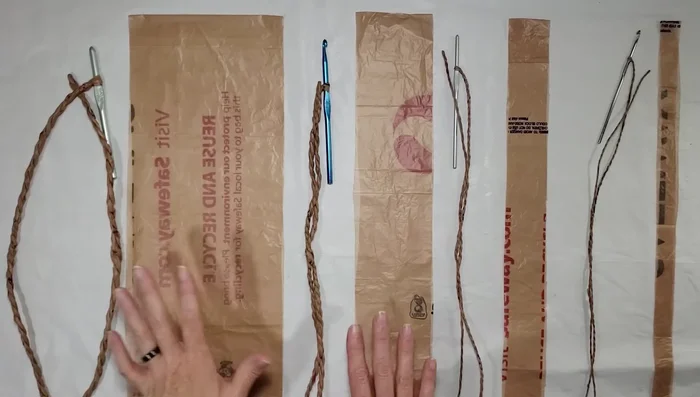
- Flatten the grocery bag and trim the bottom and handles.
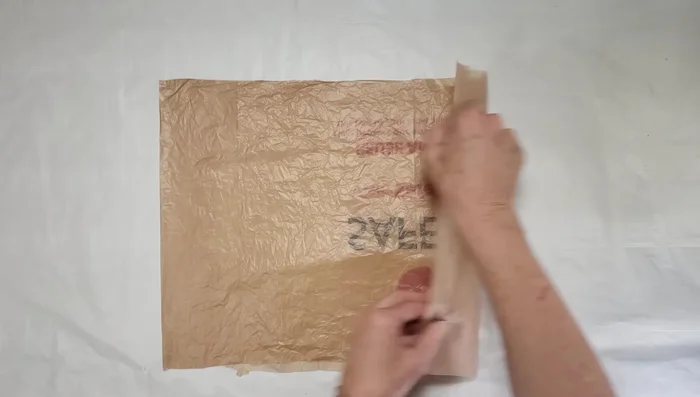
- Fold the bag multiple times (usually four) to create a manageable width for cutting.
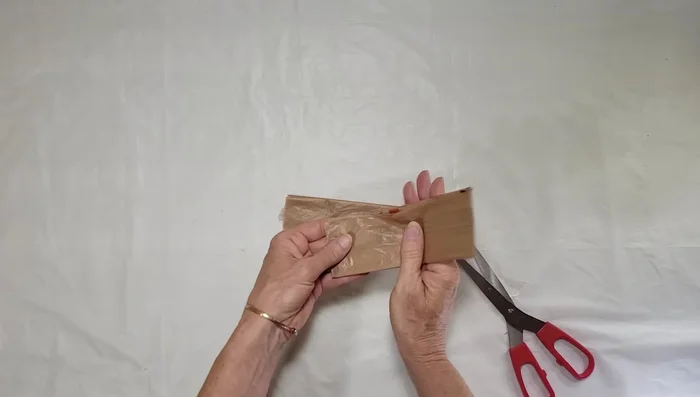
- Cut the folded bag into strips (the number depends on the desired rope thickness).

Prepare the Plastic Bags Create the Initial Loop
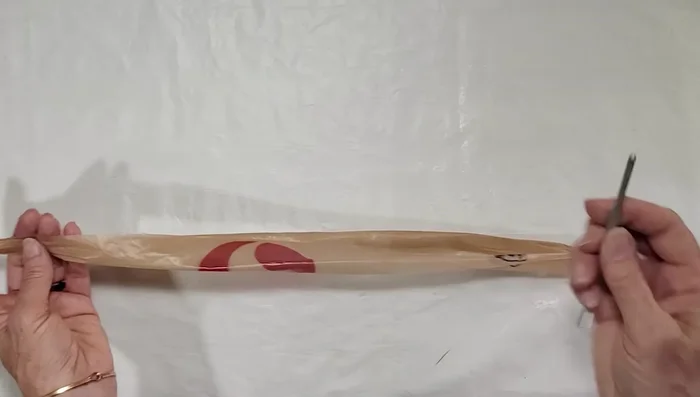
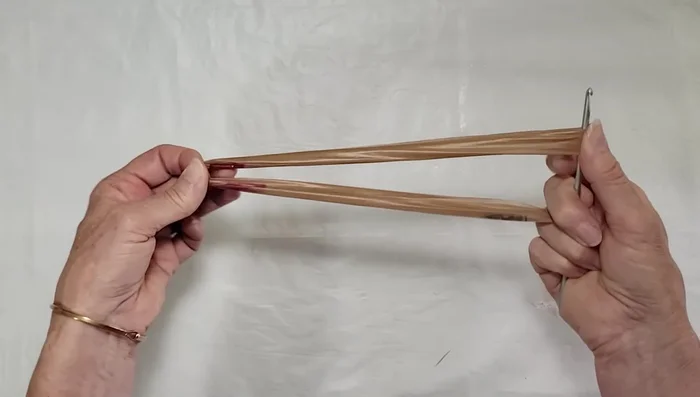
- Open one strip and create a loop using the crochet hook.
- Twist the loop tightly (around 30-35 twists) while holding the center, ensuring a uniform twist.
- Flip the crochet hook and repeat the twisting process on the other end of the loop.
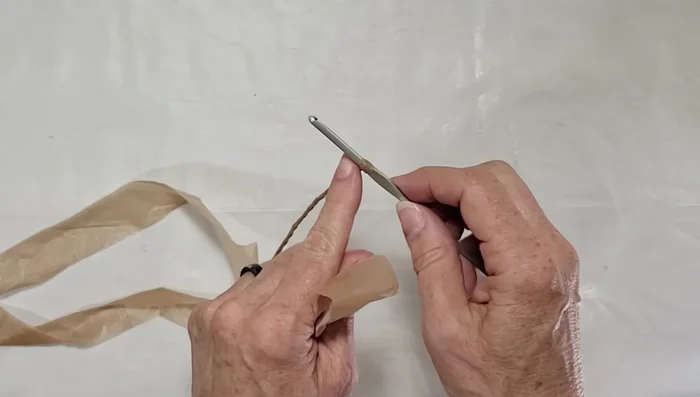
Create the Initial Loop Add and Twist Subsequent Strips
- Add a second strip by looping it through the existing loops using the crochet hook, then repeat the twisting process (inward and outward).
- Continue adding strips and twisting until you reach the desired length.
Add and Twist Subsequent Strips
Read more: DIY Plastic Gallon Candy Basket: Upcycled & Adorable!
Tips
- Use a smaller crochet hook to create tighter, stronger rope. Adjust the number of twists based on the rope size (more twists for smaller sizes, fewer for larger ones).
- Tighten loose sections by adding more twists or stretching the rope. Aim for a uniform twist to prevent weak points.
- Ensure plenty of twists at the connection points between strips for a stronger rope.
- When the rope starts to stretch significantly under weight, stop adding weight as it indicates the rope is starting to degrade.