Nurturing delicate seedlings requires a gentle touch, and nothing delivers water with more precision than a carefully crafted DIY watering can. Forget expensive store-bought options; this simple project transforms a readily available plastic bottle into a perfect tool for providing your young plants with the hydration they need to thrive. Using a recycled plastic bottle minimizes waste and allows for customization, making this project both eco-friendly and personally satisfying. The soft, controlled stream avoids damaging fragile stems and roots, ensuring your seedlings receive the perfect amount of water without any unwelcome shock.
This article will guide you through the easy steps of creating your own customized plastic bottle watering can, perfect for those precious seedlings. Following the simple instructions below, you’ll be ready to water your plants with confidence and precision, knowing you’ve created a tool specifically tailored to their delicate needs.
Preparation and Safety Guidelines
- Plastic bottle
- Drill or hammer and nail
- Drawing compass (or anything with a thin sharp point)
- Always supervise children when using sharp objects like scissors or knives during the cutting and crafting process.
- Ensure the bottle is thoroughly cleaned and free of any chemical residues before use to avoid harming your seedlings.
- Avoid overwatering your seedlings; use small amounts of water frequently rather than large amounts infrequently. A gentle stream is key to avoiding root rot.
Step-by-Step Instructions
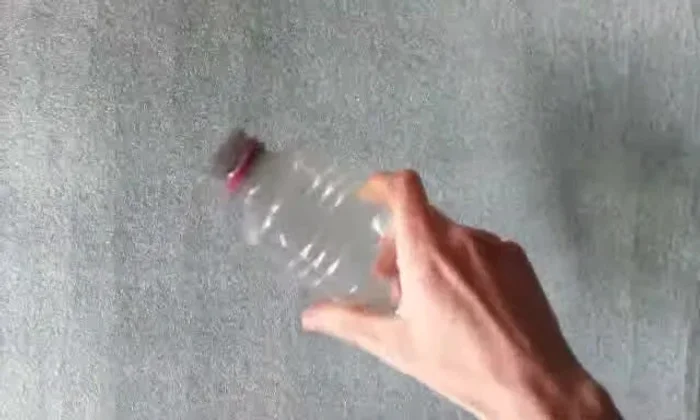
Prepare the Bottle
- Unscrew the cap from the plastic bottle.

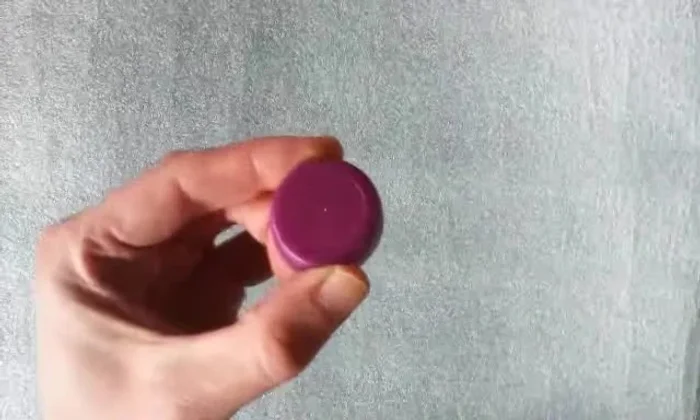
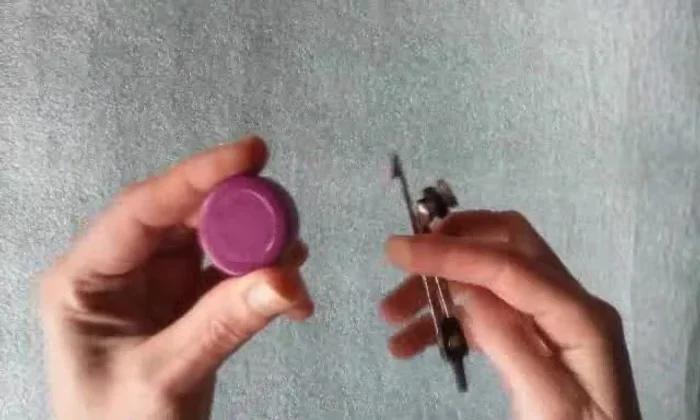
Prepare the Bottle Create the Watering Holes
- Make fine holes in the bottle cap.
- Use a drill, hammer and nail, or a drawing compass (or similar pointed object) to create small holes. The holes need to be thin for delicate plants.
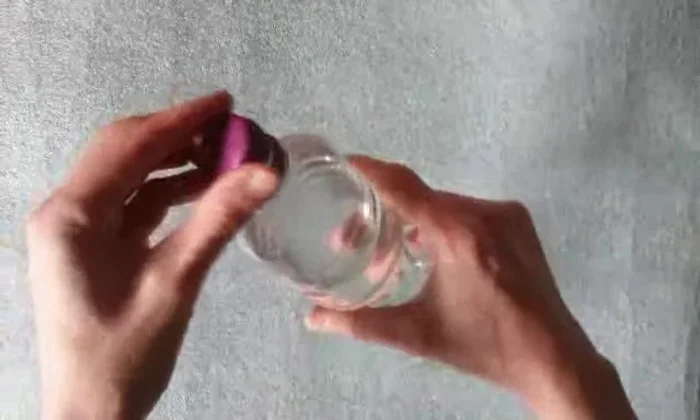
Create the Watering Holes Fill and Assemble
- Fill the bottle with water.
- Screw the cap back on.
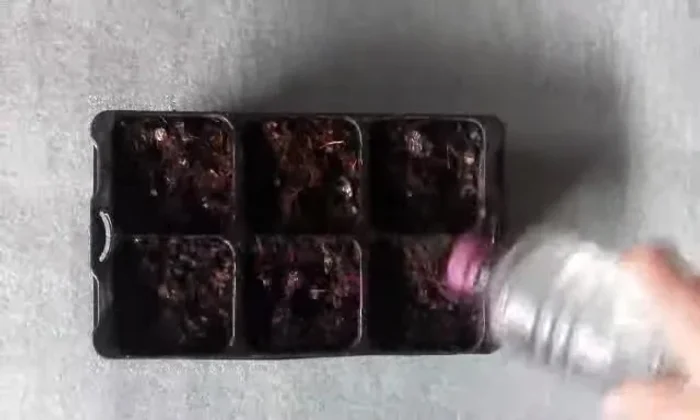
Fill and Assemble Water Seedlings
- Water your seedlings.
Water Seedlings

Read more: DIY Plastic Gallon Candy Basket: Upcycled & Adorable!
Tips
- To make it suitable for delicate plants and seedlings, the holes need to be thin.