Tired of cluttered bedrooms and a lack of storage space? Transform your sleeping area and boost your organizational skills with a stunning DIY project: building a red oak storage bed complete with integrated drawers. This beautiful, functional piece of furniture will not only provide a comfortable sleeping space but also offer ample room for linens, clothes, or anything else you need to keep tucked away. Red oak's rich grain and warm tones add a touch of sophistication to any bedroom, making this project a worthwhile investment of time and effort.
Imagine the satisfaction of crafting a custom bed that perfectly fits your space and style, all while saving money compared to store-bought alternatives. This detailed guide will walk you through each step, from selecting the right materials to assembling the finished product. Ready to get started on your own red oak masterpiece? Let's dive into the step-by-step building process!
Preparation and Safety Guidelines
- Red Oak plywood (or Pine, Spruce, Birch)
- 1x3 lumber
- 2x4 lumber
- Plywood (3/4 inch and 1/4 inch)
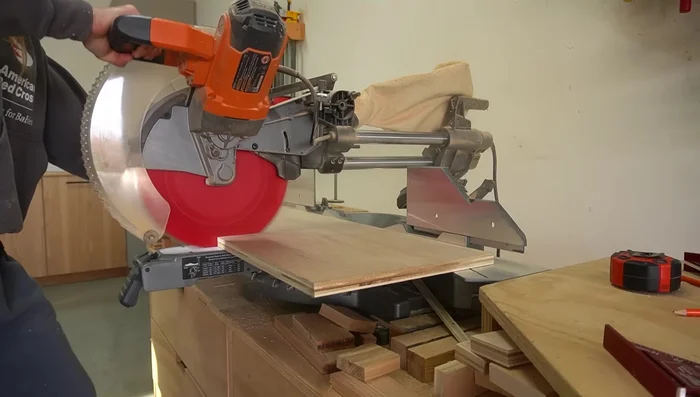
- Jigsaw
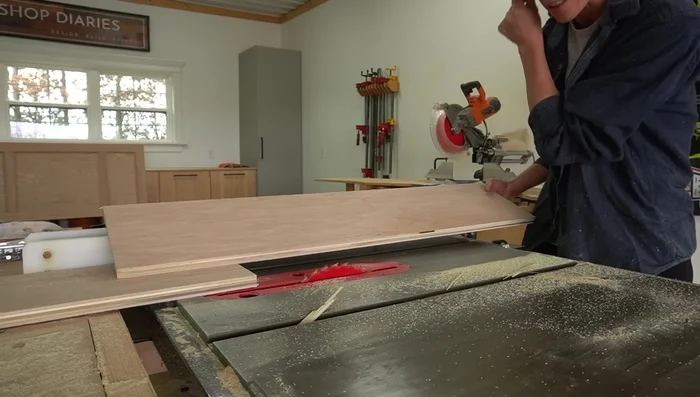
- Table saw
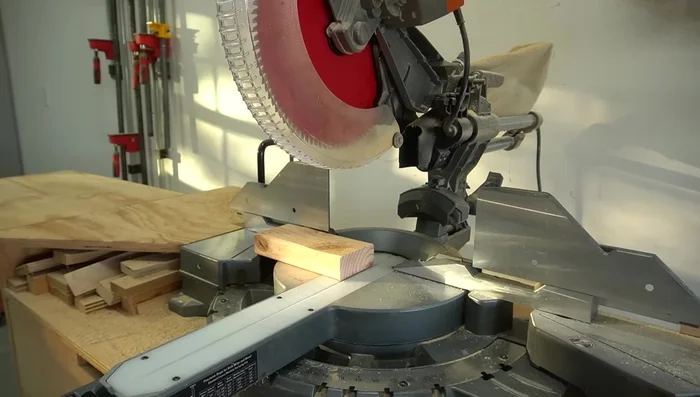
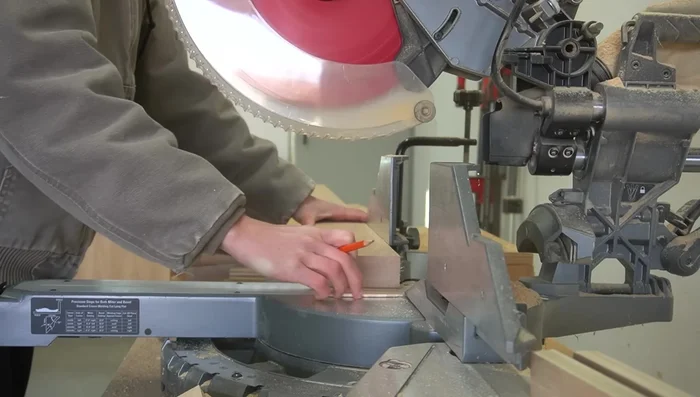
- Miter saw
- Drill
- Pocket hole jig
- Clamps
- Drawer slides
- Dowel jig
- Wood glue
- Minwax Weathered Oak stain
- Clear coat sealant
- Drawer knobs
- Measuring tape
- Screws
- Always use appropriate safety glasses and a dust mask when cutting and sanding wood. Red oak dust is particularly irritating.
- Ensure all screws and fasteners are securely tightened to prevent collapse. Double-check your measurements and joinery before committing to any cuts.
- When using power tools, carefully follow the manufacturer's instructions and ensure proper ventilation in your work area.
Step-by-Step Instructions
Build Side Rails
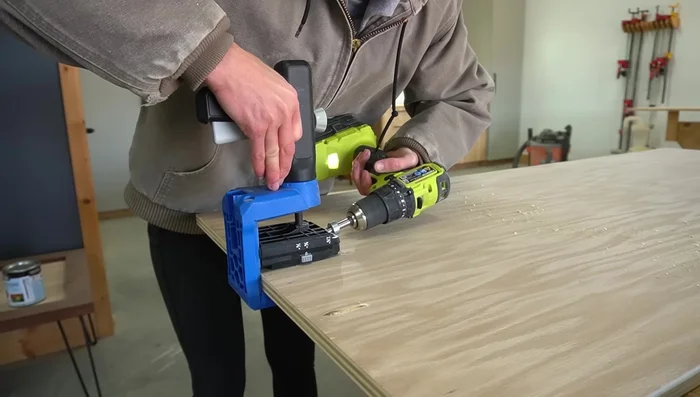
- Rip plywood into 13-inch wide strips. Cut to length. Trace and cut out drawer openings. Reuse cut-out sections as drawer fronts. Attach 1x3 trim along the top, bottom, sides, and middle.

Build Side Rails Build Drawer Frames
- Construct U-shaped frames using 2x4s and pocket holes. Attach to the inside of side rails.
Build Drawer Frames Construct Drawer Boxes
- Cut 3/4 inch plywood for drawer box sides. Cut dados for plywood bottoms. Assemble boxes using pocket holes. Install drawer slides.
Construct Drawer Boxes Create and Install Drawer Fronts
- Straighten and trim drawer fronts (pieces cut from side rails). Apply iron-on edge banding. Attach drawer fronts to boxes using screws.
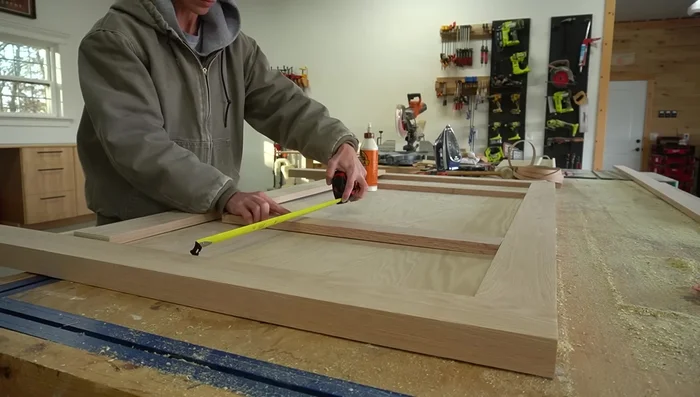
Create and Install Drawer Fronts Build Headboard and Footboard Frames
- Cut red oak 2x4s for sides and one for top. Drill dowel holes. Assemble frames using dowel pins and glue.
Build Headboard and Footboard Frames Attach Panels to Headboard and Footboard
- Cut 3/4 inch plywood panels precisely. Attach to frames using pocket holes and screws.
Attach Panels to Headboard and Footboard Add Trim to Headboard and Footboard
- Glue and clamp 1x4 and 1x3 trim pieces onto the front of the panels.
Add Trim to Headboard and Footboard Assemble the Bed
- Use bed brackets to attach side rails to headboard and footboard. Add a removable support block for the drawer frame.
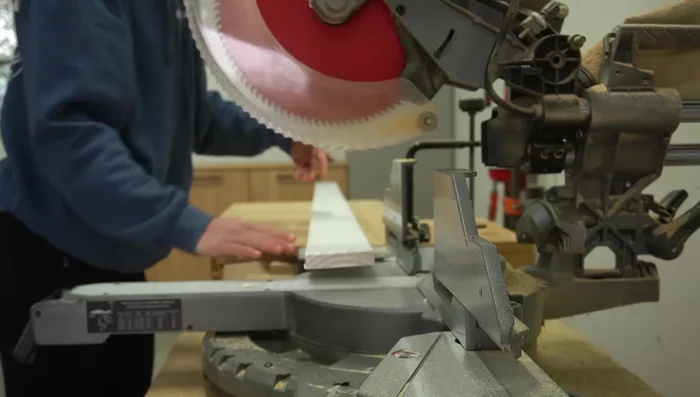
Assemble the Bed Install Bed Slats
- Cut 1x4s (or plywood strips) to length. Attach 2x2 supports to the center of each slat to prevent sagging. Install slats onto the side rails.
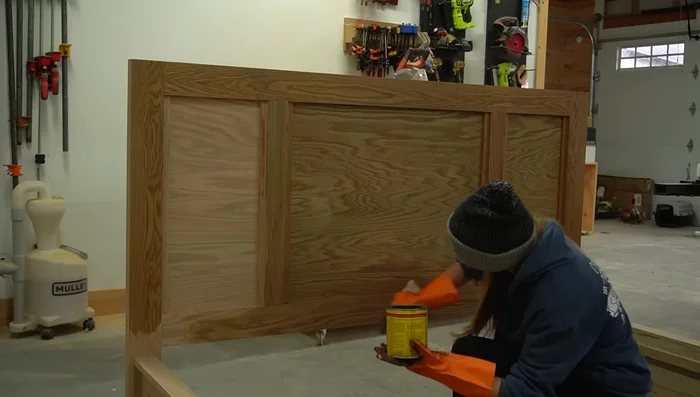
Install Bed Slats Finish the Bed
- Stain all parts using Minwax Weathered Oak stain. Seal with a clear coat. Add drawer knobs. Assemble the final bed structure.
Finish the Bed


Read more: Ultimate Guide to Harmonious Bedroom Furniture Arrangement
Tips
- Using plywood and edge banding for 1x3s can save money on expensive solid wood lumber.
- Precise cuts are crucial for the headboard and footboard panels to ensure a tight fit.
- A removable support block in the back of the drawer frame prevents tilting and makes disassembly easier.
- Using 2x2s for slat support is a more efficient method than running a 2x4 across the entire bed.