Forgetting to water your plants is a common problem, leading to wilting leaves and, ultimately, unhappy greenery. But what if you could create a simple, cost-effective system to ensure your plants receive consistent hydration, even while you're away? This article introduces a DIY per-minute self-watering system perfect for busy individuals or those seeking a more hands-off approach to plant care. We'll explore a method that utilizes readily available materials and requires minimal technical expertise, freeing you from the constant worry of thirsty houseplants.
This ingenious system provides a precise, controlled amount of water delivered directly to your plant's roots at regular intervals – essentially, a miniature, automated drip irrigation system customized to your needs. Forget about overwatering or underwatering; this system offers a sustainable and efficient solution. Ready to transform your plant care routine? Let's dive into the step-by-step instructions to build your own per-minute self-watering system.
Preparation and Safety Guidelines
- Level pipe
- Cable ties
- Plastic tubing/ connectors
- 19-liter disposable water bottle (or large container)
- Optional: Small plastic nozzles
- Always use a low-voltage power supply for any electronic components involved in your DIY system to prevent electric shock.
- Ensure proper drainage is in place to avoid root rot. Overwatering can be just as harmful as underwatering.
- Choose materials that are non-toxic and safe for your plants. Avoid using materials that could leach harmful chemicals into the soil.
Step-by-Step Instructions
Prepare the Main Water Line
- Cut the level pipe to the desired length, ensuring enough to reach all your plants.
- Make cuts in the pipe to insert the small plastic tubing or connectors into. These will lead to each individual pot.
- Insert the small plastic tubing/connectors into the cuts in the level pipe. Secure them tightly using cable ties to prevent leaks.

Prepare the Main Water Line Connect the Water Source
- Place one end of the main level pipe into your water source (e.g., a 19-liter bottle or water tank).
Connect the Water Source Position and Connect to Plants
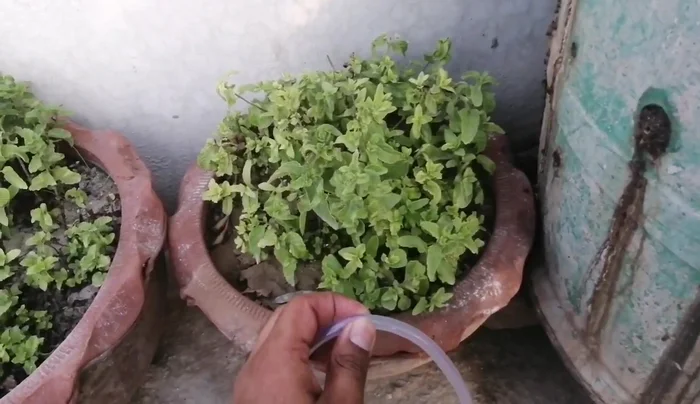
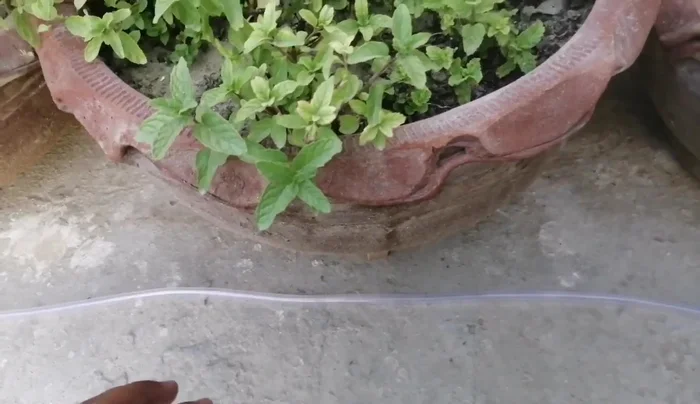
- Position the other end of the pipe above your plants, feeding the smaller tubes/connectors down into the soil near the roots of each plant.
Position and Connect to Plants Secure and Test the System
- Secure the entire system with cable ties, ensuring all connections are tight and leak-proof.
- Fill the water reservoir (19-liter bottle or tank).
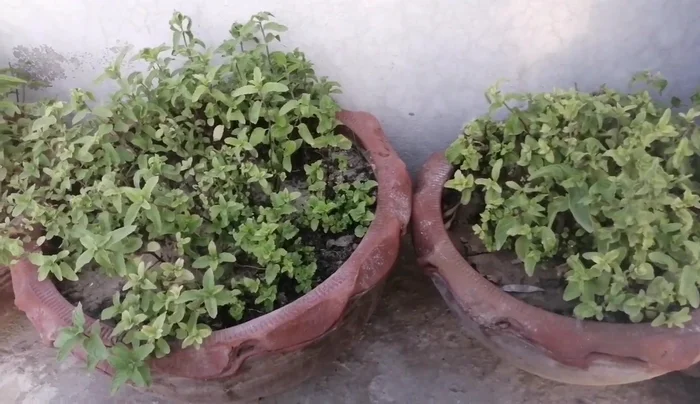
Secure and Test the System


Read more: DIY Plastic Gallon Candy Basket: Upcycled & Adorable!
Tips
- Use a 19-liter bottle for a larger capacity reservoir.
- Use cable ties to secure all connections for better leak prevention.
- If using small nozzles, ensure they are not clogged. Clean them if necessary.
- Level pipe is ideal for even water distribution. Avoid using small-diameter tubing as it reduces water pressure.
- This system is best for plants in sunny areas needing frequent watering.