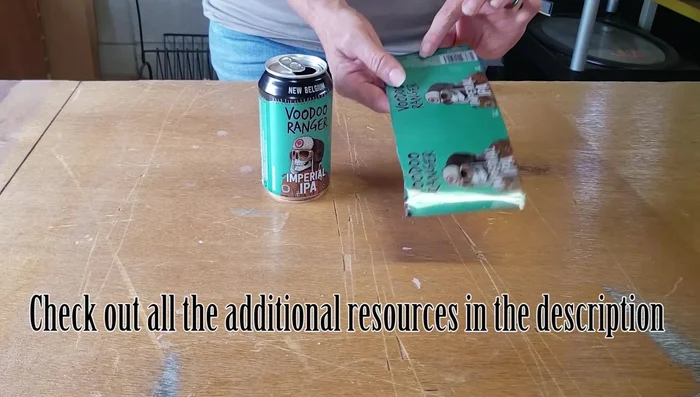
Ever wished you could create stunning, unique jewelry without breaking the bank or spending hours crafting? Then get ready to be amazed! This tutorial shows you how to transform discarded aluminum cans into gorgeous, shimmering pillow beads – a surprisingly easy and fast DIY project perfect for beginners and seasoned crafters alike. Forget expensive beading supplies; all you need are a few readily available items to unleash your creativity and make eco-friendly jewelry. This process is incredibly sustainable, giving new life to something that would otherwise end up in landfill.
With just a few simple steps, you’ll be amazed at how quickly you can create beautiful, eye-catching pillow beads. These versatile beads can be used to make necklaces, earrings, bracelets, or even keychains, allowing you to personalize your creations to reflect your style. Let's dive into the step-by-step process and transform those empty aluminum cans into your next favorite accessory!
Preparation and Safety Guidelines
- Aluminum cans
- Hole punch (or Cricut cutting machine)
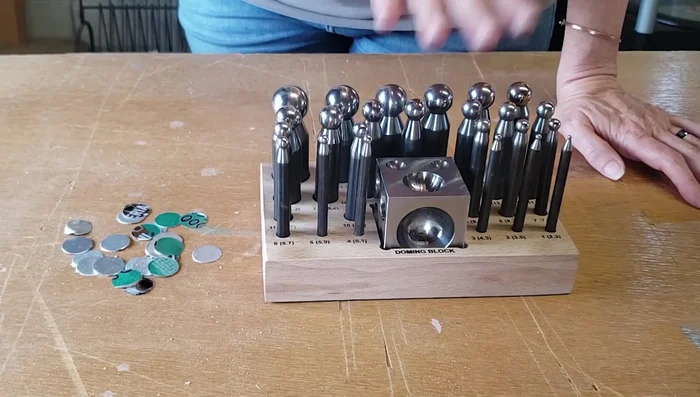
- Dapping and doming block set
- Rubber mallet
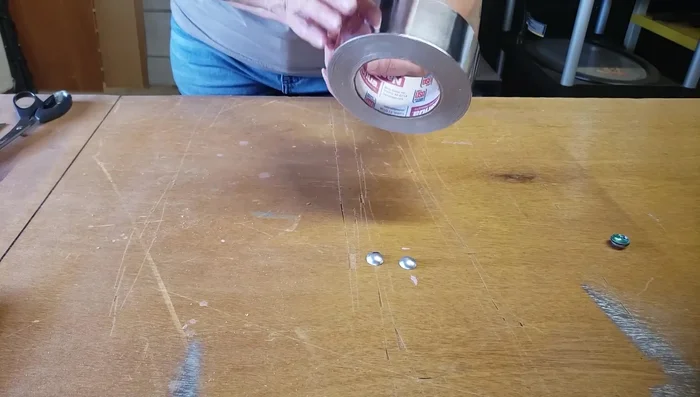
- Metal tape
- E6000 glue (or hot glue)
- Eyelet
- Alcohol inks (optional)
- High gloss Mod Podge (optional)
- Embossing tool
- Always wash and thoroughly dry aluminum cans before cutting. Residual food or beverage can cause injury or illness.
- Use appropriate safety equipment: safety glasses to protect your eyes from flying metal fragments, and gloves to protect your hands from sharp edges.
- Adult supervision is required, especially when children are involved. Sharp objects and small parts present choking hazards.
Step-by-Step Instructions
Cut Aluminum Circles
- Cut circles from flattened aluminum can sheets. You can cut by hand, use a Cricut, or a hole punch.

Cut Aluminum Circles Shape with Dapping Block
- Shape the aluminum circles using a dapping and doming block set, working from largest to smallest size. Work slowly and carefully to avoid cracking the aluminum.
Shape with Dapping Block Repair Cracks
- Repair any cracks using metal tape. Apply the tape to the inside of the dome and burnish it down with an embossing tool.
Repair Cracks Punch Holes
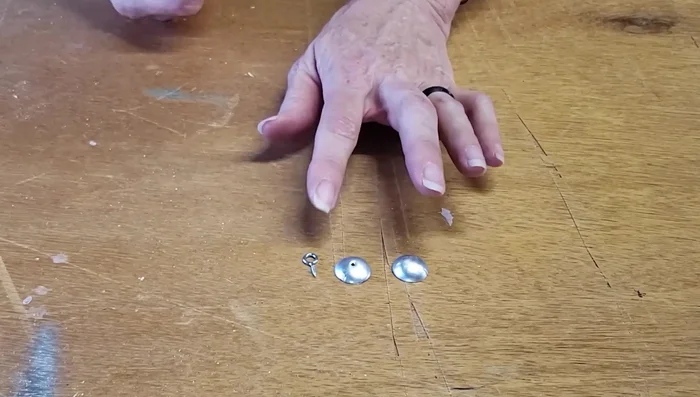
- Punch holes in the centers of the aluminum pieces for beads; punch a hole in only one piece if making a charm.
Punch Holes Assemble Charms
- Assemble the charms by attaching an eyelet to one of the domed aluminum pieces using E6000 or hot glue.
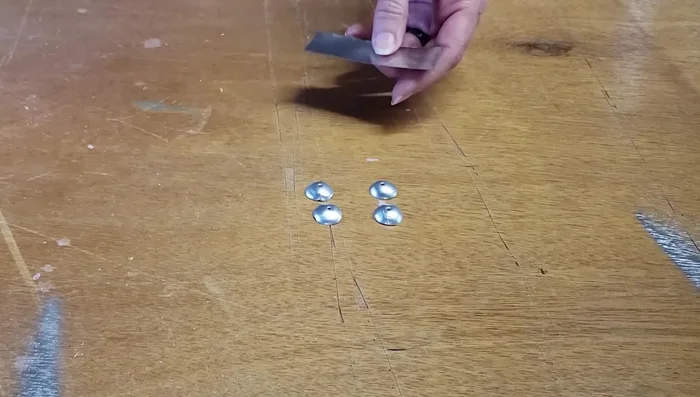
Assemble Charms Assemble Beads
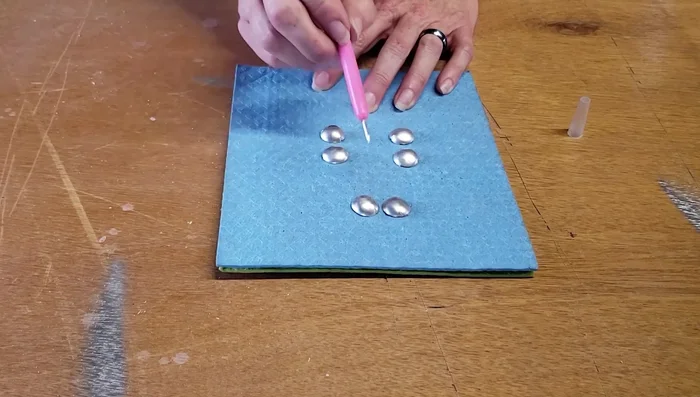
- Assemble the beads by wrapping a thin strip of aluminum tape around two domed aluminum pieces. Press the tape firmly and smooth the edges with an embossing tool.
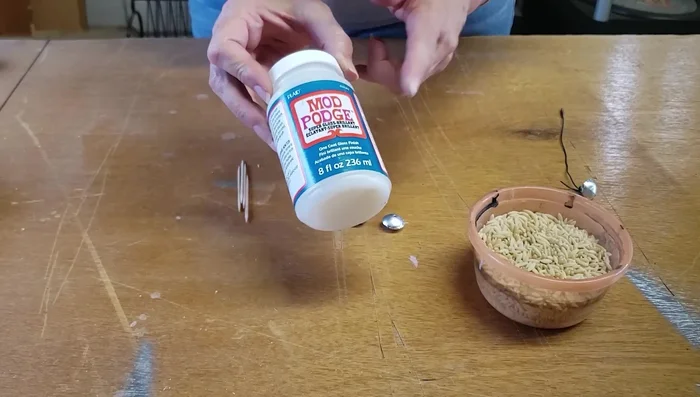
Assemble Beads Seal Beads
- Seal the beads with a high gloss Mod Podge for added durability and protection.
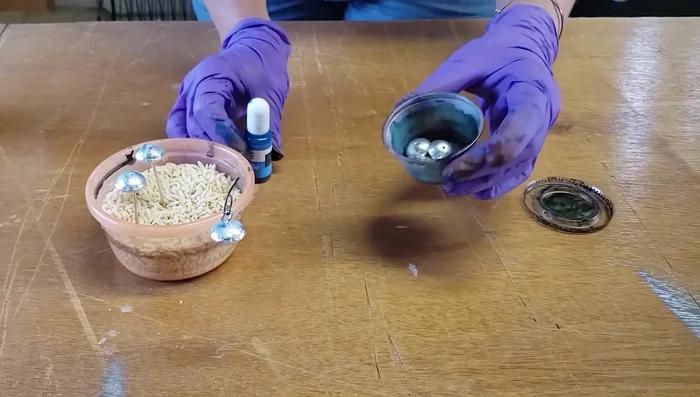
Seal Beads Add Color (Optional)
- Add color using alcohol inks (optional). Seal again after applying alcohol inks.
Add Color (Optional)
Read more: Miniature Spider Welding Tutorial: Crafting a Tiny Metal Arachnid
Tips
- Use a rubber mallet's black end for better hole-punching results.
- Work slowly and deliberately when dapping to avoid damaging the aluminum. Imperfect cuts can be worked with.
- Don't push down in the middle of the aluminum when dapping; start on the edges and work your way in.
- Use a swirling motion with the dapping tool to evenly shape the aluminum.
- Be cautious when working with the aluminum, as it is easy to crack or tear.