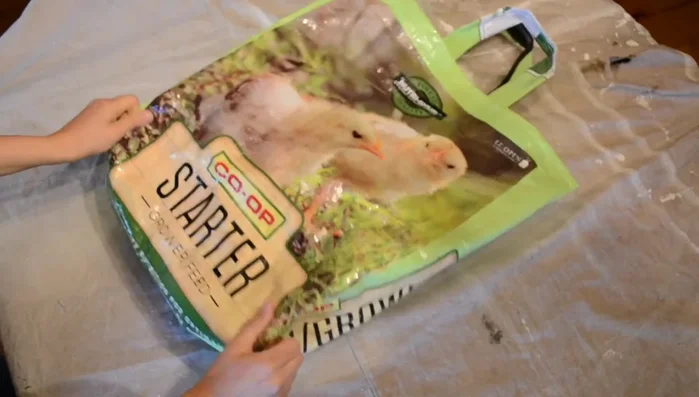
Tired of overflowing landfills and the constant stream of plastic bags clogging our environment? There's a fantastic way to repurpose those sturdy chicken feed bags into something surprisingly useful and stylish: a reusable shopping tote! These bags, often overlooked for their potential, are incredibly durable and surprisingly water-resistant, making them perfect candidates for a quick and easy DIY project. Not only will you be contributing to a more sustainable lifestyle by reducing waste, but you'll also create a unique, personalized tote bag that stands out from the crowd. Forget those flimsy plastic carrier bags; you’ll be proud to showcase your eco-friendly creation at the farmers market or your local grocery store.
This simple upcycling project requires minimal supplies and only basic sewing skills, making it perfect for beginners. Whether you're a seasoned crafter or a complete novice, you'll be amazed at how quickly you can transform a discarded chicken feed bag into a practical and attractive shopping tote. Ready to get started on your upcycled masterpiece? Let's dive into the step-by-step instructions below and learn how to create your own unique and sustainable shopping bag.
Preparation and Safety Guidelines
- Empty chicken feed bag
- Scissors
- Sewing machine
- Thoroughly clean the feed bag before use. Remove any residual feed or dust to prevent attracting pests or transferring contaminants to your groceries.
- Inspect the bag for any holes or weak areas before cutting and sewing. Reinforce these areas with extra stitching or fabric patches for durability.
- Avoid using feed bags that have contained treated or potentially toxic substances. Look for bags clearly labeled as containing only grains or feed suitable for animal consumption.
Step-by-Step Instructions
Preparing the Bag
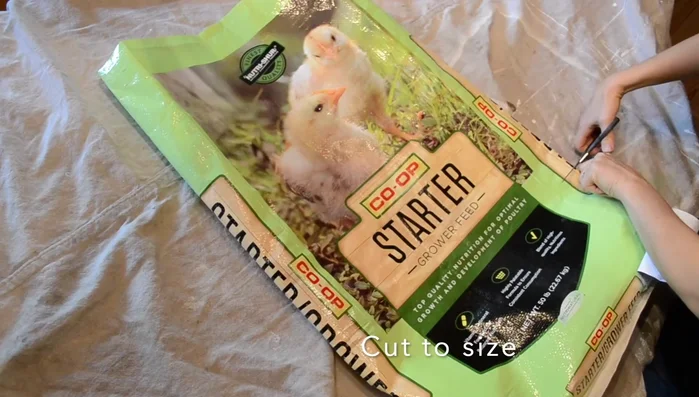
- Determine the desired size of your tote and cut the feed bag accordingly. For a smaller bag, cut shorter.
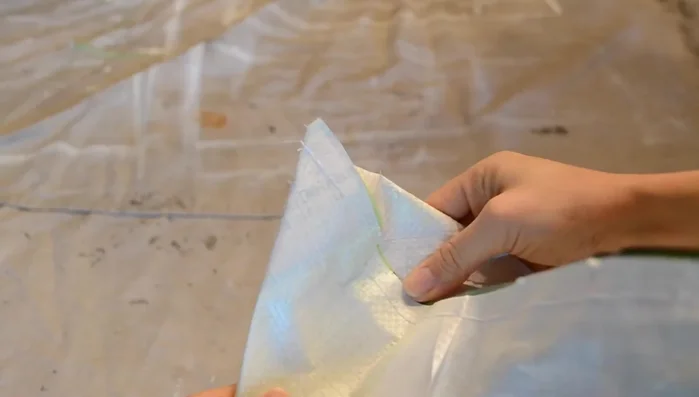
- Turn the bag inside out.

Preparing the Bag Shaping the Bottom
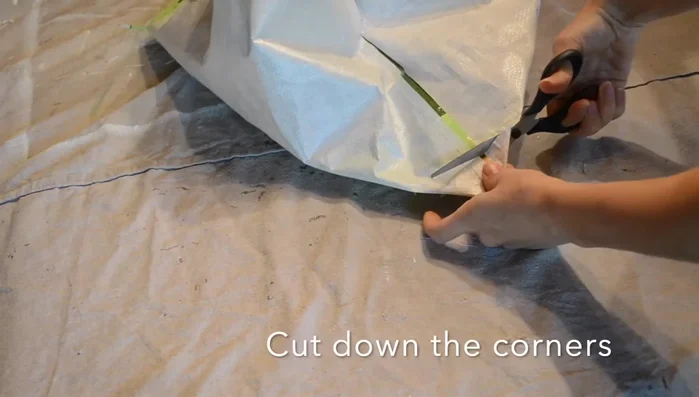
- Fold in the bottom corners to create a triangle shape, making the bag roomier.
- Trim off the excess fabric from the bottom corners.
Shaping the Bottom Creating the Top Seam
- Fold down the top edges and sew them together to create a clean seam.
Creating the Top Seam Making the Handles
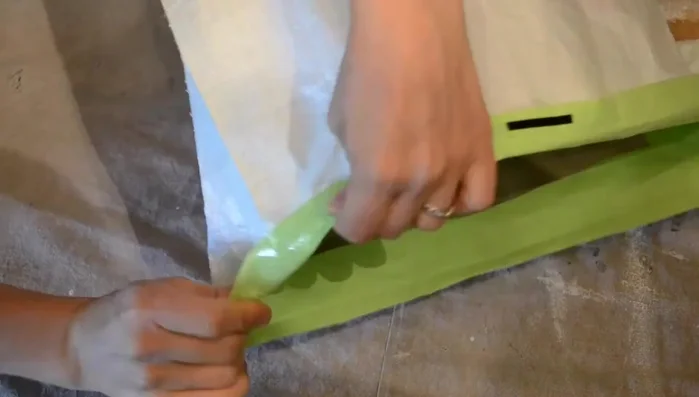
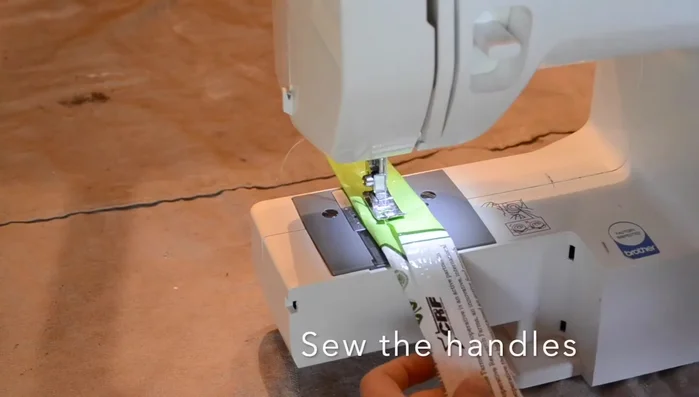
- Cut the remaining feed bag material into long strips for the handles.
- Fold the handle strips in half and sew them together to create sturdy handles.
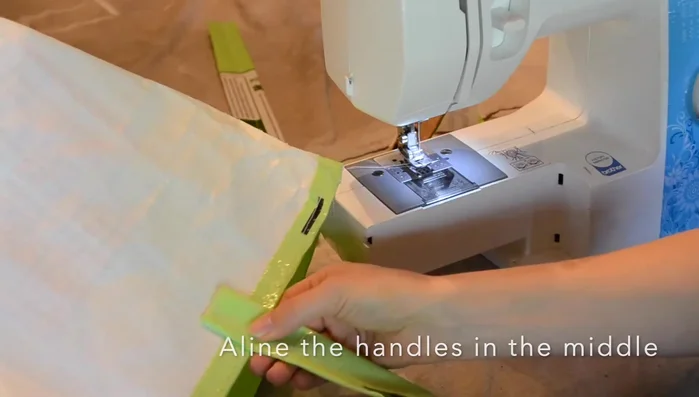
Making the Handles Attaching the Handles
- Attach the handles to the bag by sewing them onto the middle of the top seam.
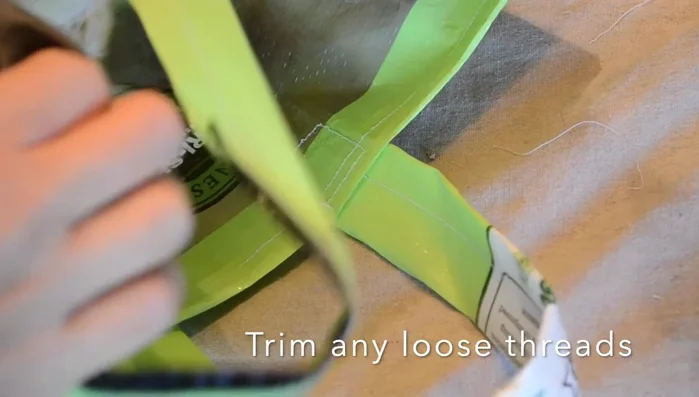
Attaching the Handles Finishing Touches
- Trim any loose threads.
- Turn the bag right side out.
Finishing Touches


Read more: DIY Plastic Gallon Candy Basket: Upcycled & Adorable!
Tips
- Use a larger feed bag for a bigger tote. Adjust the cutting size to your preference.