Transforming your living space into a glamorous haven doesn't require a hefty budget. In fact, you can achieve stunning, high-end looks using surprisingly affordable materials! This article will guide you through creating glamorous wall decor using nothing but supplies from your local Dollar Tree. Forget expensive art prints and boutique home décor; we're unlocking the potential of everyday items to craft personalized, show-stopping pieces that will leave your guests breathless. Imagine creating intricate mirrored masterpieces, elegant floral arrangements, or chic geometric designs – all without breaking the bank.
We'll unveil simple techniques and clever repurposing ideas that will elevate your walls from drab to fab. From transforming humble picture frames into gilded wonders to crafting unique textured panels, the possibilities are endless. Ready to unleash your inner interior designer and add a touch of Hollywood glamour to your home? Let's dive into the step-by-step process to create your own dazzling Dollar Tree DIY wall decor.
Preparation and Safety Guidelines
- Dollar Tree mirrors
- Dollar Tree wood game pieces
- Strong adhesive (epoxy)
- Hot glue
- Silver metallic paint
- Wire LED lights (Dollar Tree)
- Electrical tape
- Dollar Tree metal ribbon
- Dollar Tree thumb tacks
- Small hammer (optional)
- Gloss glaze
- Extra fine silver glitter
- Small gems
- Skewer
- Always supervise children when using craft supplies, especially those with small parts or sharp objects.
- Use caution when working with hot glue guns. Allow glue to cool slightly before touching and keep away from flammable materials.
- Ensure proper ventilation when using spray paints or other aerosol products. Wear a mask to avoid inhaling fumes.
Step-by-Step Instructions
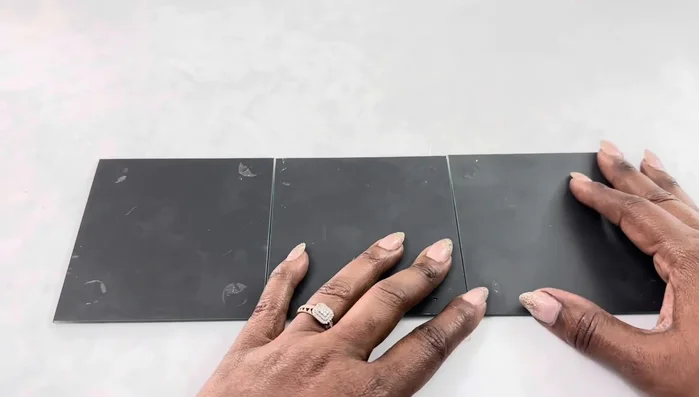
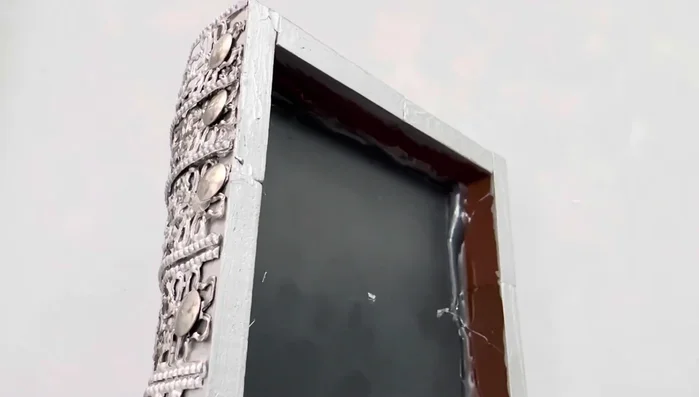
Constructing the Base
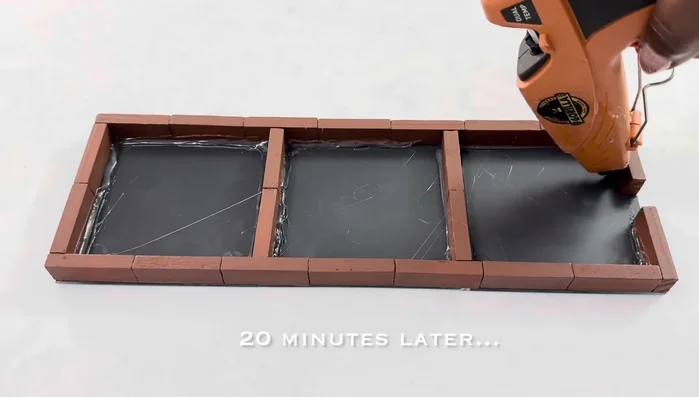
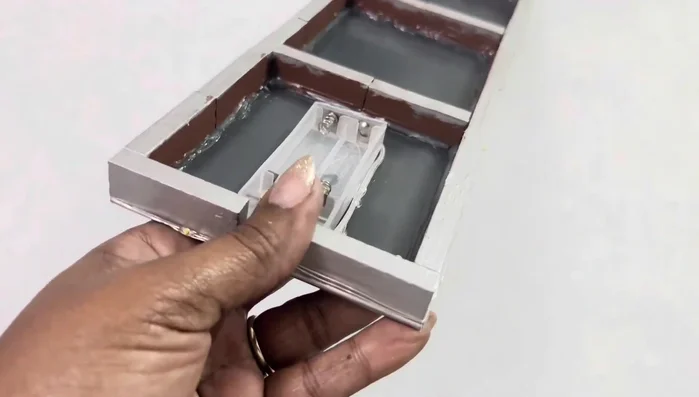
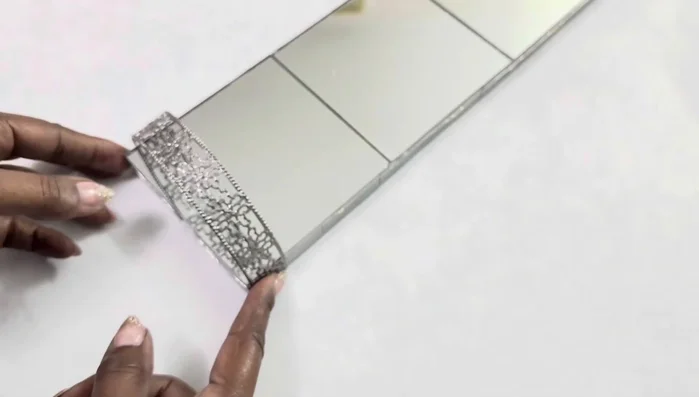
- Glue together three Dollar Tree mirrors and wood game pieces using a strong adhesive (epoxy). Leave the bottom open.
- Add hot glue around the inside perimeter to secure the pieces while the epoxy dries.
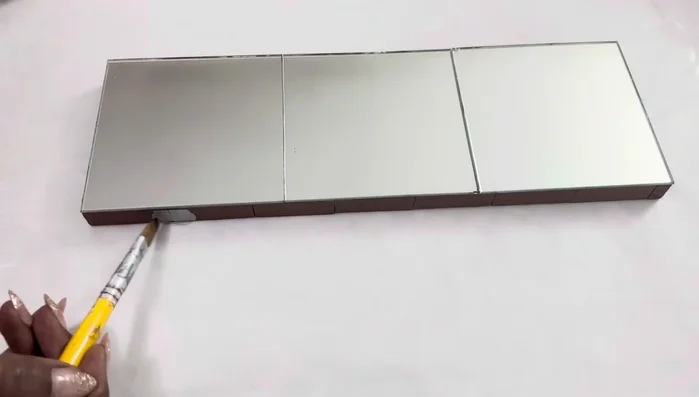
- Paint the wood pieces with two coats of silver metallic paint.

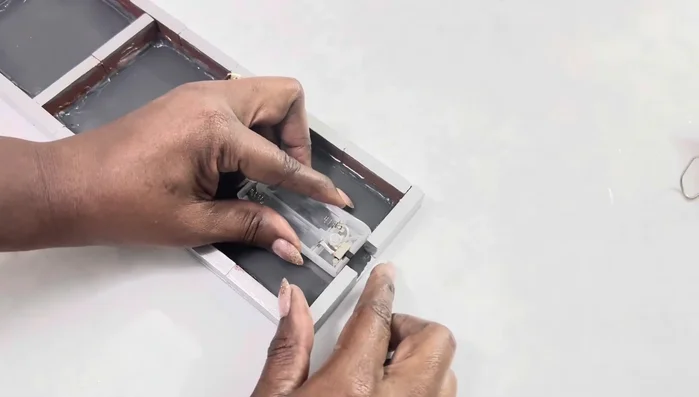
Constructing the Base Adding Lighting
- Attach wire LED lights (Dollar Tree) to the back.
- Secure the batteries using electrical tape, cutting away excess plastic to leave the bottom open for easy on/off access.
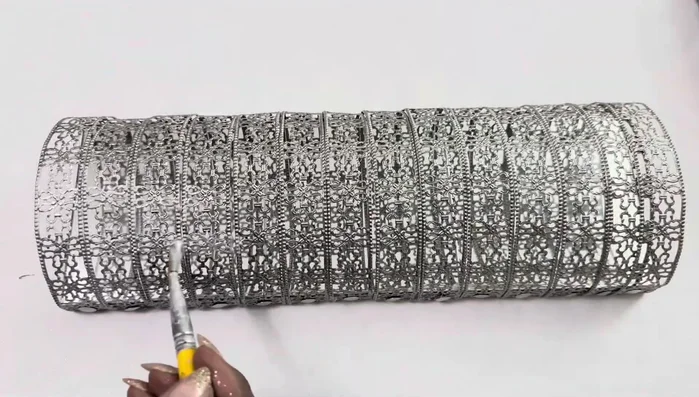
Adding Lighting Attaching and Decorating the Ribbon
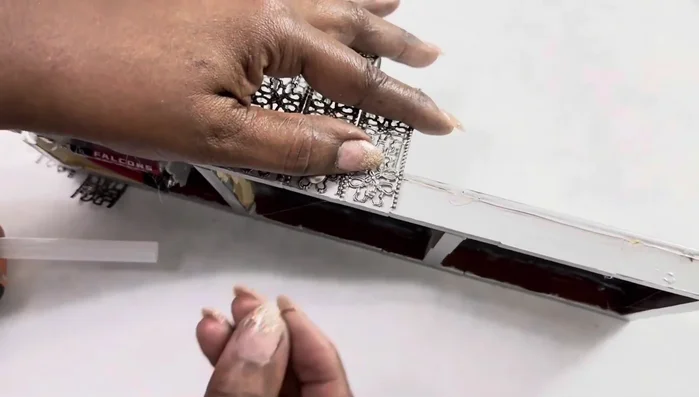
- Cut the Dollar Tree metal ribbon into pieces (8 flowers each) and attach them using hot glue and thumb tacks.
- Use a hammer if needed to secure the thumb tacks, especially when your fingers get tired.
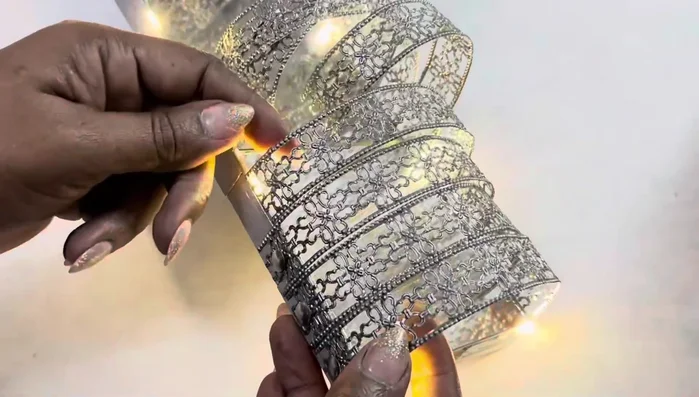
- Check if the lights still work. If not, ensure the metal ribbon isn’t pressing against the bulbs.
- Paint the metal ribbon with the same silver metallic paint used on the wood.
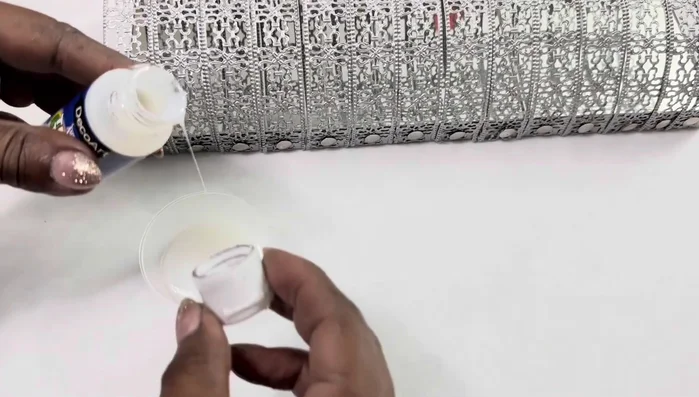
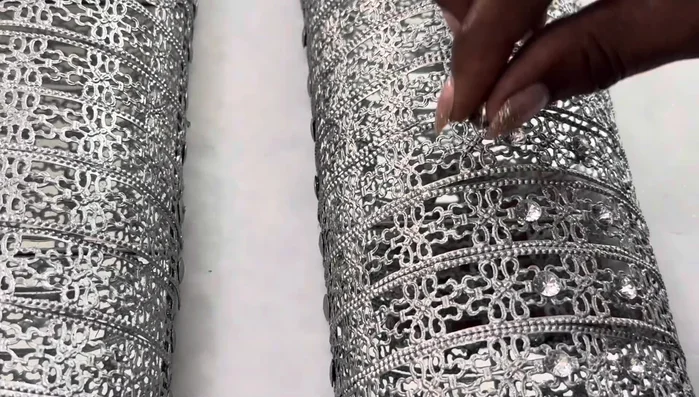
Attaching and Decorating the Ribbon Finishing Touches
- Apply gloss glaze and glitter to the ribbon and wood, and let it dry overnight.
- Add small gems using a skewer and adhesive.
Finishing Touches Hanging the Decor
- Hang the design using push pins.
Hanging the Decor
Read more: DIY Farmhouse X-Style Coffee Table: Easy Step-by-Step Guide
Tips
- Using epoxy allows for adjustments while assembling the wood pieces.
- Leaving the bottom open provides easy access to turn the lights on and off.
- Consider adding the lights after attaching the ribbon to prevent issues.