A broken dryer drum roller can transform your laundry day from a chore to a major headache. That persistent grinding noise, the jerky tumbling action, or even a complete standstill – these are all telltale signs that your dryer's drum rollers need replacing. Ignoring the problem can lead to further damage, potentially costing you more in the long run. Fortunately, this common appliance repair is often manageable for even novice DIYers, saving you the expense of a professional repair call. A faulty roller is a surprisingly easy fix, and with the right tools and instructions, you can have your dryer spinning smoothly again in no time.
This guide offers a comprehensive, step-by-step walkthrough of the dryer drum roller replacement process. We'll cover everything from safely disconnecting your dryer to reinstalling the new rollers, ensuring you have a clear understanding of each stage. So, let's get started and restore your dryer to its peak performance; follow the detailed instructions below to learn how to successfully replace your dryer drum rollers.
Preparation and Safety Guidelines
- Screwdrivers (various sizes)
- 14mm wrench
- 10mm socket
- Pliers
- Always unplug the dryer from the electrical outlet before starting any repairs. Failure to do so could result in serious electric shock.
- Wear appropriate safety glasses and gloves to protect yourself from sharp edges and debris.
- If you are uncomfortable performing this repair yourself, contact a qualified appliance repair technician.
Step-by-Step Instructions
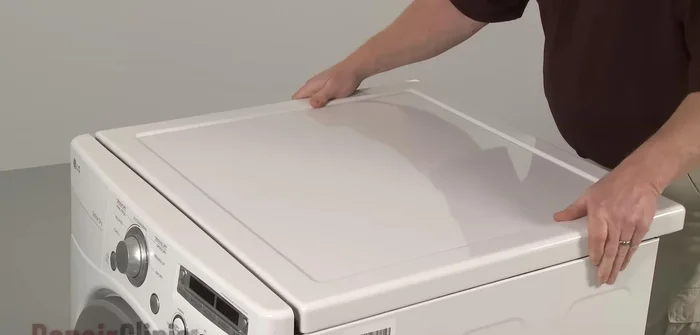
Remove Dryer Top and Control Panel
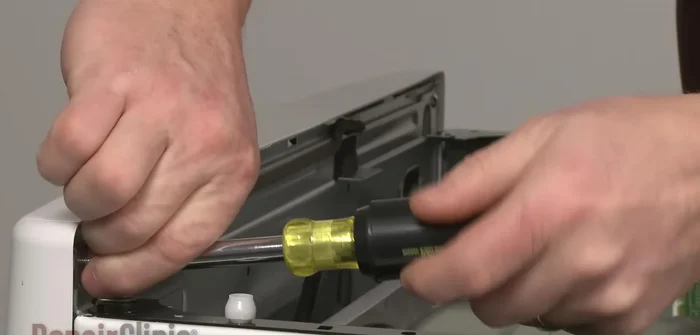
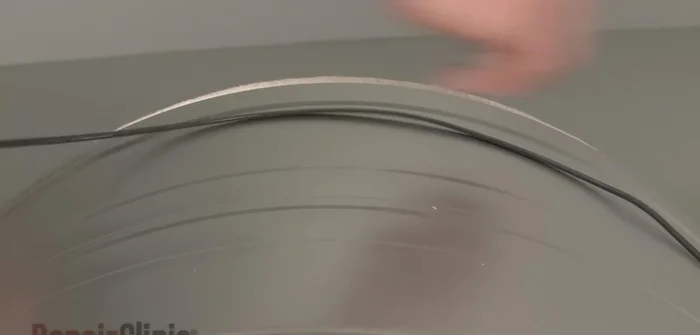
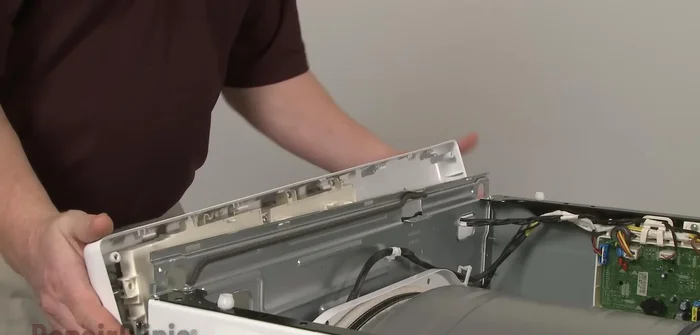
- Remove the screws securing the main top to the cabinet, slide the top back, and lift it up to remove.
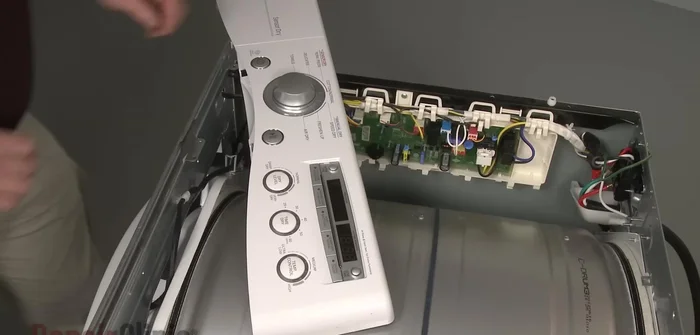
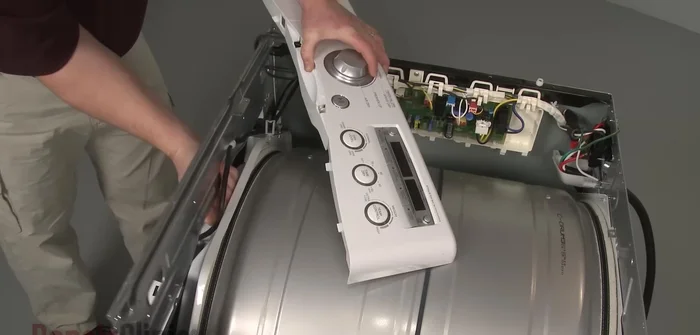
- Uninstall the screws securing the control panel, lift up the tabs to detach it, and move it out of the way.
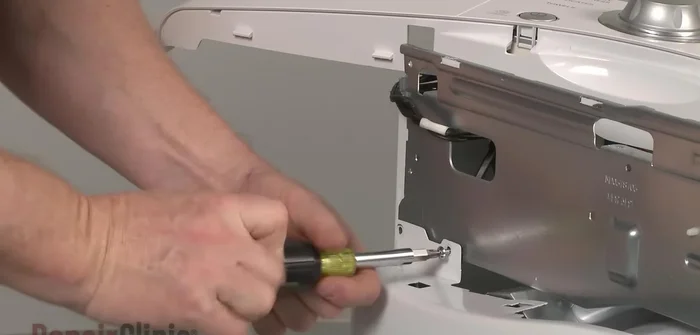
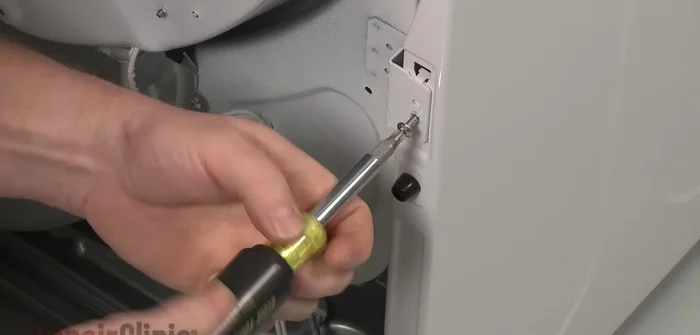
- Remove the screws securing the support bracket and detach it from the cabinet.
- Detach the door switch wire harness.

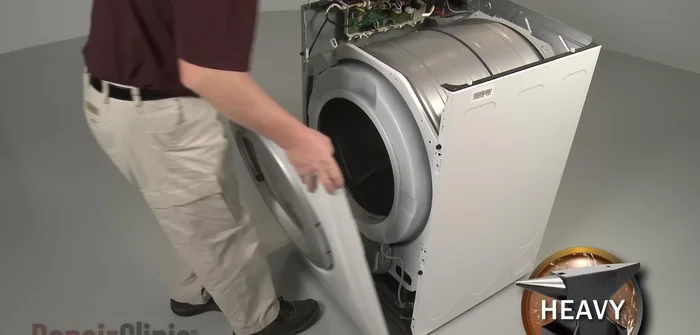
Remove Dryer Top and Control Panel Remove Front Panel and Bulkhead
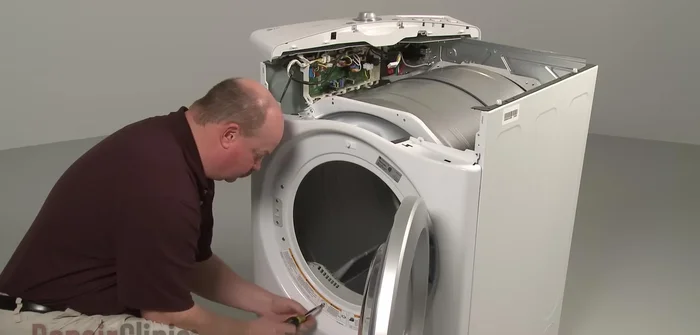
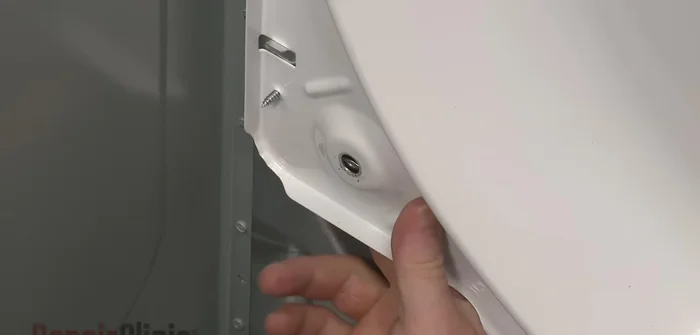
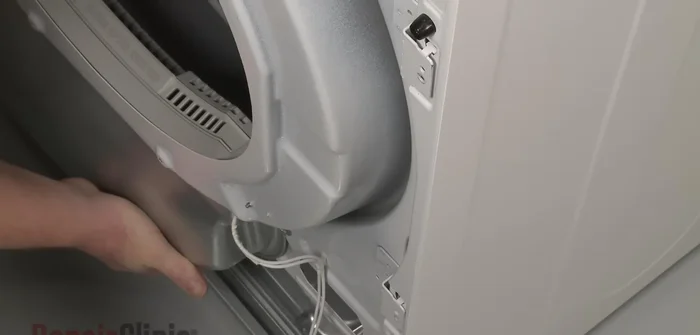
- Open the dryer door, support the front panel, and remove the lower two screws to release it. Pull the panel forward and lift up to remove.
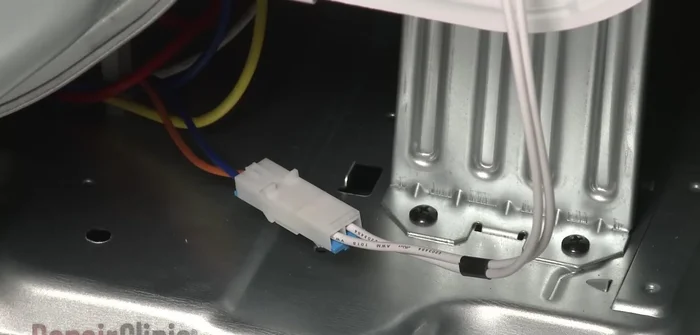
- Disconnect the light switch wire harness and the moisture sensor wire harness.
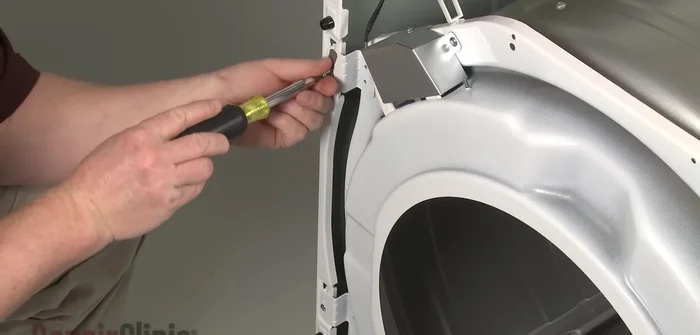
- Remove the screws from the front bulkhead mounting brackets.
- Remove the screws securing the duct housing to the blower assembly. Lift the front bulkhead up and pull it forward to remove.
Remove Front Panel and Bulkhead Remove Rear Drum Roller
- If replacing a rear roller, remove the drum by pushing the idler pulley to release the tension on the belt and pulling the belt off the motor pulley. Use the belt to help lift out the drum.
- Use a 14mm wrench to secure the roller mounting nut behind the rear bulkhead and a 10mm socket to rotate the roller shaft counterclockwise to unthread it from the nut.
- Remove the old roller and prepare the new one by transferring the washer.
Remove Rear Drum Roller Install Rear Drum Roller
- Position the nut and new roller on the rear bulkhead and rotate the shaft clockwise to tighten.
- Slide the belt over the drum rib side down and replace the drum, looping the belt around the idler and motor pulleys.
Install Rear Drum Roller Remove and Replace Front Drum Roller
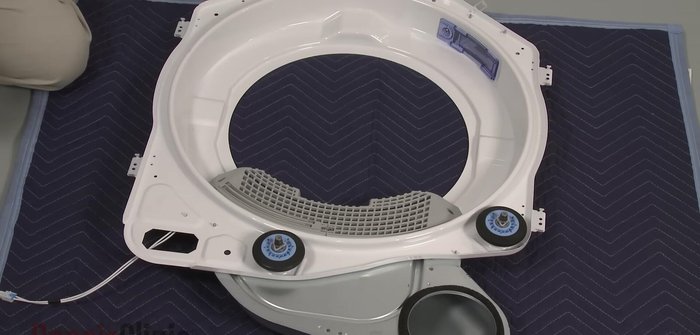
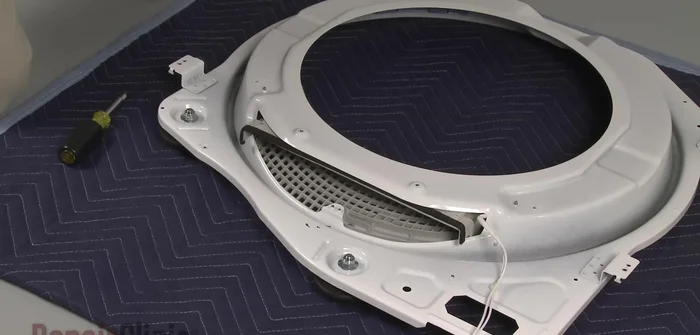
- To replace the front right roller, pull out the lint filter, remove the screws securing the duct to the bulkhead, and pull the duct out.
- Access and remove the nuts securing the roller shaft, replace the roller, and then reposition the duct, securing it with screws and replacing the lint filter.
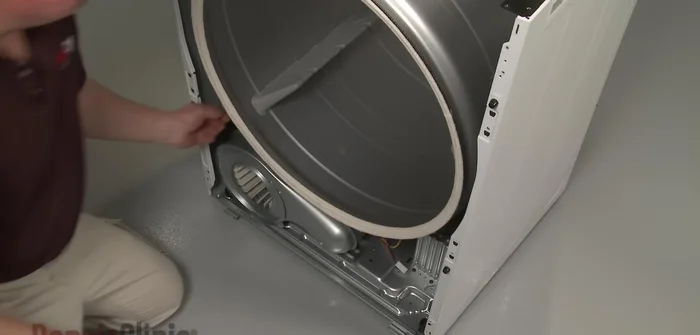
Remove and Replace Front Drum Roller Reinstall Front Panel and Bulkhead
- Reinstall the front bulkhead, aligning the drum on the front rollers and securing the bulkhead with bracket screws.
- Reconnect the moisture sensor wire harness and light switch wire harness. Replace the front panel and secure it with screws.
Reinstall Front Panel and Bulkhead Reassemble Dryer
- Reposition the support bracket, reattach the door switch wire harness, and replace all screws.
- Reposition the control panel and snap it into place, reinstalling the screws.
- Align the main top on the cabinet, push it forward, and secure the screws. Plug in the power cord and confirm proper functioning.
Reassemble Dryer

Read more: Fix Washing Machine Won't Spin: Quick & Easy Motor Coupler Replacement
Tips
- Always unplug the appliance before beginning any repair.