Is your washing machine humming along but refusing to spin? A common culprit behind this frustrating problem is a worn-out motor coupler. This small but crucial component connects the motor to the transmission, and when it fails, your clothes remain stubbornly soaked. A broken motor coupler can manifest in various ways, from a noticeable clicking sound to a complete lack of spinning action. Fortunately, replacing a motor coupler is often a straightforward repair, even for DIY novices, saving you the expense of a costly service call. This is significantly cheaper than a full machine replacement.
This article will guide you through a quick and easy motor coupler replacement, eliminating the need for expensive professional help. We'll cover everything from identifying the faulty part to reinstalling the new coupler, providing clear instructions and helpful images along the way. Ready to get your washing machine spinning again? Let’s dive into the step-by-step process outlined below.
Preparation and Safety Guidelines
- Flat-head screwdriver
- Ratchet with a 1/4 inch socket
- Jack stand (optional)
- Rubber mallet (optional)
- Vacuum cleaner
- Always disconnect the washing machine from the power supply before attempting any repairs. Failure to do so could result in serious electric shock.
- Wear appropriate safety gloves and eye protection to prevent injury from sharp edges or components and potential splashing of water.
- If you are not comfortable performing this repair yourself, consult a qualified appliance repair technician. Improper repair could damage your washing machine or cause further problems.
Step-by-Step Instructions
Preparation
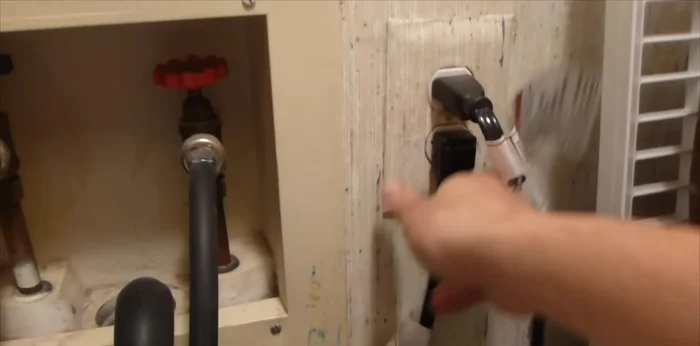
- Unplug the washing machine and consider shutting off the water supply.

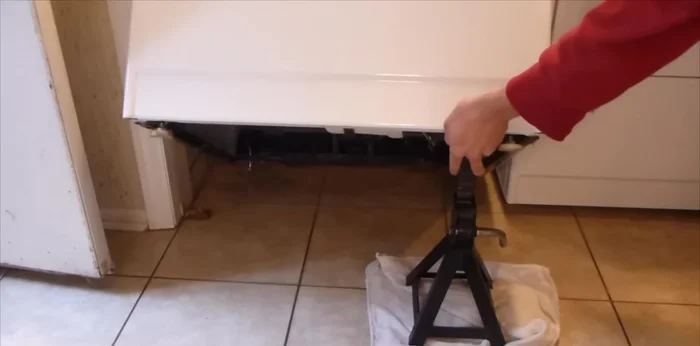
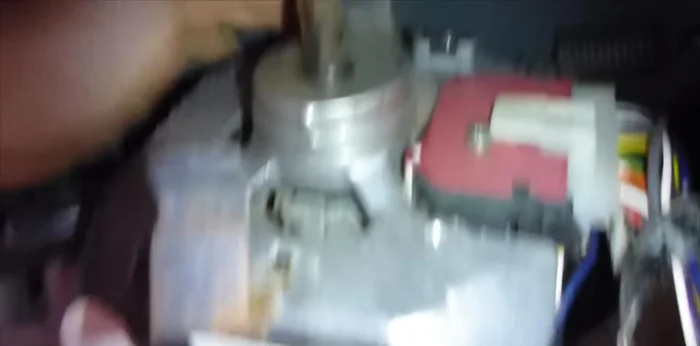
Preparation Access the Coupler
- Tilt the washing machine using a jack stand for support. Access the motor coupler located between the motor and transmission.
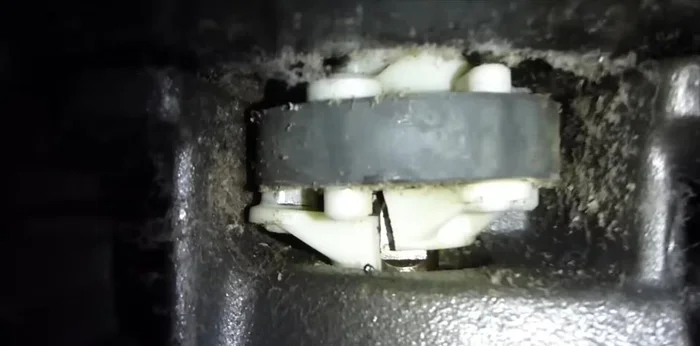
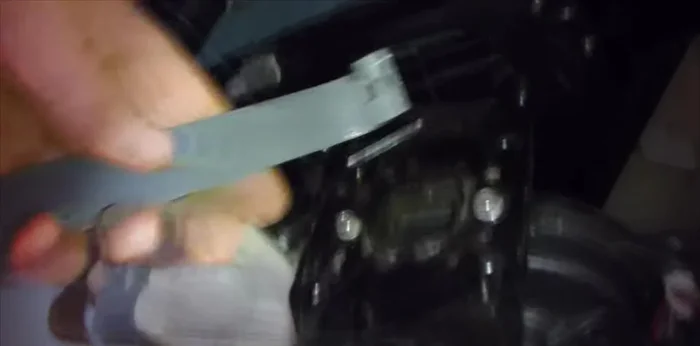
- Inspect the coupler. If broken (it will be visibly cracked or separated), it needs replacement.
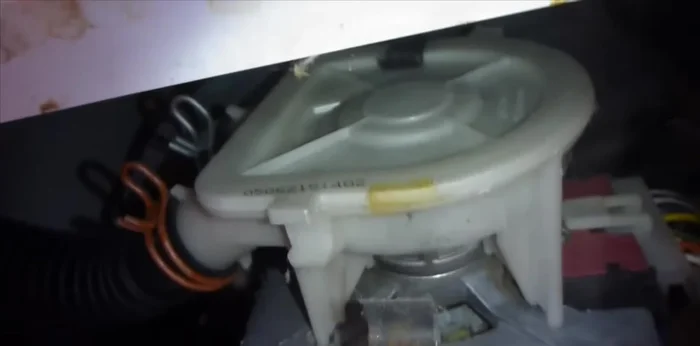
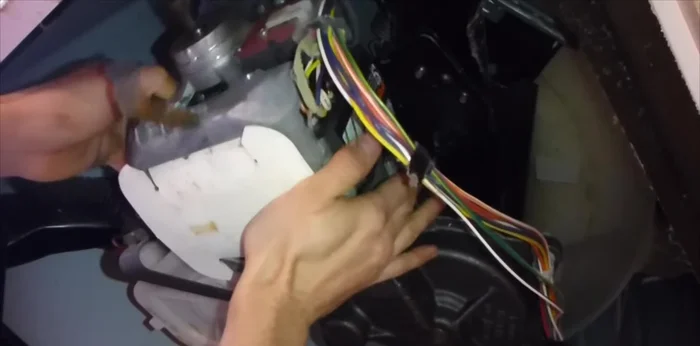
Access the Coupler Remove Pump
- Remove the two metal clips securing the pump. Carefully remove the pump assembly.
Remove Pump Remove Motor
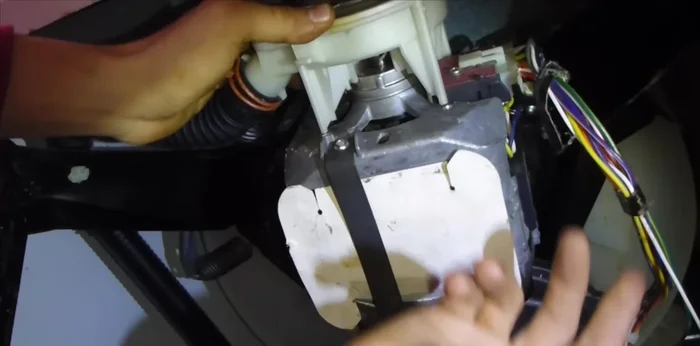
- Remove two clips holding the motor in place and unscrew two 1/4-inch socket bolts.
- Remove the motor assembly; it's heavy, so be careful.
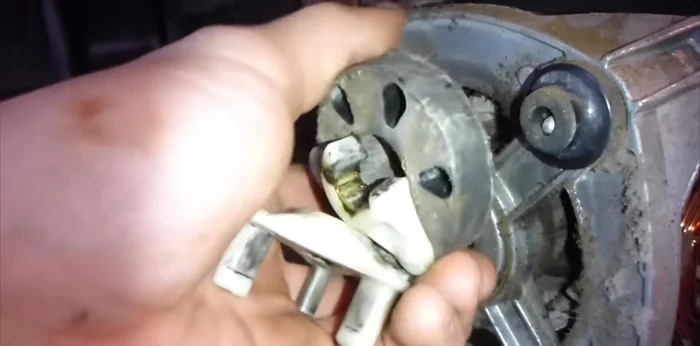
Remove Motor Replace Coupler
- Remove the old, broken coupler.
- Install the new coupler, ensuring it's fully seated and flush. You may need to use a rubber mallet to gently tap it in if it’s difficult.
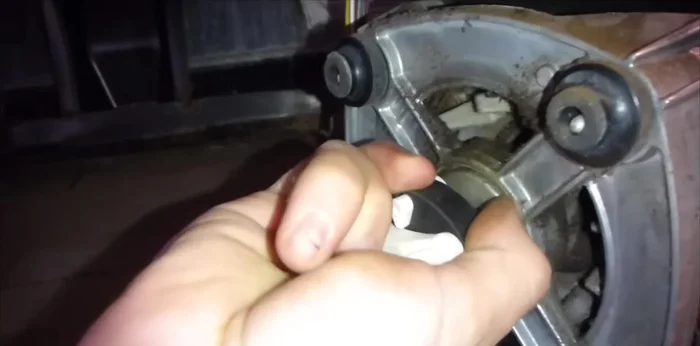
Replace Coupler Reinstall Motor
- Reinstall the motor, aligning the pegs on the coupler with the corresponding holes on the motor shaft. Secure it with the two clips and bolts.
Reinstall Motor Reinstall Pump
- Reattach the pump assembly by securing it with the clips.
Reinstall Pump Final Steps
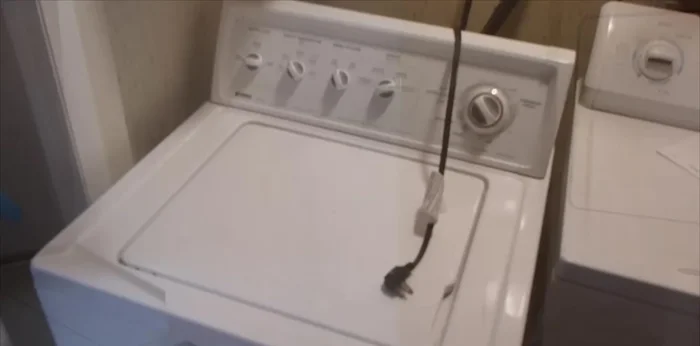
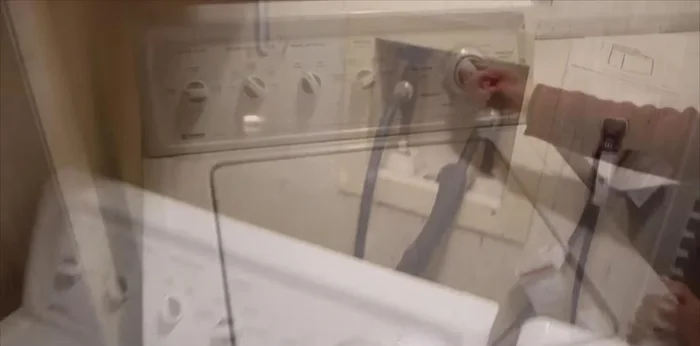
- Reconnect the washing machine to the power supply and water.
- Test the washing machine to confirm the repair.
Final Steps
Read more: How to Replace Dryer Drum Rollers: A Step-by-Step Guide
Tips
- Vacuum any dust around the pump and motor before reassembly.
- Be careful not to pull the washing machine out too far, preventing strain on the water exhaust hose and potential leaks.