Tired of coasters that are boring or worse, perpetually missing? Do you find yourself with a stash of fabric scraps that seem too small to use for anything substantial? Then get ready to transform those tiny pieces into something truly useful and charming! This tutorial will show you how to create adorable, personalized fabric scrap coasters, perfect for adding a touch of handmade warmth to any home. They're incredibly quick and easy to make, requiring minimal sewing skills and even less time. Imagine the possibilities – coordinating sets for your kitchen, themed coasters for holidays, or unique gifts for friends and family.
These delightful little coasters are not only practical but also make wonderful, thoughtful presents. From simple patchwork designs to more intricate patterns, the customization options are endless. Ready to get started turning your fabric scraps into functional and stylish coasters? Let's dive into the step-by-step instructions below!
Preparation and Safety Guidelines
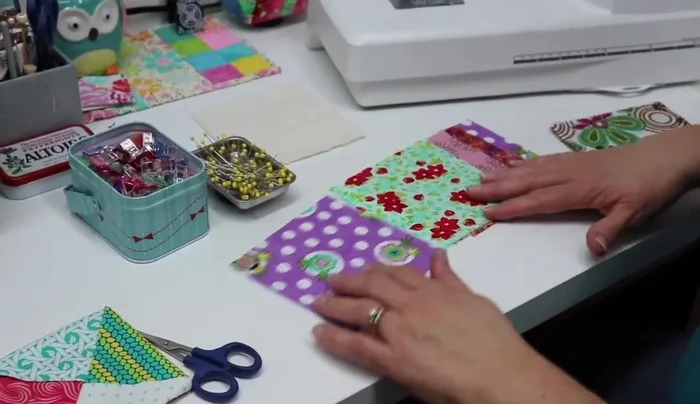
- 5 pieces of fabric (5x5 inch squares)
- 1 piece of batting (5x5 inch square)
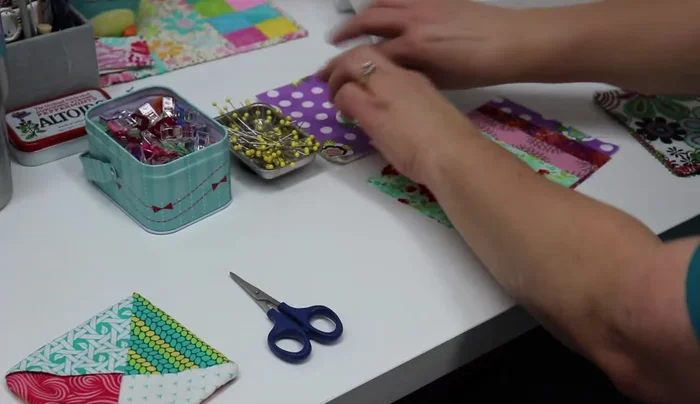
- Scissors
- Clips or pins
- Sewing machine (optional)
- Always use a hot pad or oven mitt when handling the hot iron, especially near the fabric. Burns can happen quickly.
- Ensure your work surface is clean and free from flammable materials when ironing. Keep a fire extinguisher nearby as a precaution.
- If using a glue gun, exercise extreme caution. The glue is very hot and can cause serious burns. Keep children and pets away.
Step-by-Step Instructions
Prepare Fabric Squares
- Fold all fabric squares into triangles and lightly finger press.

Prepare Fabric Squares Assemble the Coaster Layers
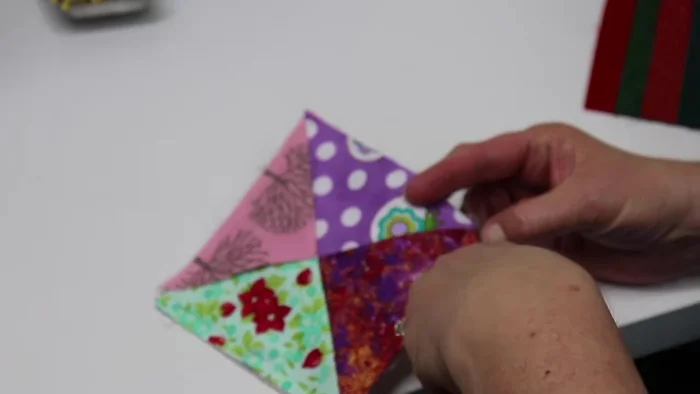
- Select one fabric square as the base and set aside. Arrange the remaining four folded fabric triangles on top of the batting, overlapping corners to create a spinning pattern. Make sure the triangles are tucked under each other.
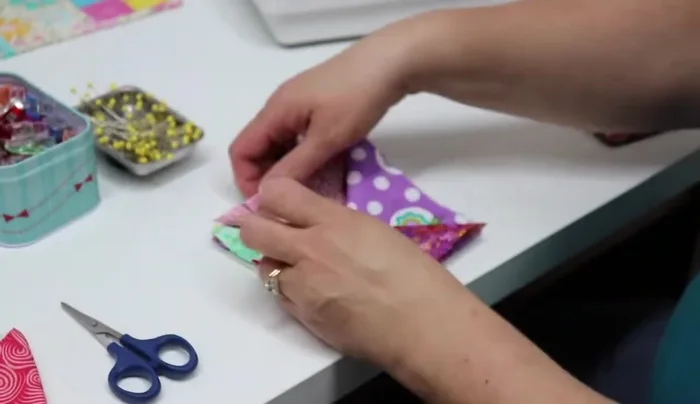
Assemble the Coaster Layers Secure Layers
- Secure the layers with clips or pins.
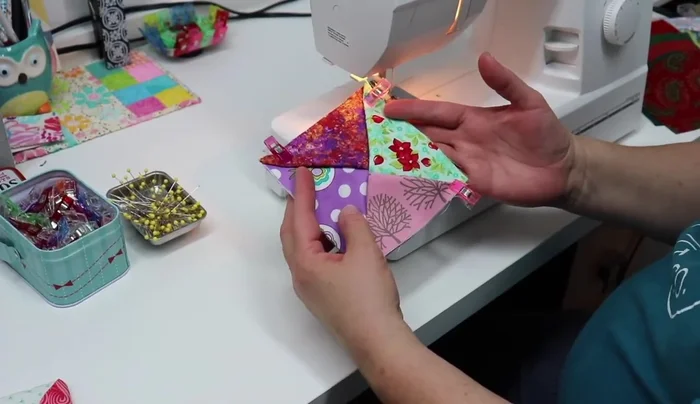
Secure Layers Sew the Coaster
- Stitch all the way around the outside edges using a sewing machine (or hand sew). Remember to backstitch at the beginning and end, and take it slow around the corners.
Sew the Coaster Clip Corners
- Clip the corners to allow for easier turning.
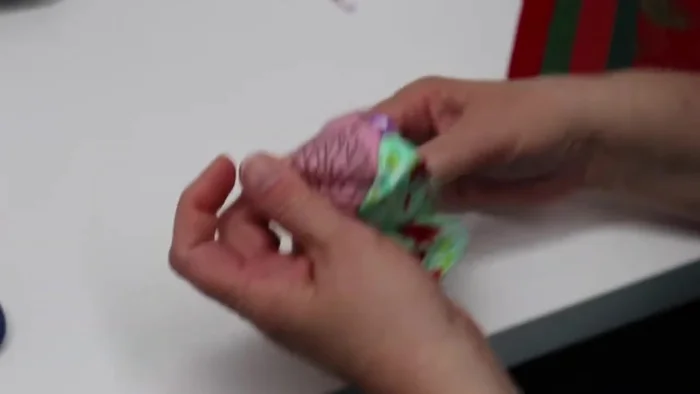
Clip Corners Turn and Shape Coaster
- Turn the coaster right side out, using a chopstick or the edge of scissors to gently push out the corners. Make sure your bottom fabric is on the bottom and all folded fabrics are on top.
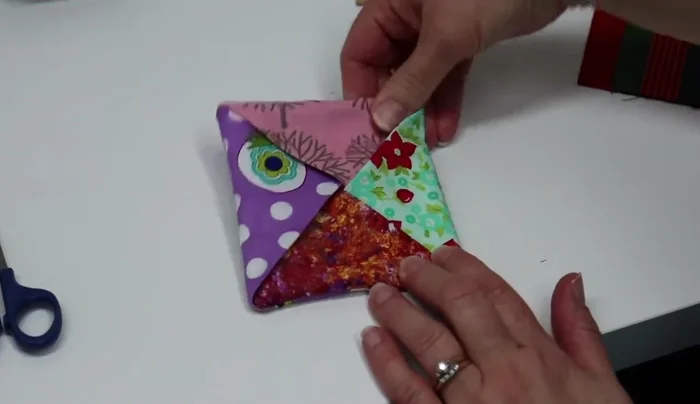
Turn and Shape Coaster Press and Finish
- Press the coaster to flatten and finalize.
Press and Finish
Read more: DIY Vibrant Car Organizer: A Step-by-Step Quilting Tutorial
Tips
- Charm squares are a great option for quick and easy projects, especially when making multiple gifts.
- Using a quarter-inch foot on your sewing machine provides a helpful guide for stitching.
- Don't start stitching at a corner; starting in the middle of a side is easier.
- Before clipping and turning, check the back to ensure all fabrics are caught in the stitching.
- Take your time when clipping corners to avoid cutting the stitching.