A leaking flat roof is a homeowner's nightmare, often stemming from faulty flashing around penetrations like chimneys, vents, or skylights. This seemingly small detail can lead to significant water damage, costly repairs, and structural instability if left unaddressed. The flashing, designed to create a waterproof seal between the roof surface and these protrusions, is a crucial component for a dry and secure home. When flashing fails, the consequences can be devastating, ranging from minor leaks to extensive interior damage requiring significant remediation.
Ignoring a leaky flat roof flashing is never a wise choice. The good news is that with the right knowledge and approach, you can effectively repair this common issue. This step-by-step guide will equip you with the tools and techniques needed to tackle this problem head-on, leading you through each stage of the repair process to achieve a long-lasting, watertight seal.
Preparation and Safety Guidelines
- Tape
- Super Silicon or Extreme Silicon
- Turbo Polyseal (optional)
- Caulk Removal Tool
- Paint Scraper (if necessary)
- Always prioritize safety! Work on a flat roof is inherently dangerous. Use appropriate fall protection equipment like harnesses and lifelines at all times, even for seemingly short tasks. If unsure, consult a professional.
- Before starting any repairs, turn off any nearby electricity and gas supplies to prevent accidental injury or fire. Identify and carefully avoid any electrical conduits or gas lines while working.
- Wear appropriate personal protective equipment (PPE), including safety glasses, gloves, and sturdy work boots. Flashing material, such as roofing cement, can be harmful if it gets in your eyes or on your skin.
Step-by-Step Instructions
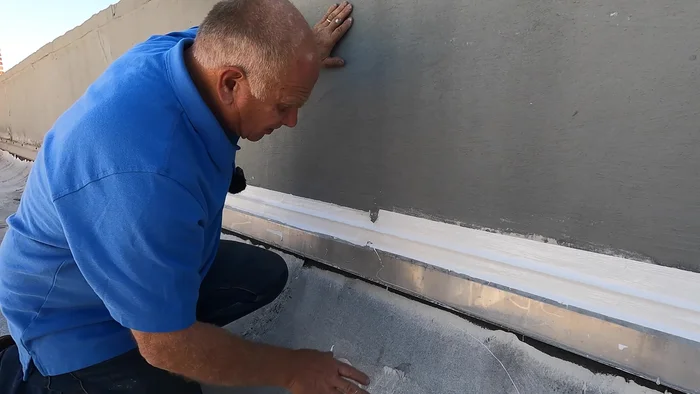
Assess and Prepare
- Identify and assess the leak. Locate where water is entering the building and the extent of the damage.
- Prepare the area. Remove any loose or damaged caulking, and carefully scrape away any paint that doesn't adhere well to the wall around the flashing (about 2 inches).

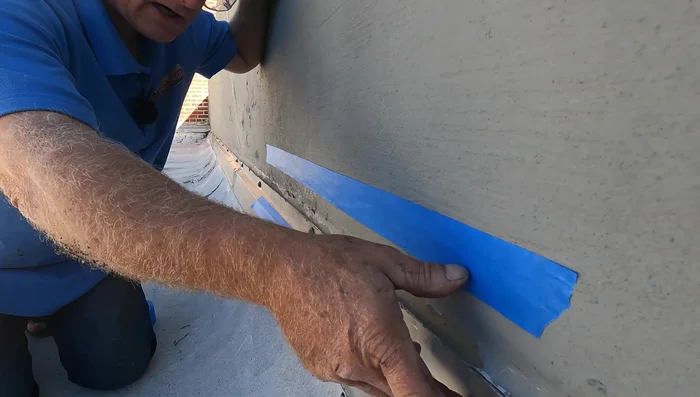
Assess and Prepare Create Clean Transition
- Apply tape to create a clean transition between the wall and the flashing.
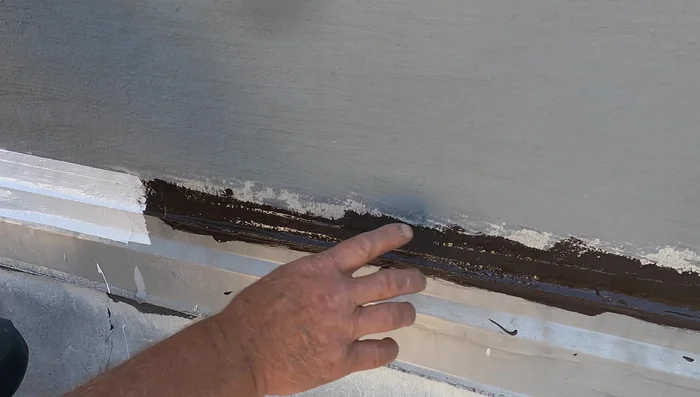
Create Clean Transition Apply Sealant
- Apply a generous amount of high-quality, UV-protected silicon sealant (like Extreme Silicon) directly to the area where the flashing meets the wall, ensuring complete coverage and adhesion to the underlying material (cement or metal).
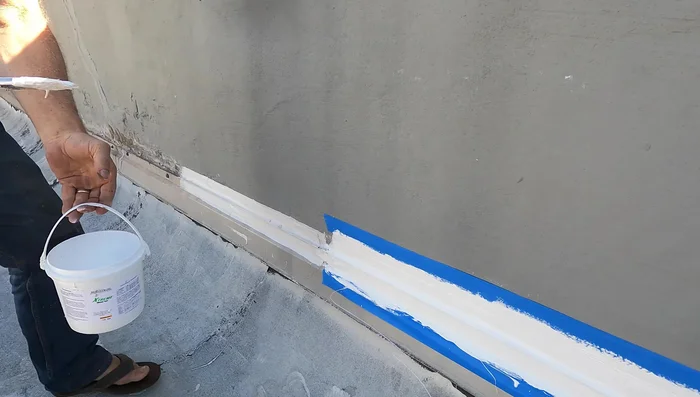
Apply Sealant Cure and Finish
- Allow the sealant to cure completely. This typically takes about an hour to become touch dry.
- Apply a final coat of sealant or paint (like Turbo Polyseal for added protection) if desired. This step provides enhanced aesthetics and durability.
Cure and Finish


Read more: DIY Roof, Shingle, Fence, and Flashing Repair with Henry Wet Patch 208
Tips
- Removing paint before applying sealant is crucial for better adhesion and longevity. If the paint sticks firmly, it might not be necessary to remove it completely.
- Extreme Silicon is a superior choice due to its thickness and UV protection; however, it is more expensive than other options.
- Ensure the sealant makes good contact with the wall's surface (cement or metal), avoiding the paint layer if possible for optimal bonding.
- Painting over the silicon sealant is not recommended, as it may peel. If painting is desired, use a compatible sealant that allows for painting over it.