In a world grappling with plastic waste, innovative solutions are crucial for a sustainable future. One such solution lies in upcycling readily available materials, transforming them from discarded items into beautiful and functional objects for the home. This article focuses on a captivating project: transforming high-density polyethylene (HDPE) plastic waste, commonly found in milk jugs and detergent bottles, into stunning hexagonal coasters. These coasters not only offer a practical solution for protecting furniture but also serve as a testament to the creative potential hidden within everyday refuse.
The process is surprisingly straightforward and utilizes readily accessible materials and tools, making it a perfect project for both beginners and experienced crafters. Let's delve into the detailed, step-by-step process of crafting these unique and environmentally conscious coasters, transforming plastic waste into elegant additions to your home décor.
Preparation and Safety Guidelines
- Filter fan
- Injection machine (DIY or from British Plastic blueprints)
- Milk jugs
- Bottle lids
- Bottles
- Bicycle quick release covers
- Exacto knife
- Single blade
- Bricks
- Recycled paper packaging
- Cellulose adhesive tape
- Always work in a well-ventilated area. HDPE melting releases fumes that can be harmful if inhaled.
- Use heat-resistant gloves and eye protection at all times. Molten plastic can cause severe burns.
- Never leave melting plastic unattended. Maintain constant supervision throughout the entire process.
Step-by-Step Instructions
Preparation
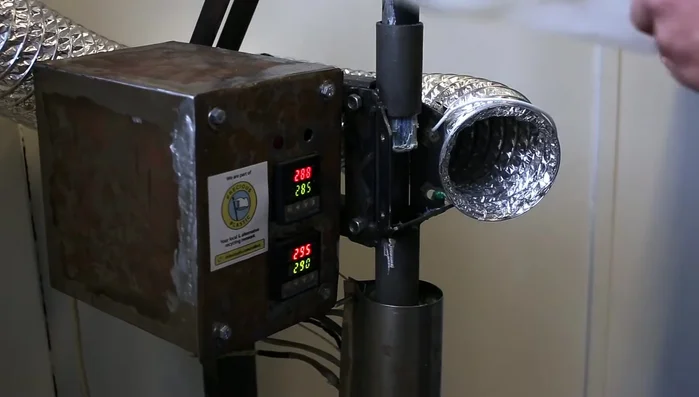
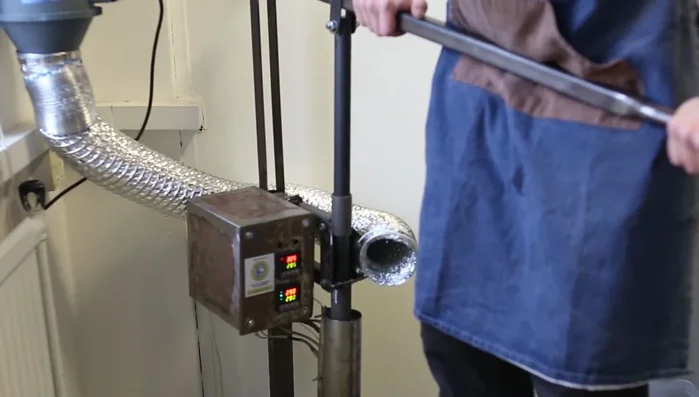
- Turn on the filter fan and injection machine to heat up.
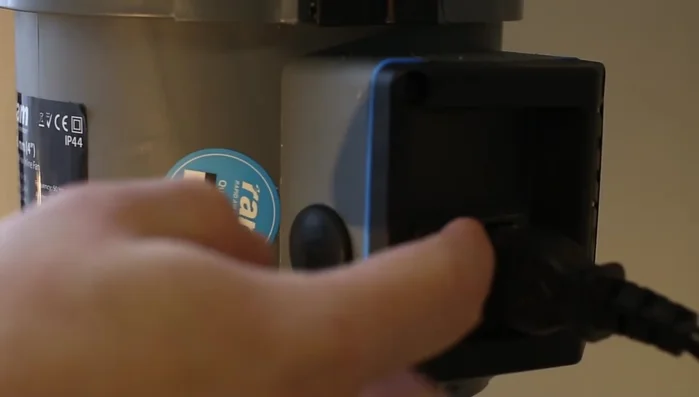
- pre-cut milk jugs and bottle lids. Roll and squeeze milk jug pieces into the injection barrel; lids can be slid in directly.
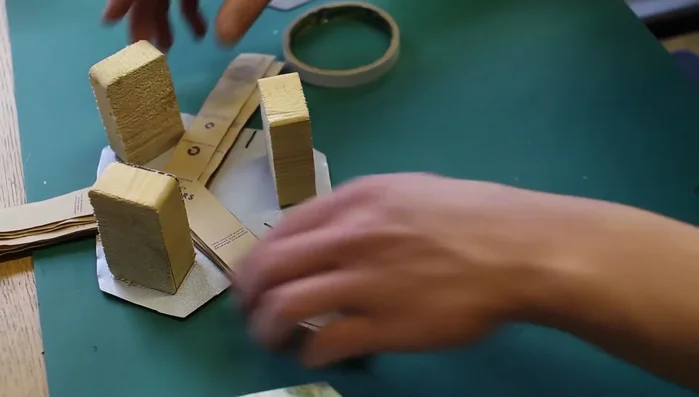
- Assemble the coaster molds using bicycle quick release covers, aligning parts tightly.

Preparation Melting and Injection
- Fill the injection barrel with plastic waste until it's full. The plastic will melt due to the heat.
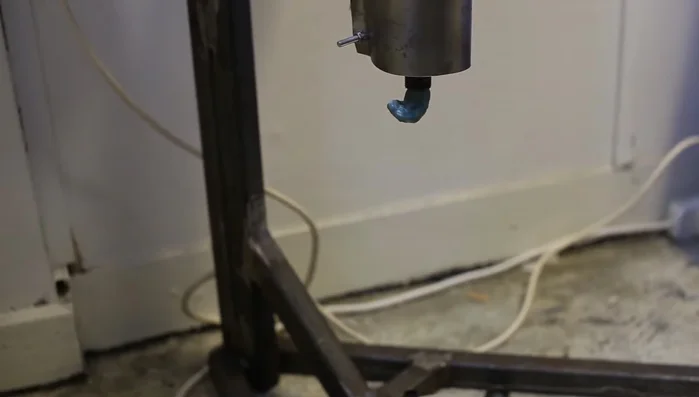
- Once the plastic is fluid, screw the mold onto the injection nozzle.
- Inject the plastic into the mold by applying body weight to the lever for about 15 seconds, stopping when you hear a noise or see plastic escaping.
Melting and Injection Cooling and Demolding
- After opening the mold, don't remove the coaster immediately. Turn it over, place it on a flat surface, and add bricks on top to prevent warping due to shrinkage.
Cooling and Demolding Finishing
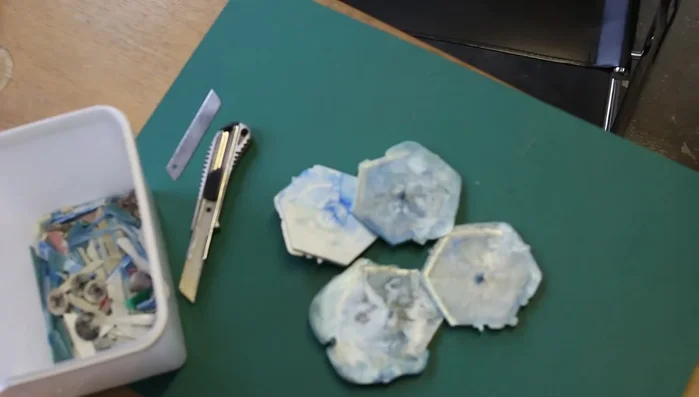
- Once cooled, use an exacto knife to trim excess plastic (spews) and edges of the hexagon.
Finishing Packaging
- Package the coasters in recycled paper packaging, securing with cellulose adhesive tape.
Packaging


Read more: DIY Plastic Gallon Candy Basket: Upcycled & Adorable!
Tips
- Use pre-cut milk jugs and bottle lids for easier handling and efficient filling of the injection barrel.
- Adding bricks on top of the molded coasters after injection helps to prevent warping during the cooling and shrinkage process.
- Save all plastic offcuts to be recycled again.
- Use recycled paper packaging to create an eco-friendly product presentation.