Tired of staring at outdated kitchen cabinets that drain your energy and dampen your cooking enthusiasm? Don't despair! A stunning kitchen makeover doesn't require a hefty price tag. In fact, one of the most effective and budget-friendly ways to transform your kitchen's look is by focusing on a simple yet impactful strategy: repainting your existing cabinets and replacing the doors. This surprisingly simple approach can dramatically update the aesthetic of your entire kitchen, injecting fresh style without breaking the bank. You'll be amazed at the difference a fresh coat of paint and some new cabinet doors can make.
This affordable kitchen refresh is achievable for even the most novice DIY enthusiast. The key lies in choosing the right paint and following a few simple steps. For a step-by-step guide on how to achieve a professional-looking result without spending a fortune, read on to discover the secrets to a budget-friendly kitchen cabinet makeover using paint and new doors.
Preparation and Safety Guidelines
- Wood filler
- TSP solution
- Primer (Sherwin-Williams Extreme Bond)
- Paint
- Fine sandpaper/Liquid sandpaper
- Painter's tape
- Paintbrushes
- Roller (1/4 inch nap)
- Level
- Speed square
- Drill with driver setting
- Screws
- Kreg Jig (optional)
- New cabinet doors & drawer fronts
- Always work in a well-ventilated area when using paint and primers. Wear a respirator mask to avoid inhaling fumes.
- Properly dispose of all paint cans and cleaning supplies according to local regulations. Never pour paint down the drain.
- Before starting any demolition or painting, turn off the power to any electrical outlets or light fixtures near your work area to prevent electric shock.
Step-by-Step Instructions
Preparation
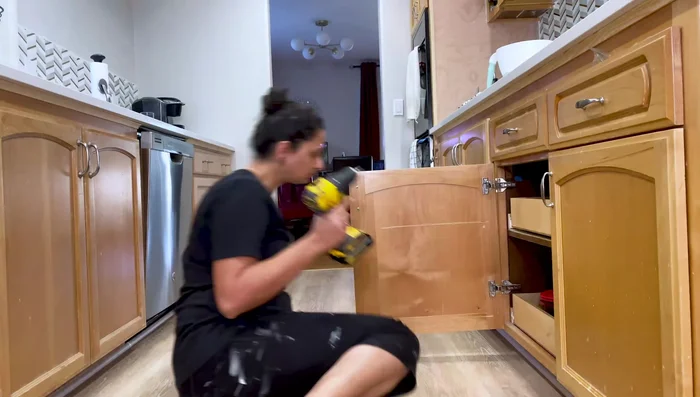
- Remove existing doors and drawers, numbering and marking each for reinstallation.
- Fill screw holes with wood filler.

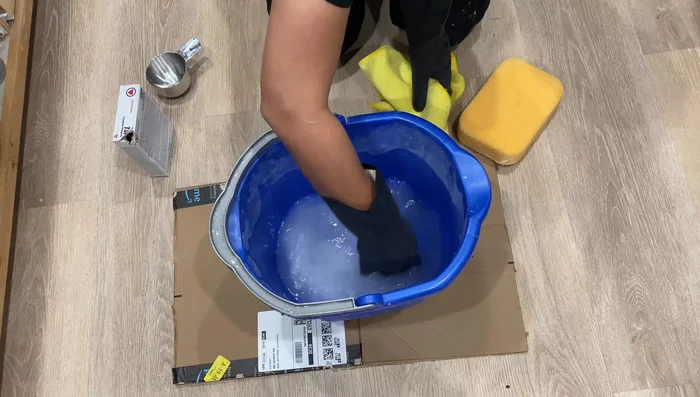
Preparation Cabinet Cleaning and Preparation
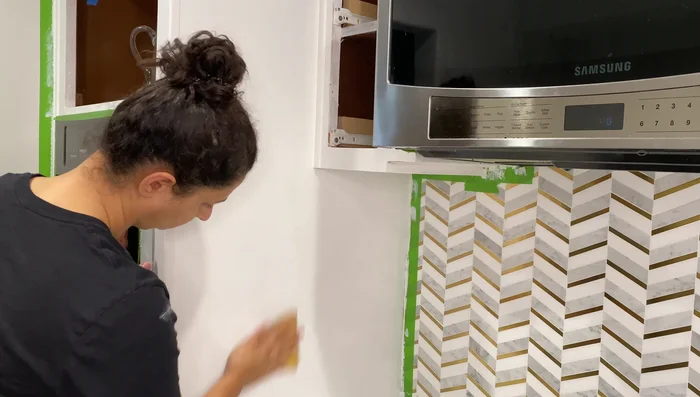
- Clean cabinets thoroughly with a TSP solution in hot water to remove grease and grime.
- For laminate cabinets, roughen the surface using liquid sandpaper (or fine sandpaper) to ensure primer adhesion. Let liquid sandpaper dry for 15 minutes.
Cabinet Cleaning and Preparation Priming
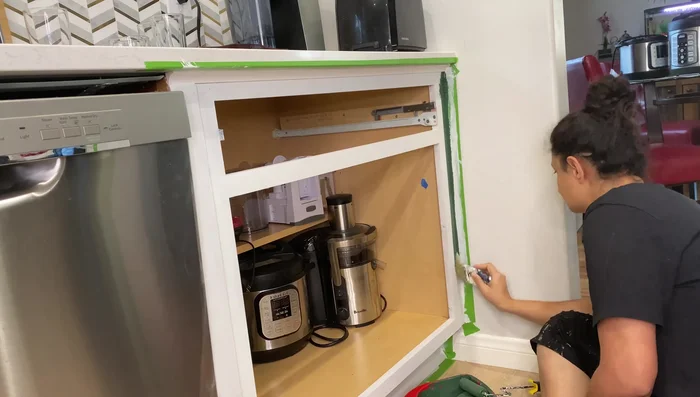
- Prime the cabinets using a water-based primer. Cut in with a brush, then roll on the primer.
- Lightly sand the primed cabinets to smooth any texture.
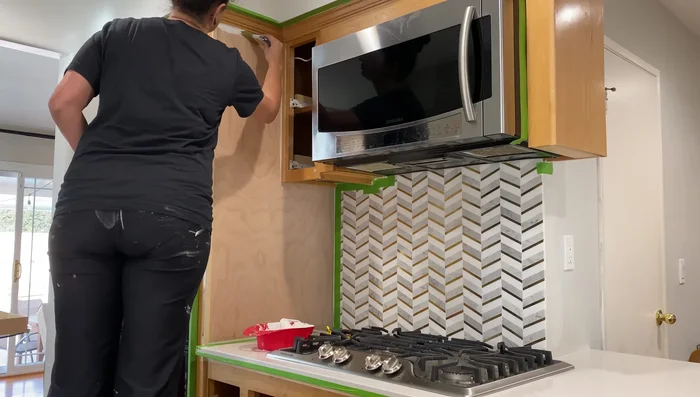
Priming Painting
- Paint the cabinets. Apply multiple coats, sanding lightly between coats 2 and 3 for a smooth finish.
- Allow paint to fully cure (at least three days) before proceeding.
Painting Door Installation
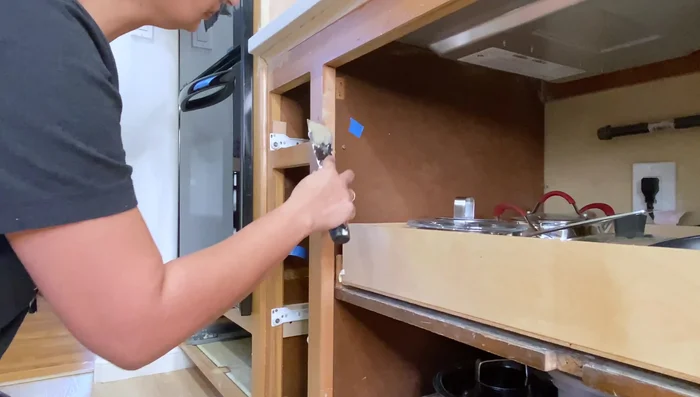
- Install new cabinet doors and drawer fronts. Use a speed square to align hinges, pre-drill holes for screws, and use a clamp-on level for precise door placement.
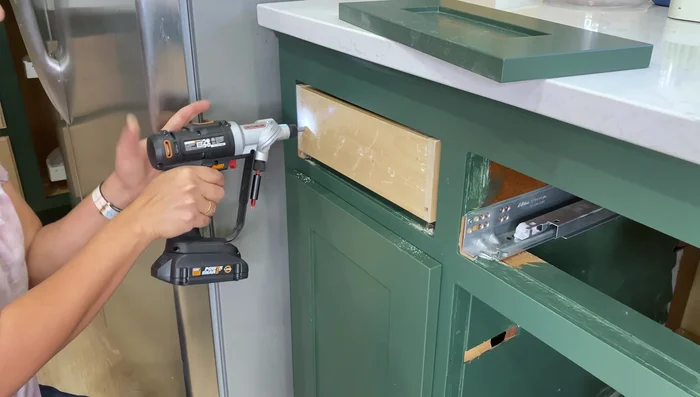
Drawer Front Installation
- Install new drawer fronts; use temporary screws to hold in place while attaching from the inside. Use a Kreg Jig (optional) for accurate hardware placement.
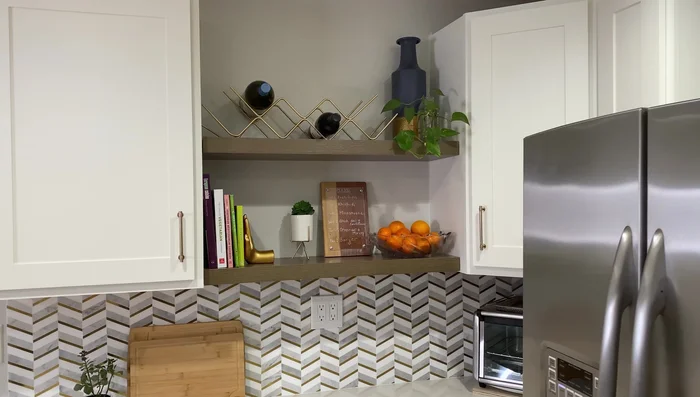
Drawer Front Installation Final Assembly
- Install lazy susan (if applicable).
Final Assembly
Read more: DIY Pantry Door Spice Rack: Organize Your Spices in Minutes!
Tips
- Number and mark all doors and drawers for easy reinstallation.
- Use new screw holes for strongest attachment.
- Use a level clamped to the cabinet frame to ensure doors are installed level.
- Use a Kreg Jig for accurate hardware placement on doors and drawers.
- Perform the fingernail test to ensure paint is fully cured before installing doors.