Is your kitchen hutch more of a haphazard storage space than a stylish and functional centerpiece? Are overflowing shelves causing you stress and hindering your efficiency? A cluttered kitchen hutch can quickly become a source of frustration, making it difficult to find what you need when you need it. But what if I told you that transforming this often-overlooked area into a beautifully organized space is easier than you think? With a strategic decluttering session and a simple basket system, you can reclaim your hutch and significantly improve your kitchen workflow.
Imagine effortlessly locating your favorite serving dishes or quickly grabbing spices without rummaging through a chaotic jumble. This is the power of a well-organized kitchen hutch. This article will guide you through a step-by-step process of decluttering your existing items and implementing a highly effective basket system, ultimately maximizing efficiency and enhancing the aesthetic appeal of your kitchen. Let's dive in and transform your kitchen hutch from cluttered chaos to organized bliss.
Preparation and Safety Guidelines
- Old bedsheet
- Baskets (various sizes)
- Never overload shelves or baskets. Uneven weight distribution can cause tipping or damage.
- Keep heavy items on lower shelves to maintain stability and prevent accidents.
- Ensure all items are securely stored to prevent spills or breakages, especially if children or pets have access to the kitchen hutch.
Step-by-Step Instructions
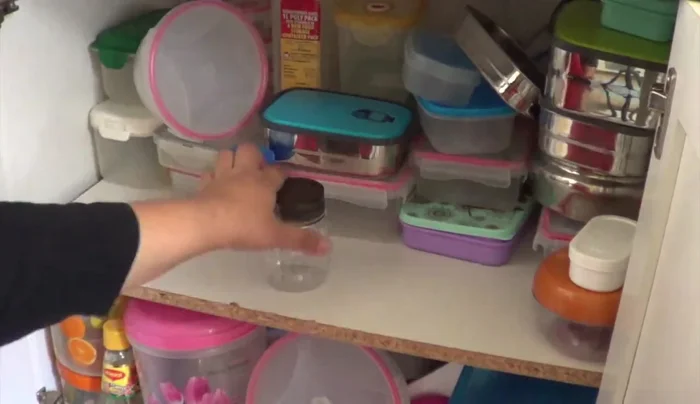
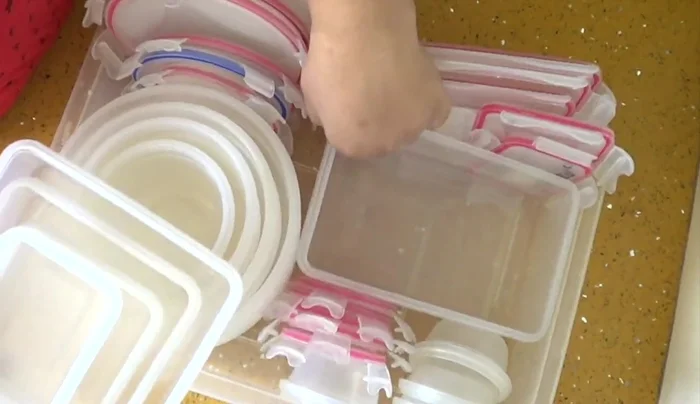
Declutter and Categorize
- Empty and Declutter:
- Categorize Containers:
- Segregate by Purpose (Leftovers, Tiffin, Takeout, etc.):
- Declutter Unnecessary Containers:

Declutter and Categorize Organize with Baskets
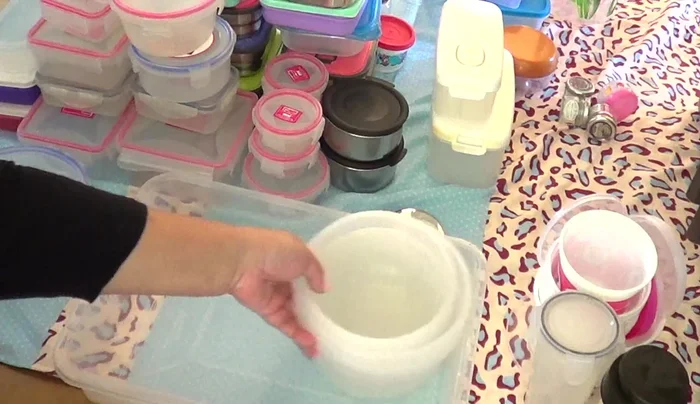
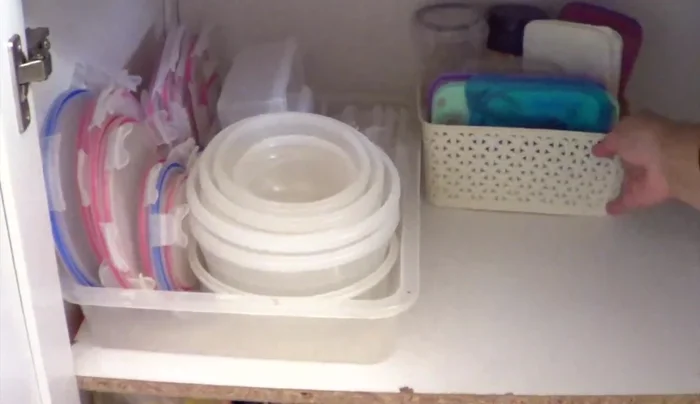
- Organize with Baskets (Open Stacking System):
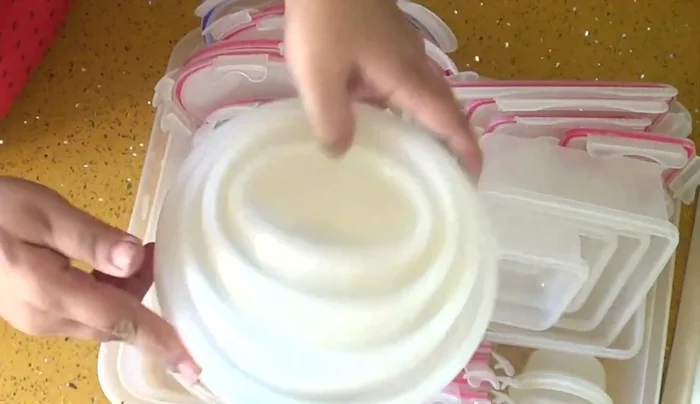
- Arrange Containers within Baskets (Size and Shape):
- Place Lids Separately (for easy access):
Organize with Baskets Arrange and Maximize Space
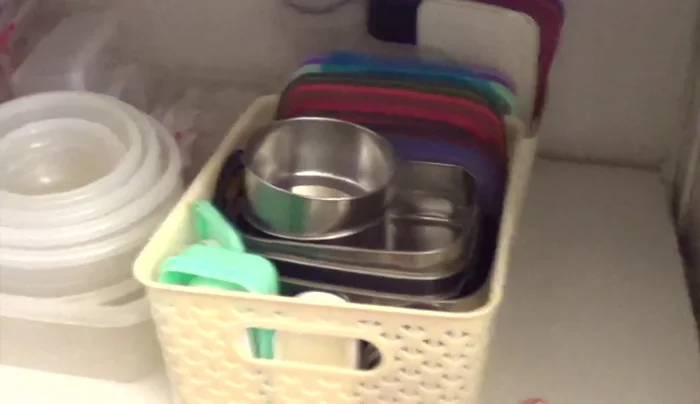
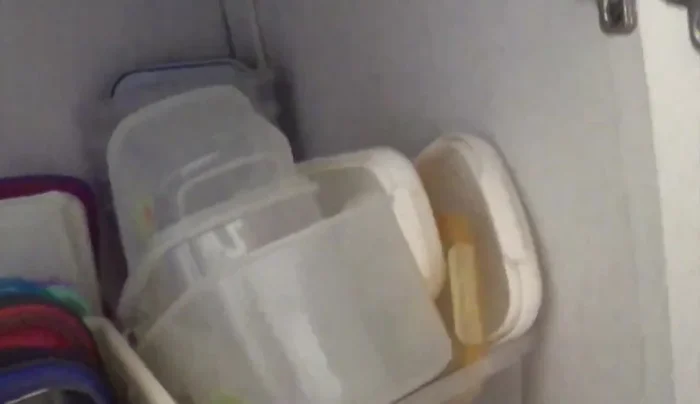
- Arrange Baskets in Hutch:
- Utilize Remaining Space for Occasionally Used Items:
- Store Lids in Top Container for Easy Access
Arrange and Maximize Space

Read more: DIY Plastic Gallon Candy Basket: Upcycled & Adorable!
Tips
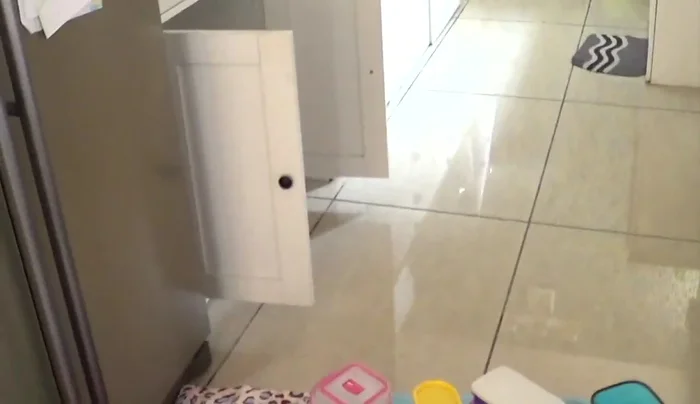
- Use an old bedsheet to protect the floor during the emptying process.
- Consider the open stacking system with lids arranged separately for better space utilization.
- Group similar-sized containers for efficient stacking.
- Use veggie savers to minimize food waste.