The incessant squeak of a rusty hinge can be more than just an annoyance; it's a constant reminder of a neglected detail that's slowly degrading. That irritating sound not only grates on the nerves but also signals potential damage to the hinge itself, leading to costly replacements down the line. Ignoring squeaky hinges is a recipe for escalating problems, from minor inconvenience to significant repairs. Regular lubrication is the key to preventing this, ensuring smooth operation and extending the lifespan of your doors, windows, and any other hinged components in your home or workspace. Think of it as preventative maintenance for a smoother, quieter life.
This guide will equip you with the knowledge and techniques needed to conquer those pesky squeaks forever. We'll explore different types of lubricants, their suitability for various materials and environments, and most importantly, provide a step-by-step process for effectively lubricating your hinges, guaranteeing long-lasting silence and smooth operation. Ready to banish those irritating squeaks? Let's get started!
Preparation and Safety Guidelines
- Paper plate or napkin
- Hammer (small)
- Gloves (optional)
- Pen or nail
- Super Lube (or thick grease)
- Needle-nose pliers (optional)
- Block of wood (optional)
- Always wear safety glasses to protect your eyes from spray or debris when lubricating hinges.
- Use lubricants specifically designed for hinges and avoid using substances like oil-based products which can attract dust and dirt, leading to a sticky residue.
- For hinges located near electrical wiring or devices, disconnect power before working to prevent electrical shock.
Step-by-Step Instructions
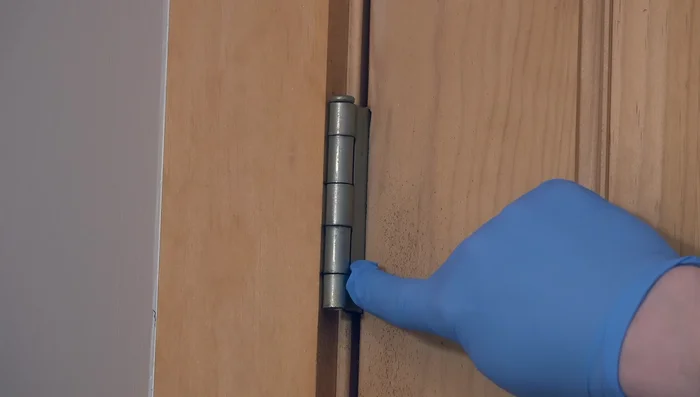
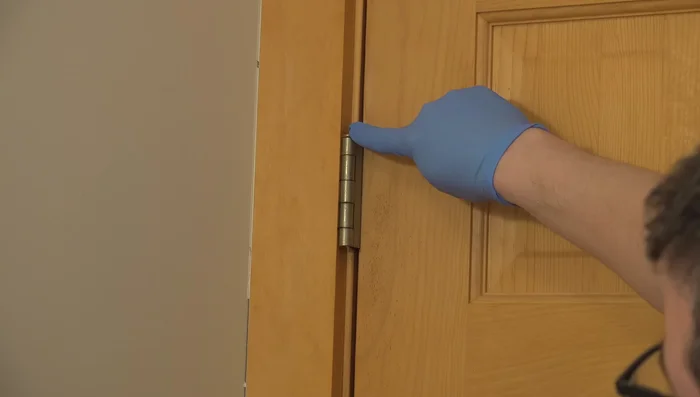
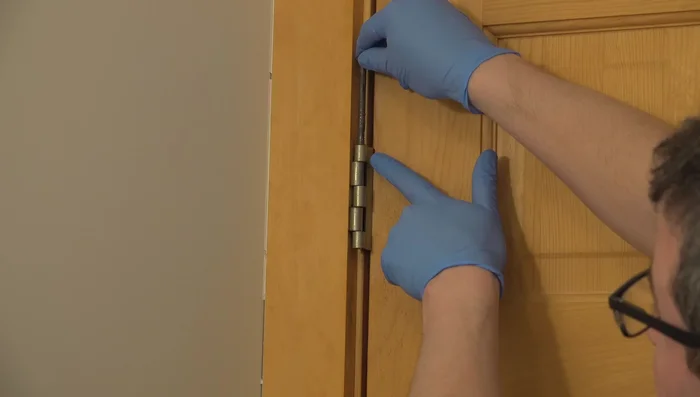
Prepare for Pin Removal
Remove Hinge Pin
- Remove the hinge pin.
- Use a nail and hammer (or needle-nose pliers) to carefully remove the hinge pin. Avoid damaging the wood.

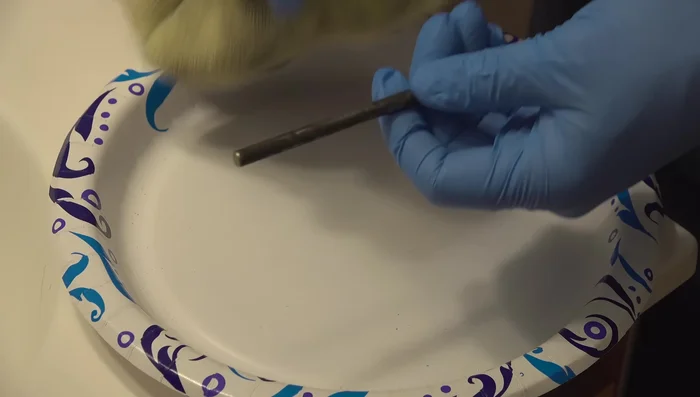
Remove Hinge Pin Clean and Prepare Pin and Hinge
- Clean the pin and hinge.
- Lightly sand any rust or pitting on the pin for a smoother surface.
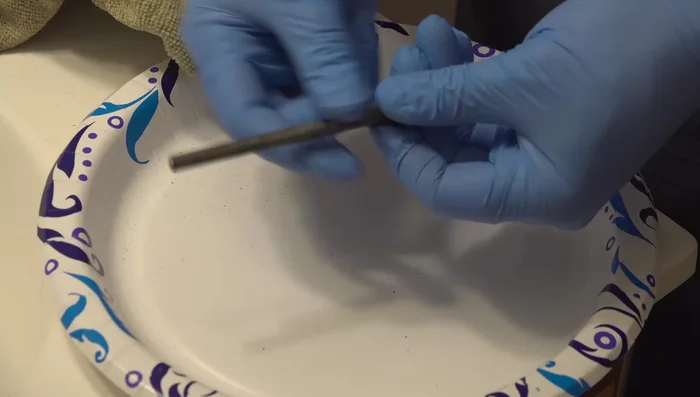
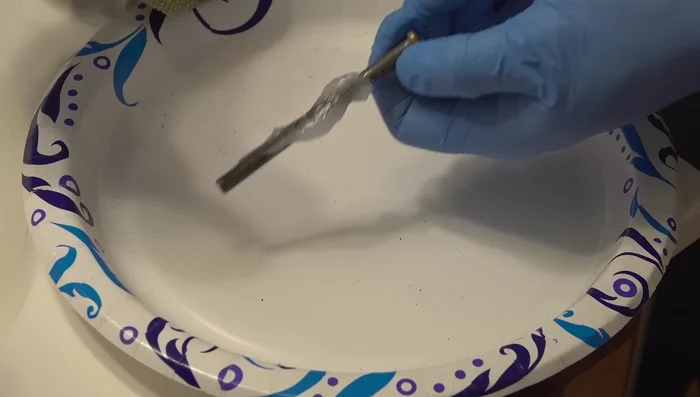
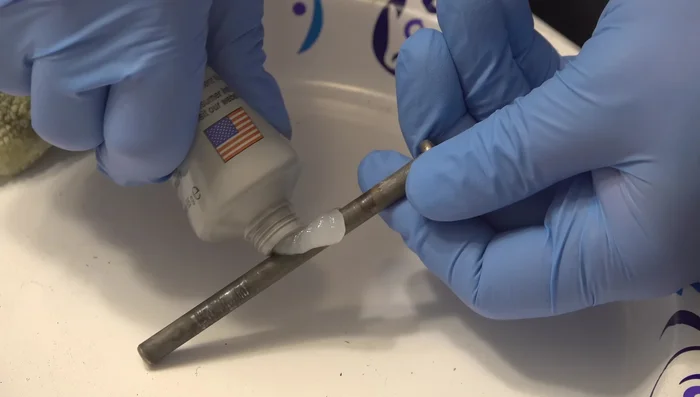
Clean and Prepare Pin and Hinge Lubricate Hinge
- Apply Super Lube (or thick grease) liberally to the pin and hinge.
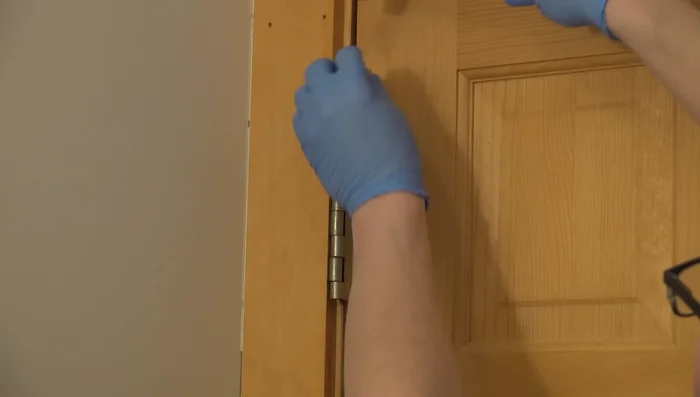
Lubricate Hinge Reinstall Hinge Pin
- Reinsert the pin.
- Use a block of wood for leverage if necessary to gently tap the pin back into place.
Reinstall Hinge Pin Repeat for All Hinges
- Repeat for all hinges (top, middle, and bottom).
Repeat for All Hinges
Read more: 3M Thinsulate Window Film Installation: A Step-by-Step Guide
Tips
- Using a nail instead of a screwdriver prevents hinge damage and avoids marring the wood.
- Needle-nose pliers can assist in removing stubborn pins.
- A block of wood provides leverage when reinserting the pin, especially on the bottom hinge.
- For doors with only two hinges, use a helper or a book to brace the door while working on the hinges.
- Super Lube provides long-lasting lubrication compared to WD-40.