A persistent drip from your outdoor faucet isn't just annoying; it wastes water and can lead to costly damage over time. That steady, irritating drip, dripping away precious resources and potentially undermining the structural integrity of your home's foundation, needs to stop. Ignoring it might seem tempting, but a quick and easy fix is often within reach, saving you money and frustration in the long run. The good news is that you likely don't need to call a plumber for this common problem. Many dripping outdoor faucets can be repaired with simple tools and a bit of know-how.
This article provides the quickest and easiest solution to silencing that bothersome drip, even if you're a complete beginner at home repairs. We'll walk you through a straightforward, step-by-step process that requires minimal tools and expertise. Ready to conquer that dripping faucet and reclaim your outdoor peace and quiet? Let's get started!
Preparation and Safety Guidelines
- Channel locks or slip-joint pliers
- Crescent wrench
- Philips head screwdriver
- WD-40 (optional)
- Assortment of flat washers (or a new washer matching the old one)
- Teflon tape (optional)
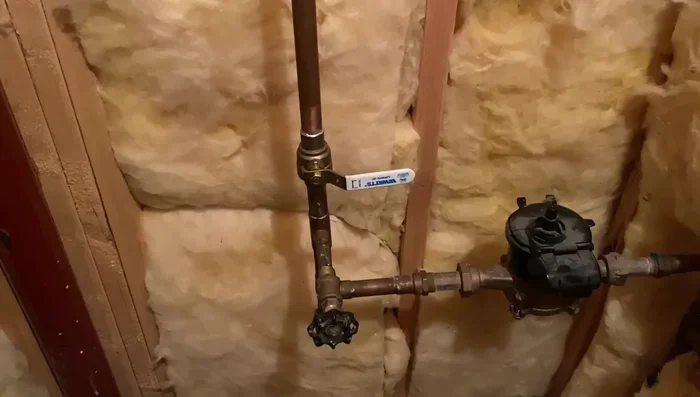
- Always turn off the water supply to the faucet before beginning any repairs. This is usually done at the shut-off valve located under the sink or near the faucet's base.
- Use caution when handling tools. Wear safety glasses to protect your eyes from flying debris.
- If you are uncomfortable working with plumbing or are unsure about any step, call a qualified plumber. Attempting a repair you are not equipped to handle could cause further damage or injury.
Step-by-Step Instructions
Turn off water supply
- Turn off the main water supply.

Turn off water supply Loosen and remove bonnet nut
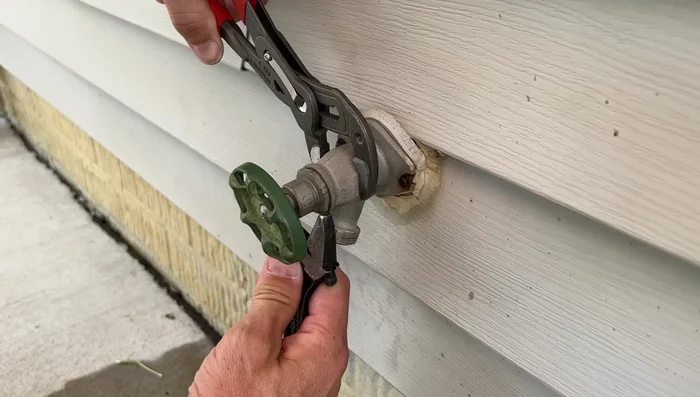
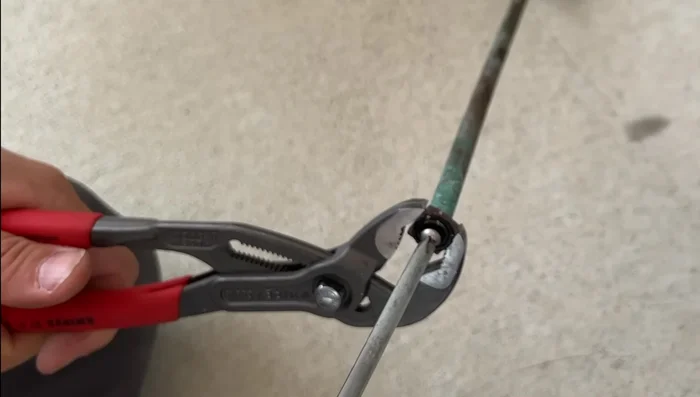
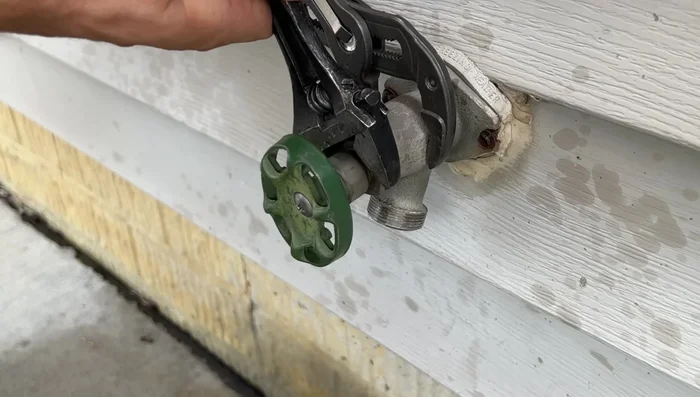
- Use channel locks or slip-joint pliers to hold the spigot body while loosening the bonnet nut with a crescent wrench. This prevents damage to the plumbing inside.
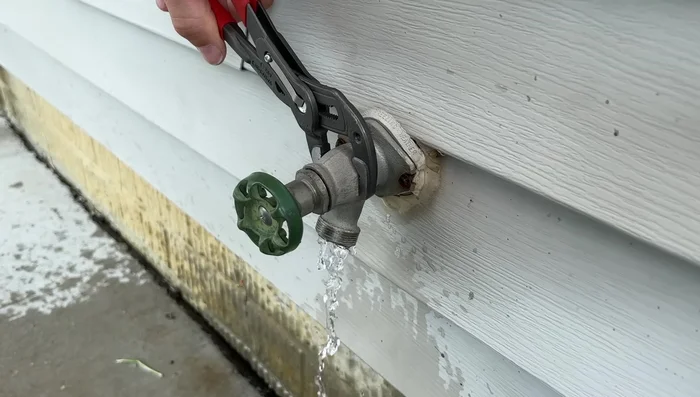
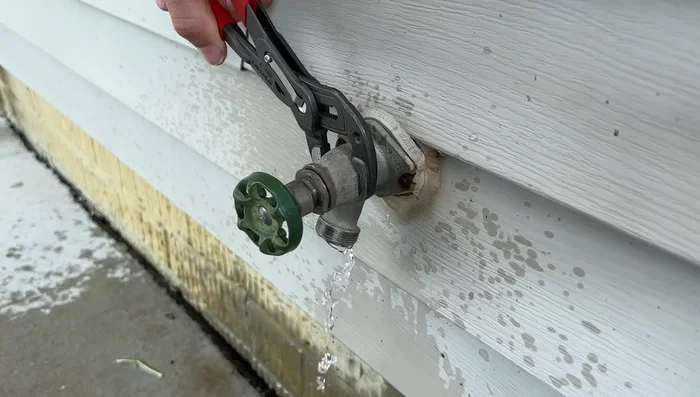
- Allow the water to drain. If there's mineral buildup or corrosion, spray WD-40 on the threads and let it sit for 5-10 minutes to aid in loosening.
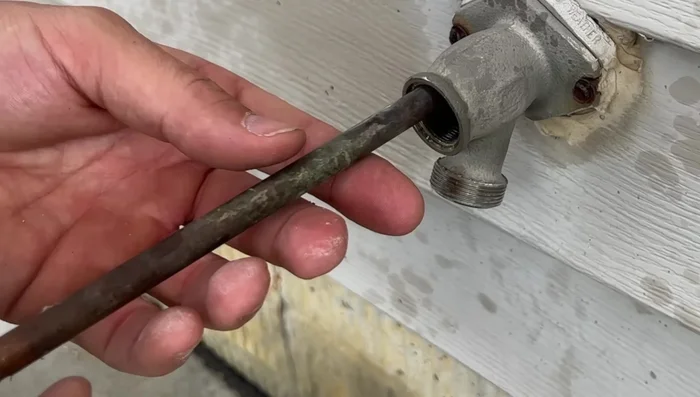
- Once the bonnet nut is loose, remove it completely. The stem and seal will come out.
Loosen and remove bonnet nut Inspect and replace O-ring
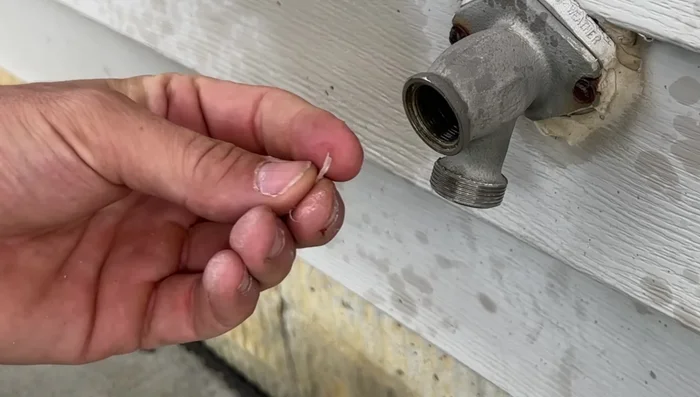
- Inspect the flat O-ring at the end of the stem. Replace it if damaged (cracks or chips).
- Remove the old flat washer using a screwdriver and/or utility knife. Try to preserve its size as a reference.
Inspect and replace O-ring Prepare for reassembly
- Find a replacement flat washer that matches the old one in size and material. An assortment pack is recommended.
- Clean the threads of any debris.
- Reinstall the new flat washer onto the stem. Apply Teflon tape to the threads (optional).
Prepare for reassembly Reassemble and turn water back on
- Reassemble the stem and bonnet nut, tightening securely but not over-tightening.
- Turn the water back on.
Reassemble and turn water back on


Read more: Fixing a Leaky Toilet Tank: A Step-by-Step Guide
Tips
- Using pliers on the spigot body while loosening the bonnet nut prevents damage to the internal plumbing.
- WD-40 can help loosen corroded or mineral-encrusted threads.
- Keep the old washer to use as a reference when selecting a replacement.
- An assortment pack of flat washers makes finding the right replacement easier.
- Teflon tape can provide extra sealing on the threads during reassembly (optional).