A leaky toilet is a homeowner's nightmare, often signaling a problem with the wax ring – the unsung hero sealing the toilet to the drain flange. This seemingly small component can cause significant water damage if left unaddressed, leading to costly repairs down the line. Fortunately, replacing a toilet wax ring is a DIY project well within the reach of most homeowners, saving you the expense of a plumber. This surprisingly straightforward process requires minimal tools and a bit of patience.
Ignoring a leaky toilet can quickly escalate into a major plumbing headache, but tackling the issue yourself empowers you to resolve it quickly and affordably. This step-by-step guide will walk you through the entire process of replacing your toilet's wax ring, from carefully disconnecting the toilet to securing the new ring and ensuring a watertight seal. Let's dive into the detailed instructions and get that leak fixed!
Preparation and Safety Guidelines
- Crescent wrench or channel lock pliers (optional)
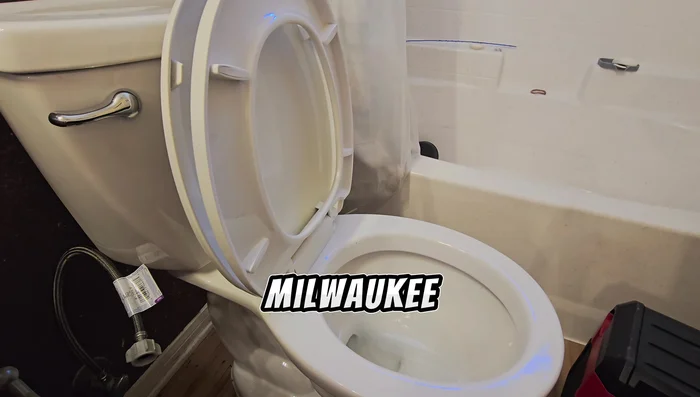
- Milwaukee mini shot vac (or similar wet/dry vac)
- Plastic bag
- Cleaner
- New wax ring
- Silicone caulk
- Turn off the water supply to the toilet before starting. Failure to do so can lead to flooding.
- Wear gloves and eye protection to protect yourself from bacteria and potential splashing.
- Have a helper available, especially for removing and reinstalling the heavy toilet.
Step-by-Step Instructions
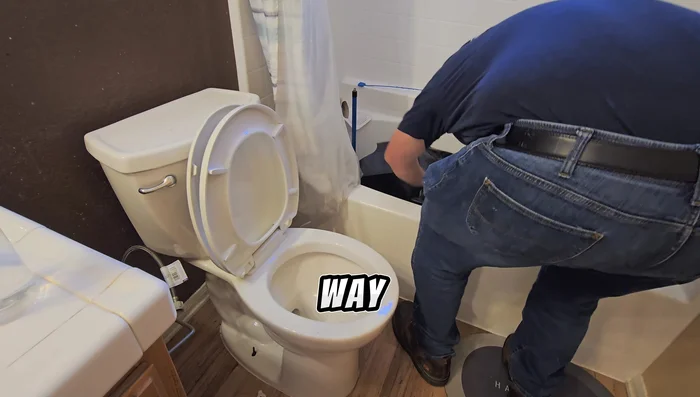
Prepare the Toilet
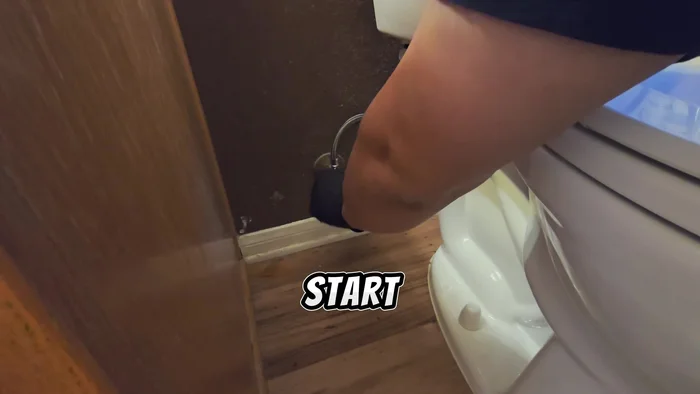
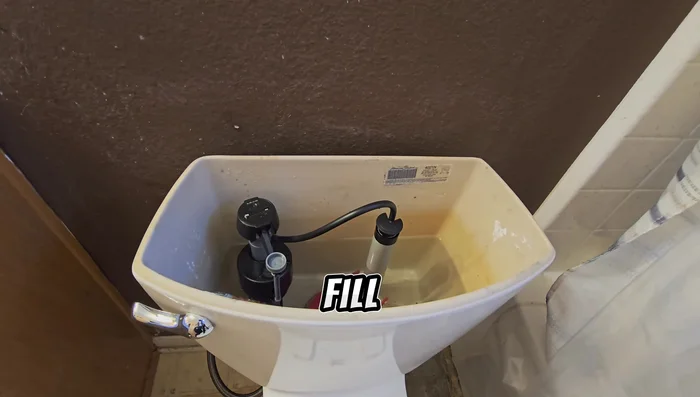
- Turn off the water supply to the toilet.
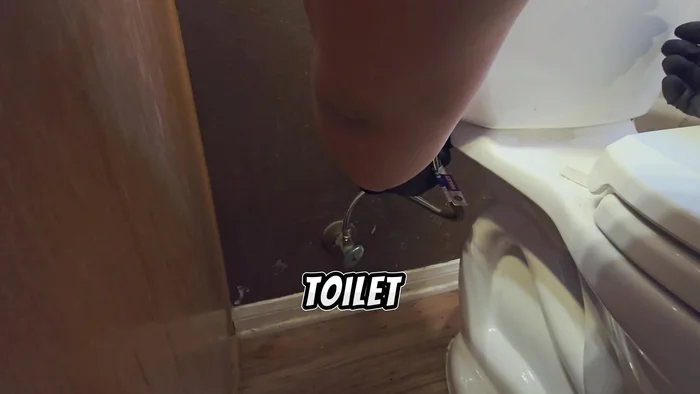
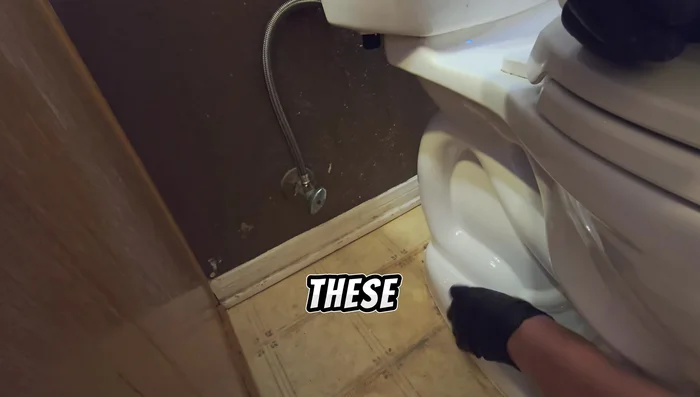
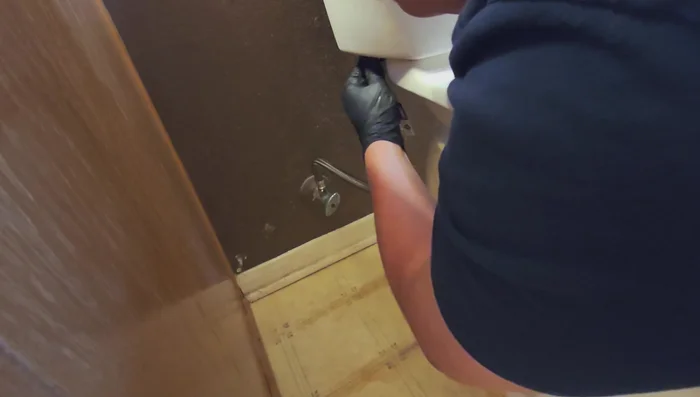
- Disconnect the toilet's water supply line. You may be able to do this by hand, or you might need a wrench.
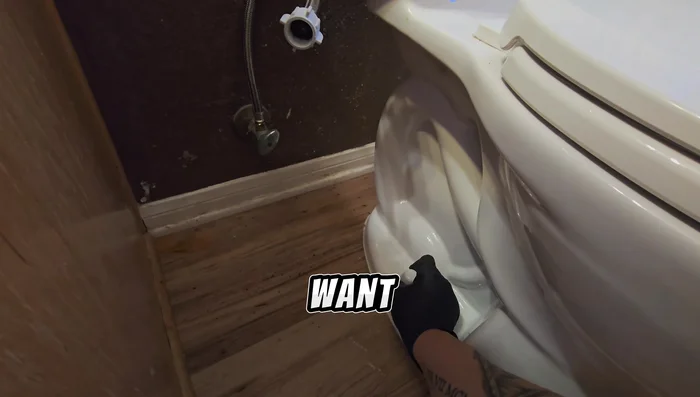
- Unbolt the toilet from the floor. Remove the caps and loosen the bolts or plastic tabs securing the toilet.
- Remove water from the toilet bowl using a wet/dry vacuum.

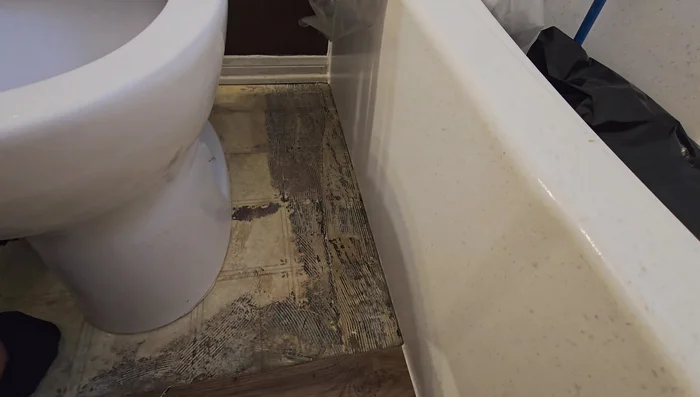
Prepare the Toilet - Place a plastic bag in the tub to protect it.
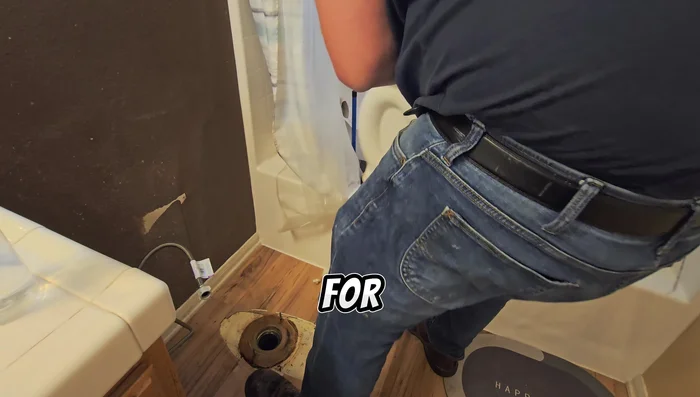
Prepare the Toilet Remove the Old Toilet
- Remove the toilet and set it aside in the tub.
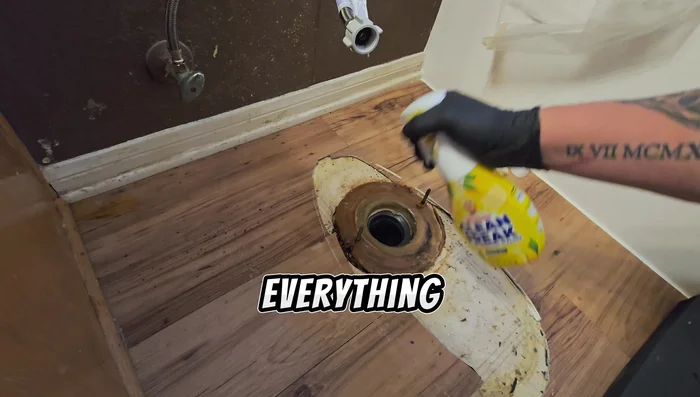
Remove the Old Toilet Prepare the Flange
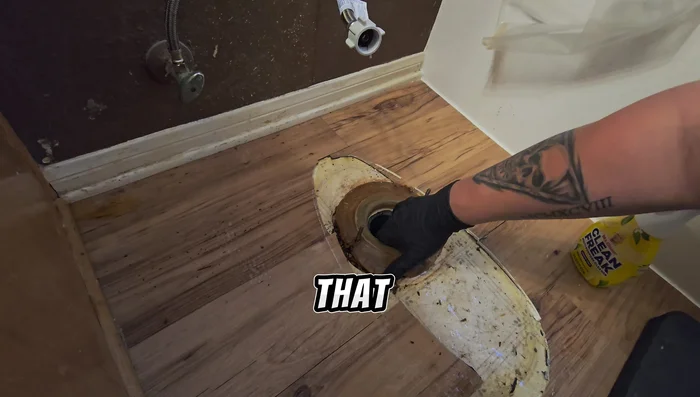
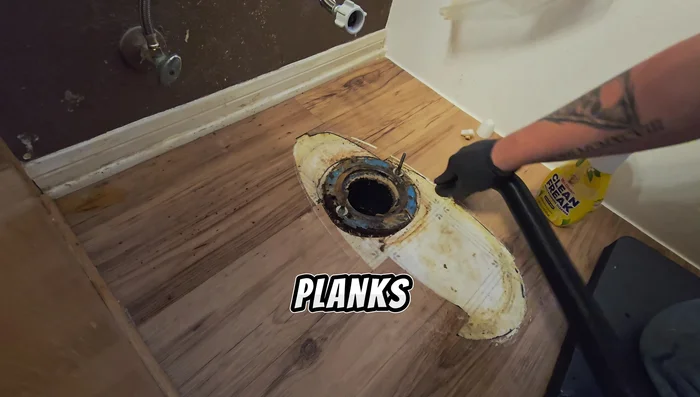
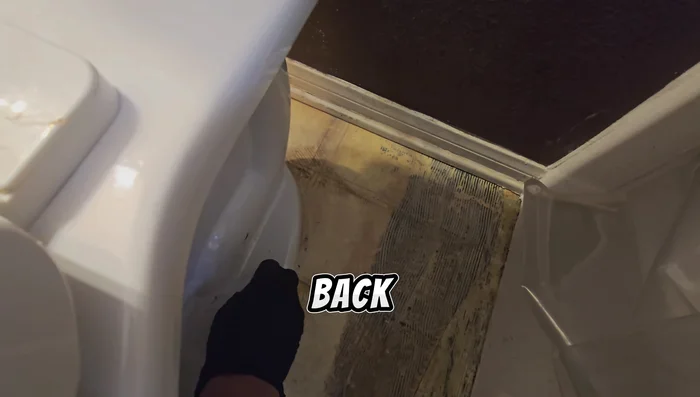
- Clean the area around the toilet flange.
- Remove the old wax ring.
- Remove any flooring that will interfere with the installation of the new wax ring.
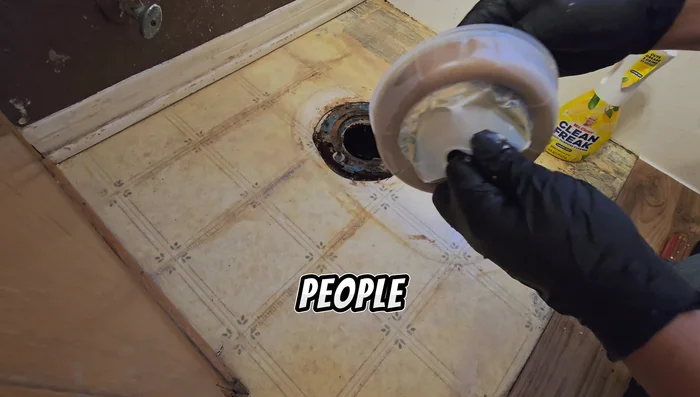
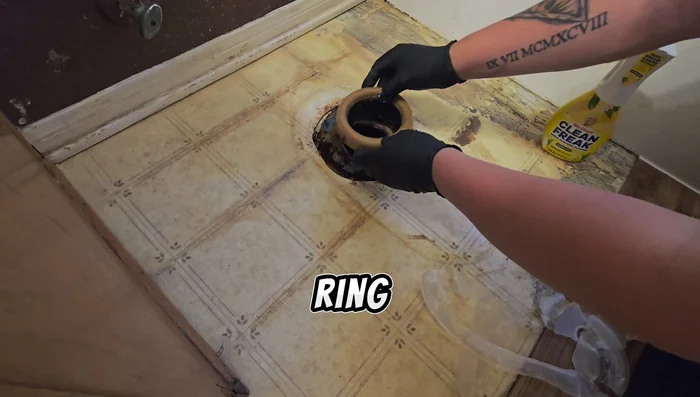
Prepare the Flange Install the New Wax Ring
- Remove the plastic cover from the new wax ring.
- Apply the new wax ring to the toilet flange.
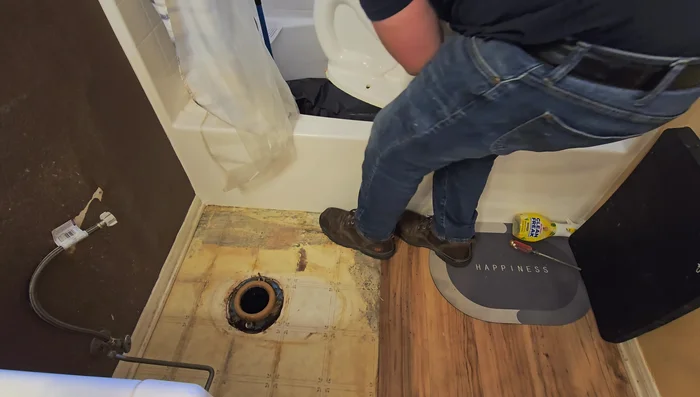
Install the New Wax Ring Reinstall the Toilet
- Carefully set the toilet back onto the flange, aligning the bolt holes. Push down firmly to ensure a good seal.
- Retighten the bolts or plastic tabs securing the toilet.
- Replace the caps.
Reinstall the Toilet Reconnect and Test
- Reconnect the water supply and turn the water back on.
- Flush the toilet several times to check for leaks.
Reconnect and Test Seal and Finish
- Clean and apply silicone caulk around the toilet base for a watertight seal.
Seal and Finish
Read more: Fixing a Leaky Toilet Tank: A Step-by-Step Guide
Tips
- Always remove the plastic piece from the new wax ring before installation to prevent clogs.
- Ensure the toilet is properly aligned and pushed firmly onto the wax ring to create a good seal.