Transforming your home's interior doesn't require a hefty budget. Adding panel molding and chair rail is a surprisingly affordable way to elevate the aesthetic of any room, instantly adding character and visual interest. This classic design element, often perceived as a high-end detail, is surprisingly accessible to DIY enthusiasts, even beginners. With a little planning and the right tools, you can achieve a professional-looking finish that will impress your guests and boost your home's value without breaking the bank. Forget expensive renovations; this project offers a fantastic return on investment, both financially and aesthetically.
This beginner's guide will walk you through each step of installing budget-friendly panel molding and chair rail, from selecting materials and measuring accurately to the final finishing touches. Let's dive into the detailed, step-by-step instructions to help you achieve that stunning, updated look in your home.
Preparation and Safety Guidelines
- Measuring tape
- Pencil
- Sketchbook
- Painter's tape
- Level
- Miter saw
- Pin nailer
- Caulk
- Baby wipes
- Paint
- Paintbrush
- Always wear safety glasses to protect your eyes from flying debris during cutting and installation.
- Use caution when working with sharp tools like utility knives and saws. Cut on a stable surface away from your body.
- Ensure proper ventilation when working with paints, primers, and adhesives. Follow all product safety instructions.
Step-by-Step Instructions
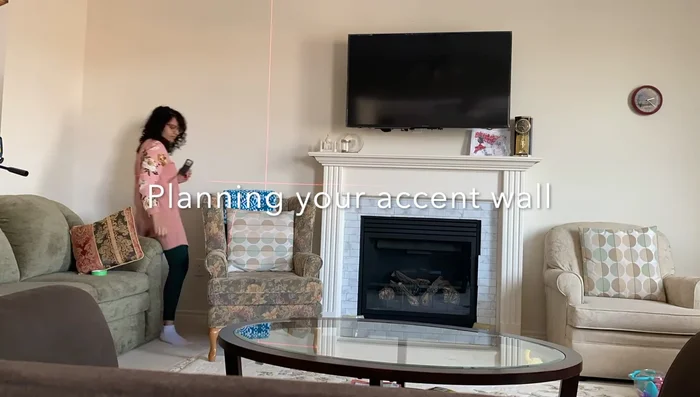
Planning and Preparation
- Measure and Plan:
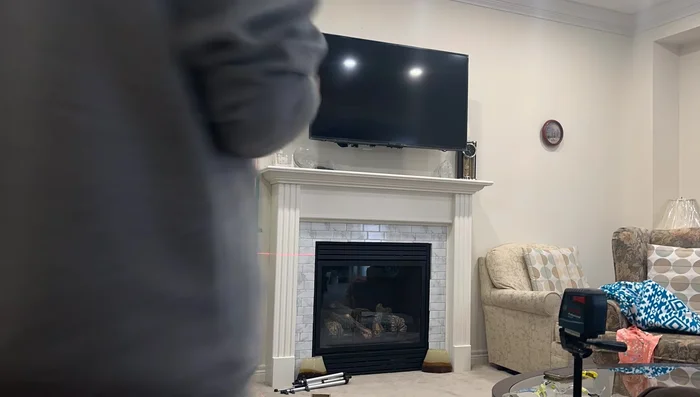
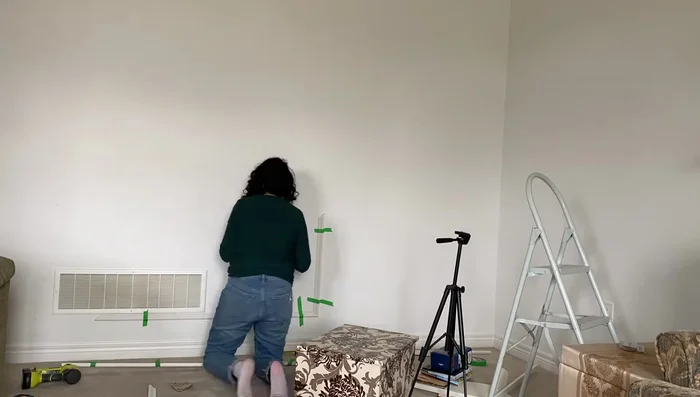
- Visualize with Painter's Tape:
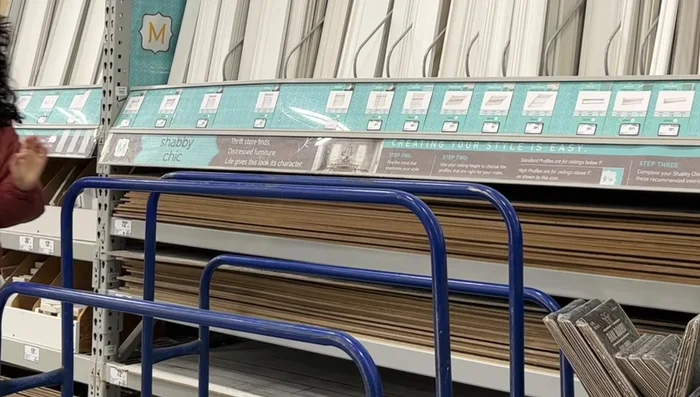
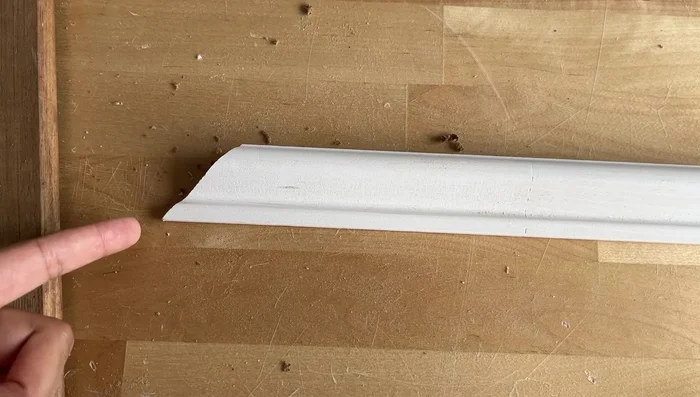
- Choose Molding and Set Miter Saw to 45 Degrees:

Planning and Preparation Cutting and Fitting
- Cut Trim Pieces (Trapezoid Cuts):
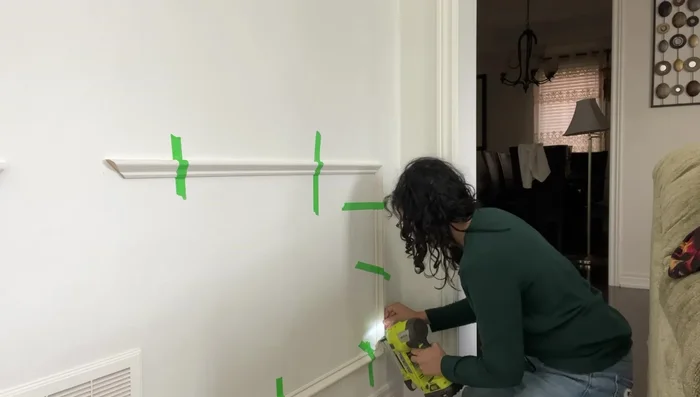
- Tape Trim to Wall for Accuracy:
Cutting and Fitting Installation
- Install Trim Using Pin Nailer:
Installation Finishing Touches
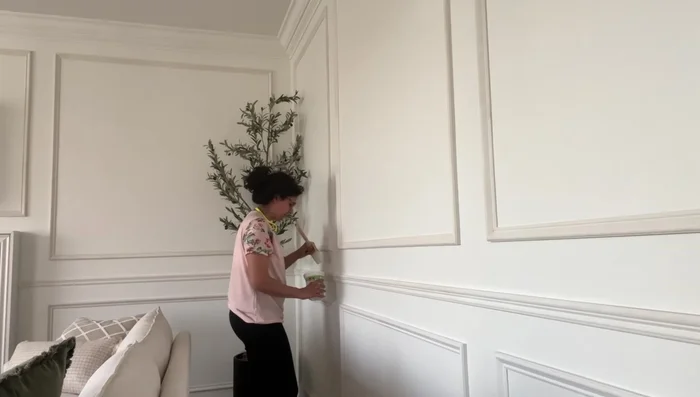
- Caulk Gaps and Joints:
- Paint Molding:
Finishing Touches
Read more: DIY Farmhouse X-Style Coffee Table: Easy Step-by-Step Guide
Tips
- Use an odd number of boxes on each wall for a balanced look.
- Use painter's tape to visualize and plan your design before cutting.
- Measure the long side of each trapezoid piece for easier cutting and visualization.
- Use a pin nailer, not a brad nailer, to avoid splitting the wood.
- Double-check levels before nailing.