Are you looking for a fun, eco-friendly craft project that yields beautiful results? Look no further! This tutorial will guide you through the surprisingly simple process of creating a charming curly flower basket using only plastic spoons and a few other readily available materials. Forget expensive store-bought decorations; this project allows you to unleash your creativity and upcycle plastic waste into a stunning piece for your home or a thoughtful, handmade gift. The possibilities are endless, from vibrant springtime bouquets to rustic fall arrangements. This unique craft is perfect for all skill levels, requiring minimal tools and offering maximum satisfaction.
Transforming humble plastic spoons into a delicate, eye-catching flower basket might sound challenging, but trust us, it's easier than you think! This step-by-step guide will walk you through each stage of creation, from preparing the spoons to assembling the final, magnificent basket. Get ready to be amazed by how easily these everyday items can be transformed into something truly special.
Preparation and Safety Guidelines
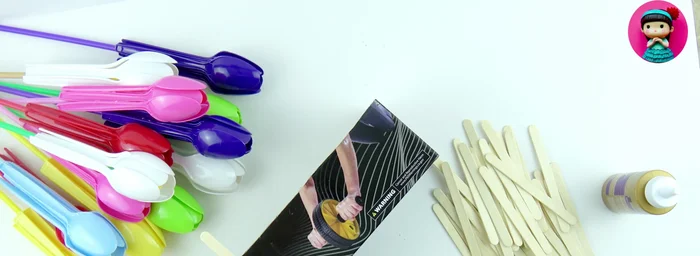
- Colorful plastic spoons
- Colorful straws
- Popsicle sticks
- Yellow and green A4 papers
- Empty box
- Glue gun
- Glue bottle
- Scissors
- Adult supervision is required, especially when using scissors and hot glue. Keep small children away from crafting materials.
- Hot glue guns reach high temperatures. Handle with extreme care and avoid touching the hot glue or the gun's nozzle. Use a well-ventilated area.
- Sharp edges may be present on the plastic spoons after cutting. Handle with care and consider sanding the edges smooth to prevent injury.
Step-by-Step Instructions
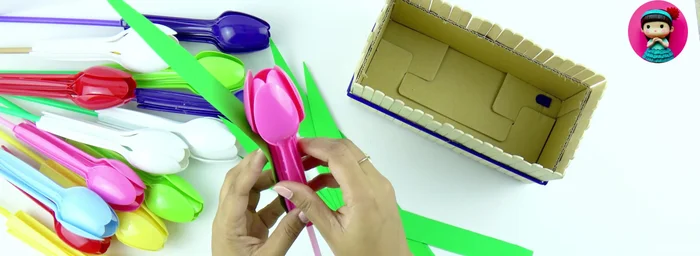
Prepare the Flower
- Cut a strip of yellow A4 paper and glue it into a straw.
- Glue six spoons around the straw with the pollen.

Prepare the Flower Create the Basket
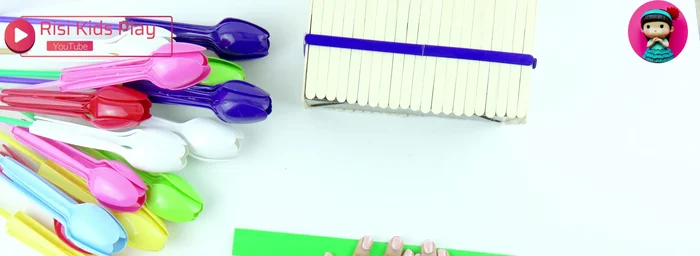
- Glue popsicle sticks around the empty box to create the basket.
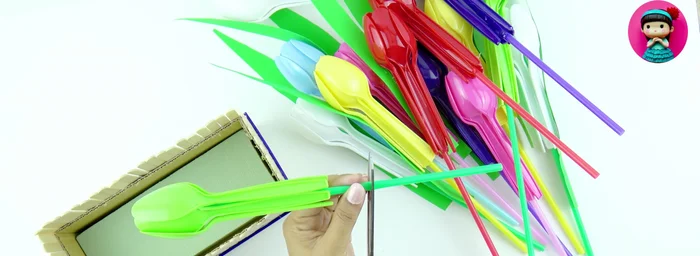
Create the Basket Make the Leaves
- Fold and cut green A4 paper into leaf shapes.
Make the Leaves Assemble the Flower Basket
- Glue the leaves to the flowers.
- Place the flower form into the basket and fix the flowers.
Assemble the Flower Basket

Read more: DIY Plastic Gallon Candy Basket: Upcycled & Adorable!
Tips
- N/A