Tired of flimsy toolboxes that break at the slightest pressure? Yearning for a more sustainable and personalized solution for organizing your essential tools? Then look no further! This comprehensive guide reveals how to craft a robust and stylish DIY toolbox entirely from recycled liquid containers – think plastic jugs, detergent bottles, or even sturdy food containers. Forget expensive, mass-produced options; this project allows you to upcycle materials you likely already have on hand, saving you money and reducing waste. The result is a unique, functional toolbox perfectly tailored to your needs and reflecting your commitment to environmental responsibility.
This project is surprisingly simple, even for beginners! We'll walk you through each step of the process, from carefully selecting and preparing your recycled materials to securely fastening hinges and adding a comfortable carrying handle. Ready to transform discarded plastic into a practical and proudly sustainable toolbox? Let's dive into the step-by-step instructions and unleash your inner DIYer!
Preparation and Safety Guidelines
- Old liquid containers
- Circular saw (battery-powered)
- Angle grinder
- Screws for wood
- Hinges
- Clasp
- Pallet plugs
- Power drill
- Planks
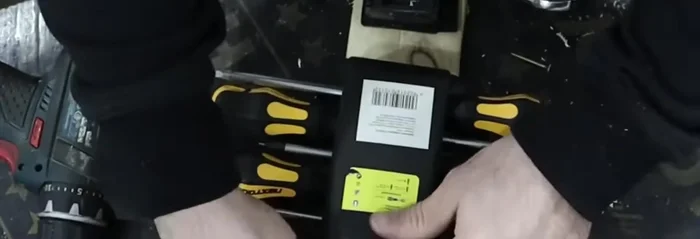
- Screwdrivers
- Wrenches
- Pliers
- Sandpaper
- Thoroughly clean and rinse all containers before use. Residual chemicals can be harmful.
- Always wear appropriate safety gear, including gloves and eye protection, when cutting, drilling, or sanding recycled containers.
- Use caution when handling sharp edges and points. Sand down any rough areas to prevent injuries.
Step-by-Step Instructions
Planning and Preparation
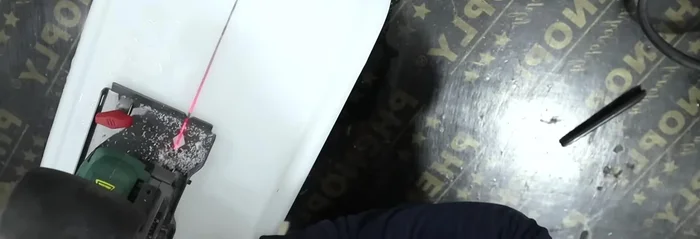
- Mark where to cut the container. Consider vertical and horizontal cuts for different designs.
Cutting and Cleaning
- Cut the container in half using a battery-powered circular saw (avoid angle grinder due to melting the plastic).
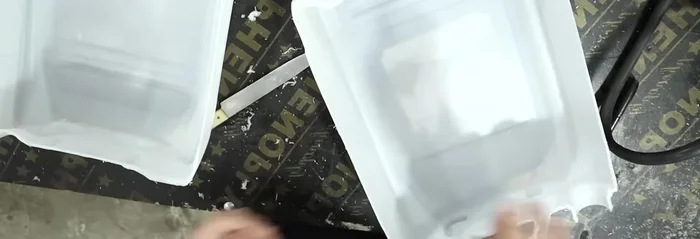
- Clean the cut edges.

Cutting and Cleaning Strengthening the Body
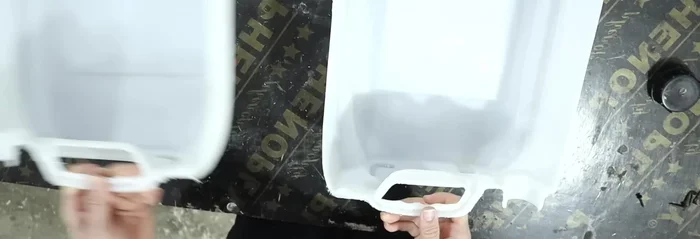
- Straighten the container body using pallet plugs.
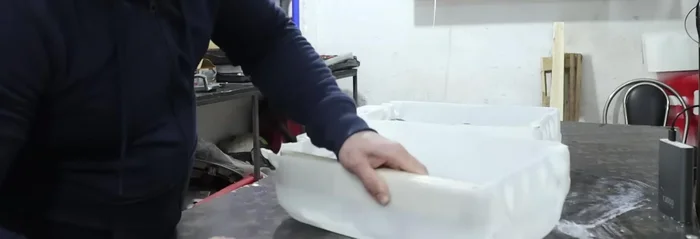
Attaching the Base
- Drill holes for attaching planks.
- Attach the prepared planks to the container using screws.
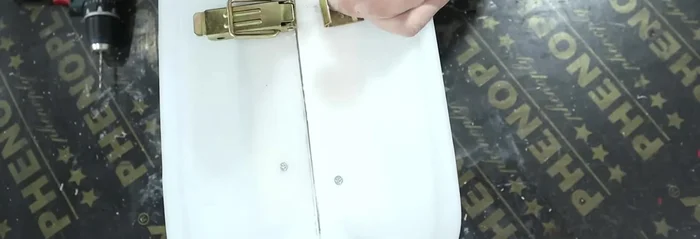
Attaching the Base Adding Hinges and Clasps
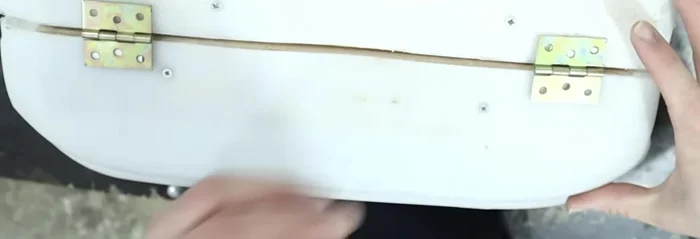
- Attach hinges to the container.
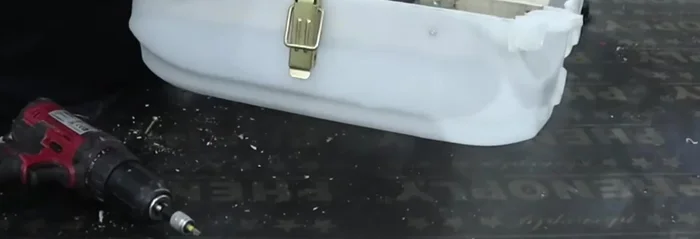
- Attach a clasp to the other side of the container.
- Add extra stability using the container's cup as a second clasp.
Adding Hinges and Clasps Installing Interior Organization
- Install interior dividers/planks to organize tools.
- Securely attach the interior planks to the container.
Installing Interior Organization

Read more: DIY Plastic Gallon Candy Basket: Upcycled & Adorable!
Tips
- Use a battery-powered circular saw for cutting plastic containers to avoid melting the material.
- Prepare planks by removing nails and smoothing rough edges for a better finish.
- Use pallet plugs to reinforce the soft plastic and provide a secure mounting point for tools and hinges.