Upcycling plastic bottles is not only a fantastic way to reduce waste and contribute to a greener planet but also opens up a world of creative possibilities. This simple yet rewarding DIY project transforms discarded plastic bottles into charming, rustic chalk paint planters, perfect for adding a touch of whimsical charm to your garden, patio, or even your indoor spaces. With minimal effort and readily available materials, you can create beautiful and functional planters, adding a unique personal touch to your home décor. This project is ideal for crafters of all skill levels, offering a satisfying sense of accomplishment at the end.
Forget expensive store-bought planters! By following our easy step-by-step guide, you'll learn how to effortlessly upcycle those seemingly useless plastic bottles into beautiful, personalized planters that are both environmentally friendly and aesthetically pleasing. Let's dive into the process and discover the joy of transforming trash into treasure!
Preparation and Safety Guidelines
- Used plastic bottles
- Black acrylic paint
- Water
- Gypsum (Plaster of Paris)
- Sponge
- Clothespin
- Burlap/Jute sheet
- Strong adhesive (silicon glue)
- Handmade flowers (optional)
- Potting soil
- Succulents (or other plants)
- Always supervise children during the crafting process, as they may be exposed to sharp objects (scissors or bottle edges) and potentially harmful materials (paint).
- Ensure adequate ventilation when using spray paint. Spray paints release fumes that can be harmful if inhaled in poorly ventilated areas.
- Thoroughly clean and dry the plastic bottles before painting to ensure the paint adheres properly. Residue on the bottle can prevent adhesion and result in a less durable finish.
Step-by-Step Instructions
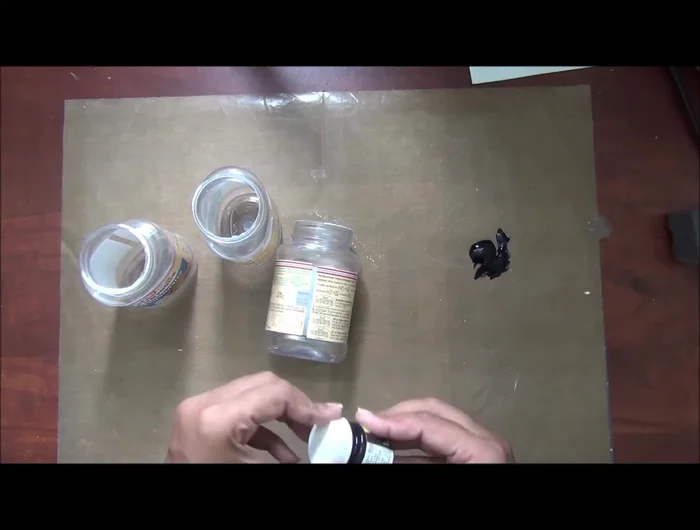
Prepare the Bottles
- Clean the plastic bottles thoroughly.

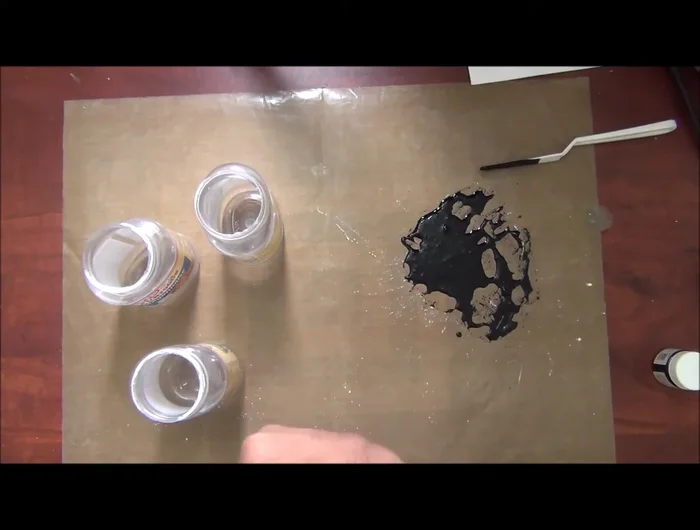
Prepare the Bottles Make the Chalk Paint
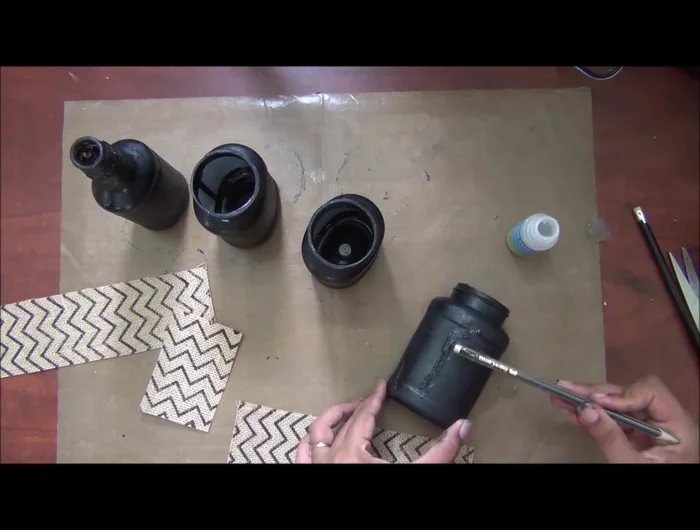
- Mix black acrylic paint with a small amount of gypsum (Plaster of Paris) and water to achieve a smooth, paintable consistency. Don't make it too runny.
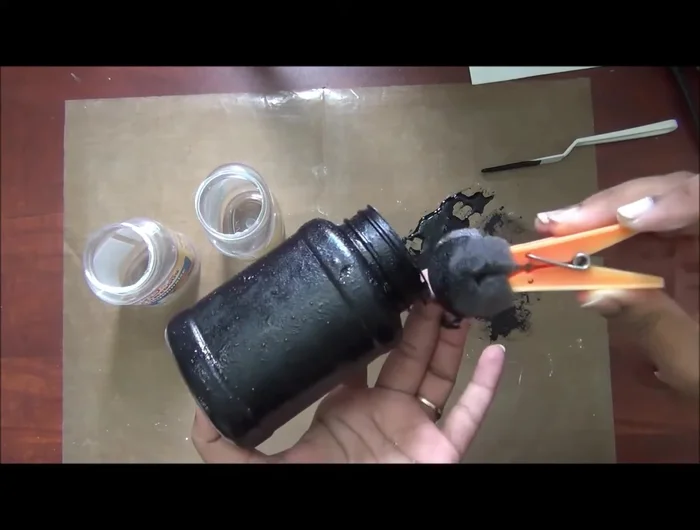
Make the Chalk Paint Paint the Bottles
- Paint the bottles evenly using a sponge and clothespin to avoid smudging. Dab the paint onto the bottles rather than rubbing.
- Let the paint dry completely.
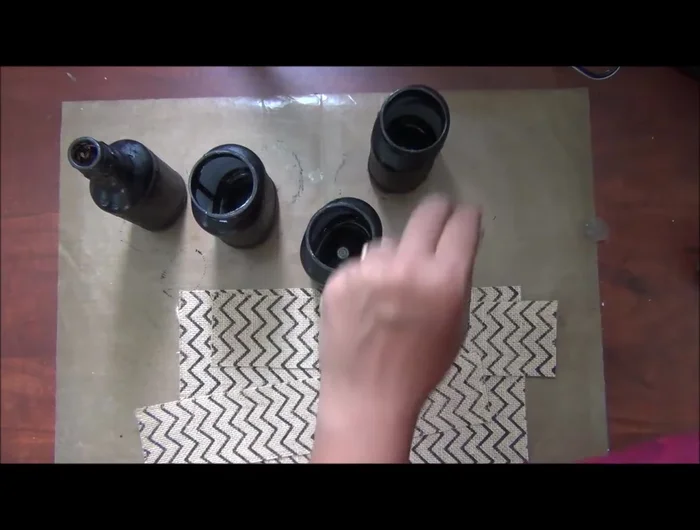
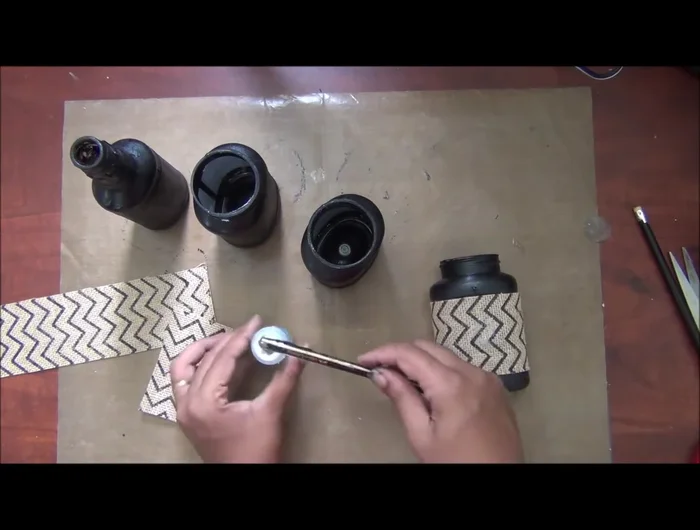
Paint the Bottles Apply Burlap
- Measure and cut a strip of burlap to fit around the center of the bottle.
- Apply a strong adhesive (silicon glue recommended) to the bottle and adhere the burlap strip, ensuring it's smooth and wrinkle-free.
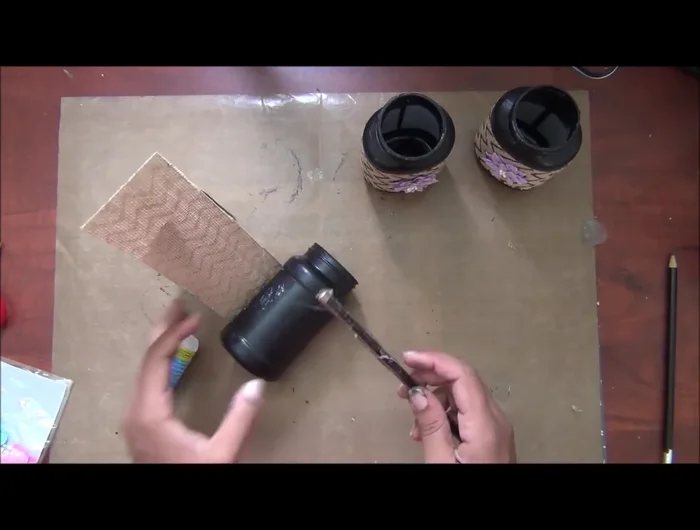
Apply Burlap Decorate (Optional)
- Decorate with handmade flowers or other embellishments (optional).
Decorate (Optional) Plant and Finish
- Fill the bottles with potting soil and plant your succulents or other plants.
Plant and Finish

Read more: DIY Plastic Gallon Candy Basket: Upcycled & Adorable!
Tips
- Adding gypsum (Plaster of Paris) to the paint helps it adhere better to the plastic and provides a nice texture.
- Work quickly with the plaster of Paris mixture as it sets rapidly.
- Add the plaster of Paris gradually to avoid making the paint too thick and difficult to work with.
- Use a clothespin to hold the sponge while painting to keep your hands clean.
- Burlap provides a nice texture, but other fabrics can be used as well.