Cushions. Those seemingly simple squares of comfort transform a room, adding pops of color, texture, and personality. But achieving that professionally finished look, the kind you see in high-end home décor stores, requires more than just stuffing fabric into a cover. This ultimate guide will walk you through every stage of creating stunning, bespoke cushions, elevating your home décor game and impressing even the most discerning eye. We'll delve into the often-overlooked details that separate amateur attempts from truly exceptional craftsmanship.
From accurately measuring your fabric and choosing the perfect filling to mastering intricate seam finishes and adding those subtle professional touches, we'll cover it all. Prepare to be amazed at how straightforward creating professional-looking cushions can be, as we embark on a step-by-step journey that will empower you to sew stunning pieces for your home. Let's begin!
Preparation and Safety Guidelines
- Measuring tape
- Scissors
- Sewing machine
- Piping foot
- Overlocker
- Fabric
- Zipper
- Piping cord
- Ruler (optional)
- Always use sharp needles and pins to prevent fabric from tearing and to ensure accurate stitching. Dull needles can cause skipped stitches and broken threads, leading to a less professional finish.
- Before using any power tools such as sewing machines, ensure they are properly plugged in and that your hands are clear of moving parts. Always follow the manufacturer's safety guidelines.
- Handle scissors, rotary cutters, and other sharp tools with caution. Store them safely when not in use to prevent accidents.
Step-by-Step Instructions
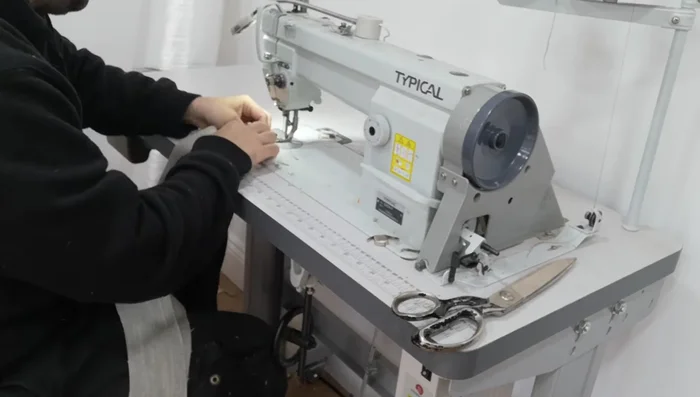
Measuring and Cutting Fabrics
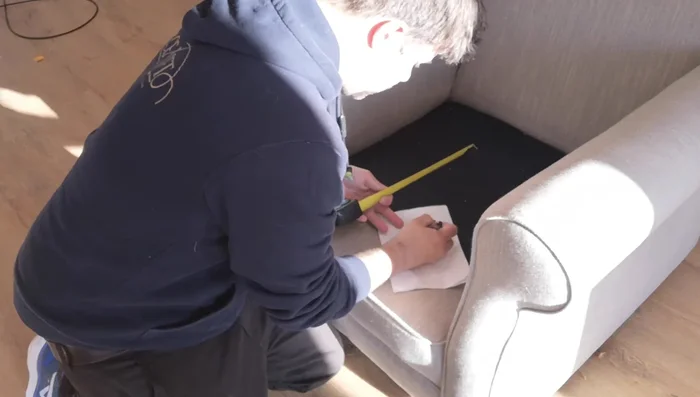
- Measure both the front and back of the cushion separately, as chairs can splay. Add seam allowance (1/2 inch on each side).
- Cut two pieces of fabric for the cushion faces, according to your measurements.
- Cut a full width of fabric for the borders. Add extra length (approximately 8 inches) to account for seam allowances and zipper placement.
- Use leftover fabric for zip borders. The fabric direction doesn't matter because they're hidden.

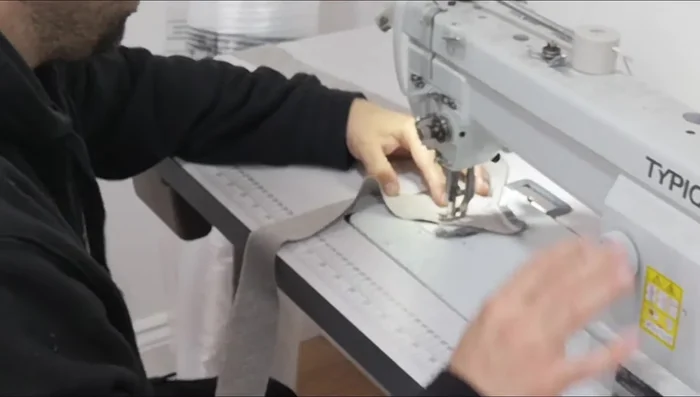
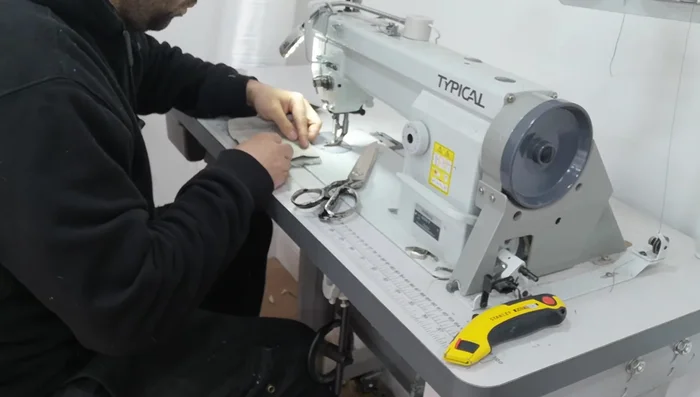
Measuring and Cutting Fabrics - Cut piping on the bias (at an angle) for the best results. Use a ruler or guide to ensure consistent width (4.5cm recommended, resulting in a 0.5cm finished width after folding).
Measuring and Cutting Fabrics Preparing the Piping
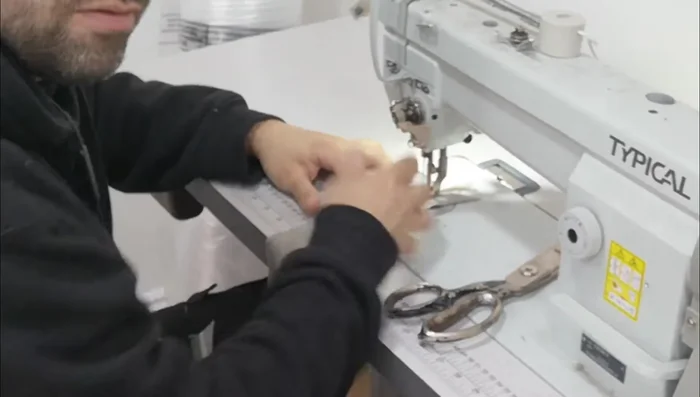
- Overlap the ends of the piping, sew across at an angle, trim, and backstitch.
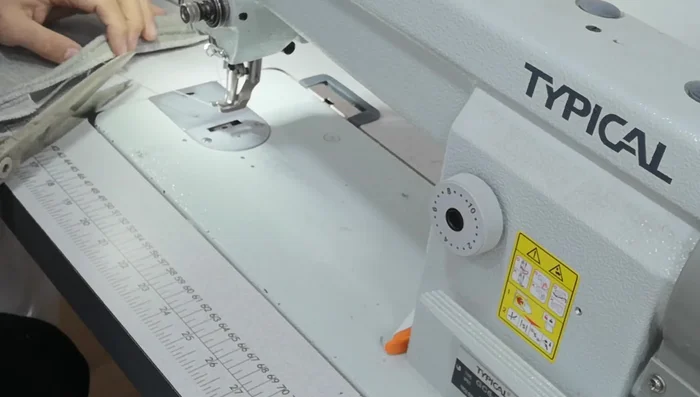
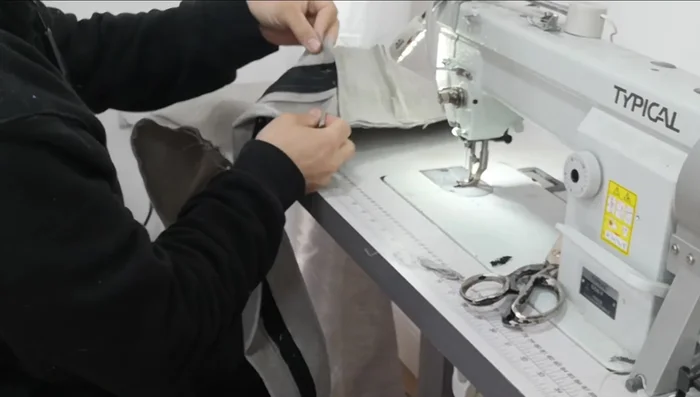
- Use a piping foot to attach the piping to the edges of the cushion faces, backstitching at the start and end. When reaching corners, stop with the needle down, cut the fabric, and turn the piping to continue.
- Overlap the piping ends, and fold them back on themselves to create a neat join, then sew.
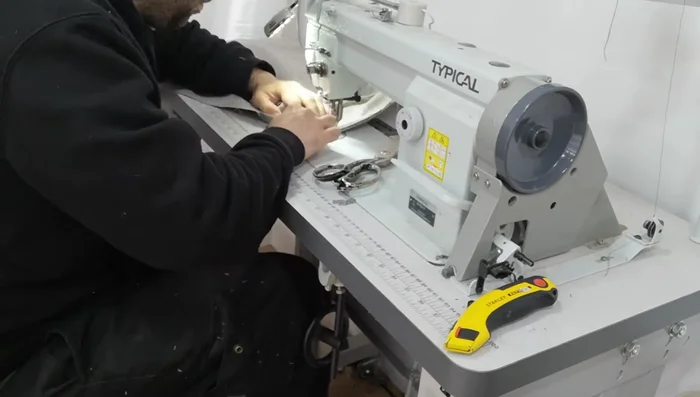
Preparing the Piping Preparing the Zipper
- Fold over three-quarters of an inch, stitch, and use an overlocker to clean up the edges.
Preparing the Zipper Assembling the Cushion
- Attach the side pieces to the borders. Align the center points and stitch, ensuring the corners meet neatly.
- Attach the zip to the borders, ensuring a straight stitch and neat edges.
- Line up the center point and stitch. Maintain tension for a neat, professional finish.
Assembling the Cushion


Read more: DIY Farmhouse X-Style Coffee Table: Easy Step-by-Step Guide
Tips
- Always measure twice and cut once.
- Backstitch at the beginning and end of each seam to prevent unraveling.
- Use an overlocker to finish edges and prevent fraying.
- When attaching piping, use a piping foot for even stitching. When turning corners, stop with the needle down, snip, turn the fabric, and continue stitching.
- When joining multiple pieces of fabric, ensure the corners line up for a professional finish.