Unleash your inner artist with this beginner-friendly guide to mosaic art using upcycled materials! Forget expensive supplies – we'll transform discarded bangles and food lids into stunning, vibrant mosaics. This exciting craft project is perfect for all skill levels, requiring no prior experience and offering a fantastic opportunity to explore creativity while contributing to a more sustainable lifestyle. You'll be amazed at the beautiful pieces you can create from what others might consider trash. The possibilities are as endless as your imagination, allowing you to personalize your mosaics to match any décor or style.
Get ready to upcycle and create your own masterpiece! The following step-by-step instructions will guide you through the process, from preparing your materials to admiring your finished mosaic artwork. Let's dive into the vibrant world of mosaic art and discover the joy of transforming everyday objects into unique and beautiful creations.
Preparation and Safety Guidelines
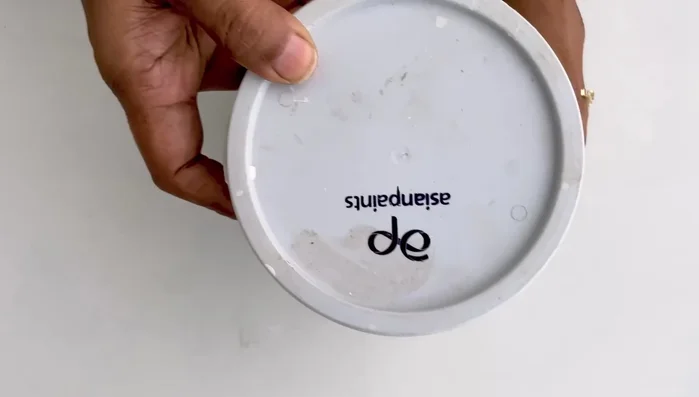
- Food container lids
- Broken bangles
- Mirrors (optional)
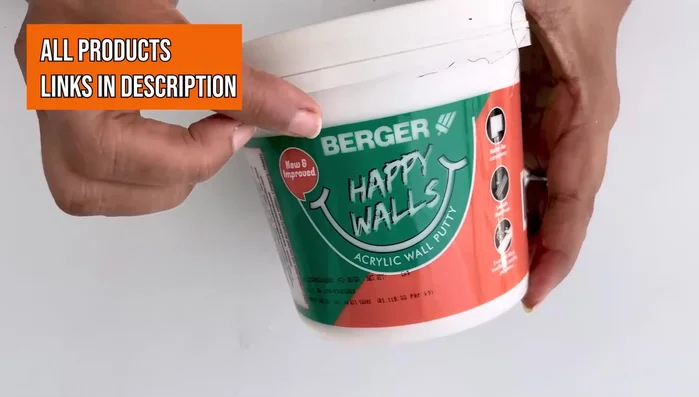
- Acrylic putty
- Acrylic paint (optional)
- Sponge or cotton cloth
- Knife or cardboard (for spreading putty)
- Glue
- Always supervise children when using sharp tools like glass cutters or nippers. Bangles and lids can shatter, causing injury.
- Wear safety glasses to protect your eyes from flying fragments when cutting or breaking materials.
- Thoroughly clean and wash all upcycled materials before use to remove any potential contaminants or sharp edges.
Step-by-Step Instructions
Gather Supplies
- Collect food container lids and broken bangles of various sizes. Keep bangle pieces inside a cloth to contain small particles.

Gather Supplies Prepare the Base
- Clean the lids if needed.
Prepare the Base Mix the Adhesive
- Mix acrylic putty with acrylic paint (optional) to achieve desired color. A small amount is sufficient for beginners.
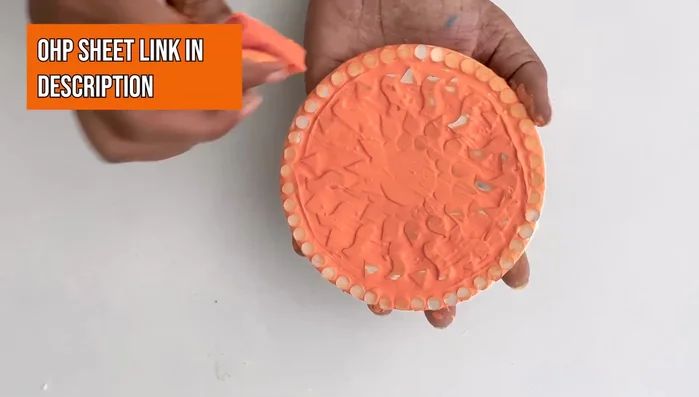
Mix the Adhesive Apply the Adhesive
- Spread a thin layer of the putty onto your chosen surface using a knife, cardboard, or your fingers.
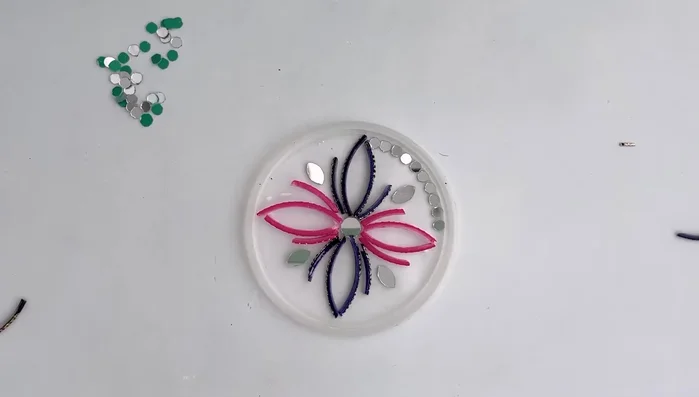
Apply the Adhesive Arrange and Attach Mosaic Pieces
- Carefully arrange your bangle pieces and mirrors (if using) onto the putty, ensuring they are firmly attached. If the thickness varies between the bangles and mirrors, double the thinner pieces to even out the surface.
Arrange and Attach Mosaic Pieces Clean Up Excess Adhesive
- After 15-20 minutes, gently wipe away excess putty from the mirrors with a damp sponge or cloth.
Clean Up Excess Adhesive Dry and Final Clean
- Let the piece dry completely for at least 24 hours. Then, thoroughly remove any remaining putty from the surface.
Dry and Final Clean

Read more: DIY Plastic Gallon Candy Basket: Upcycled & Adorable!
Tips
- Test bangles for color bleeding: Check if your bangles bleed color before using them to avoid staining the putty.
- Start small: Beginners should start with small projects like plastic lids to learn the techniques before tackling larger pieces.
- Adjust putty consistency: The amount of putty needed will depend on the size of your project and the materials used.
- Consider surface durability: For a more durable project, consider using a stronger adhesive or applying the mosaic to a more robust material.