Tired of overflowing recycling bins and the constant stream of plastic packaging? We all know the struggle! Cat owners, in particular, are familiar with the onslaught of flexible plastic from pet food bags. But what if we told you that those seemingly disposable bags could be transformed into something useful and stylish? This project offers a fun and eco-friendly solution, diverting plastic waste from landfills and creating a unique, personalized tote bag. Think of it as a purrfectly practical upcycling project!
This step-by-step guide will walk you through the process of creating your own durable and attractive cat food bag tote, showcasing just how easy it is to repurpose everyday materials. From preparing the bag to adding finishing touches, we'll ensure you have everything you need to successfully complete this rewarding project and minimize your environmental impact. Let's get started!
Preparation and Safety Guidelines
- Rotary cutter
- Sewing machine
- Thoroughly wash and dry the cat food bag before starting. Residue from the food can attract pests or be harmful if not removed completely.
- Use strong, durable stitching, especially along the seams, to ensure the tote can handle the weight of your items. Weak stitching could lead to rips or breakage.
- Avoid using cat food bags that have been punctured or severely damaged. These may not be strong enough to create a functional and safe tote.
Step-by-Step Instructions
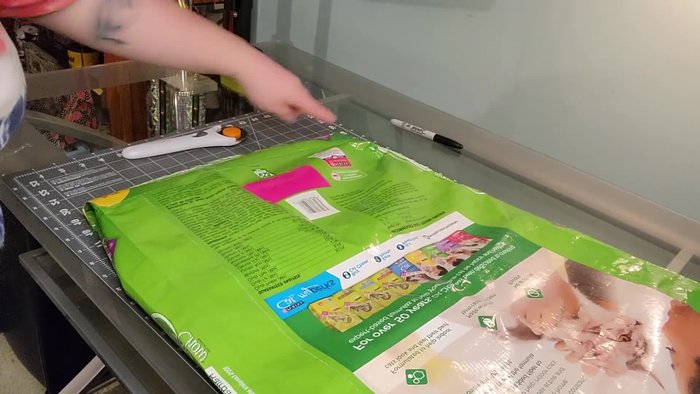
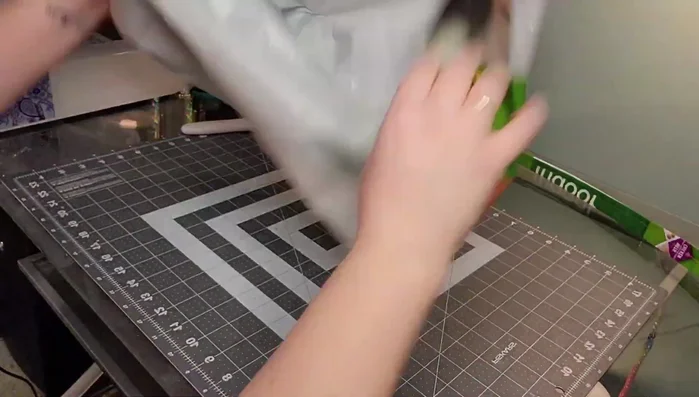
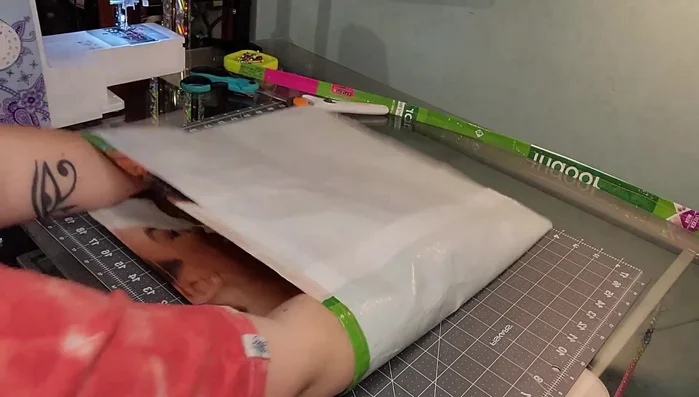
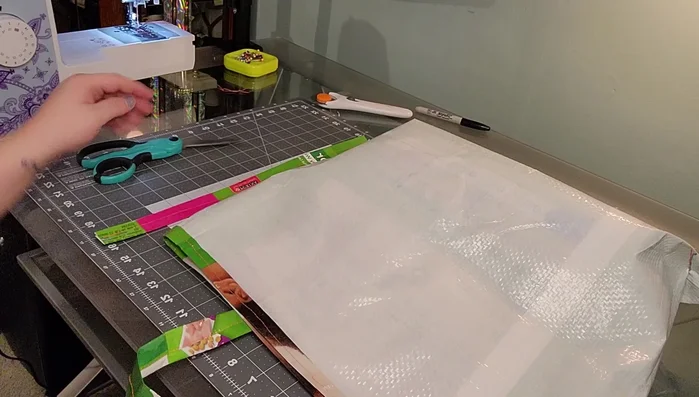
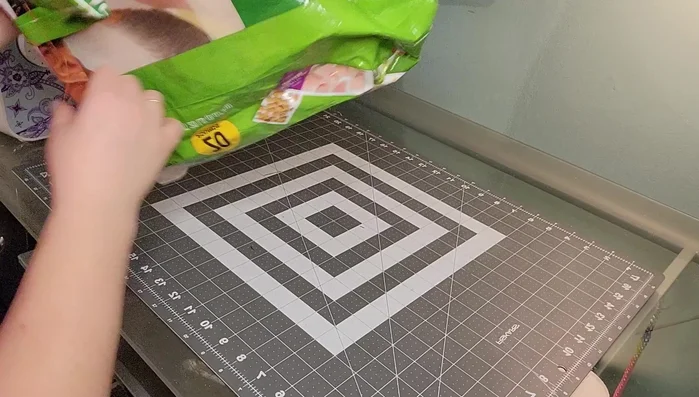
Prepare the Bag
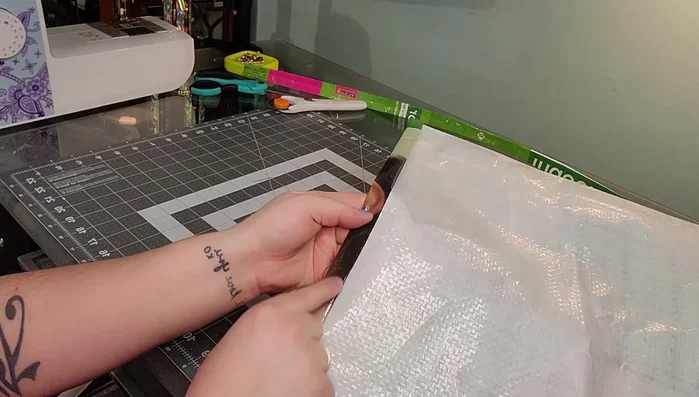
- Flatten the bag and cut off the bottom seam to open the bag.

Prepare the Bag Create the Straps
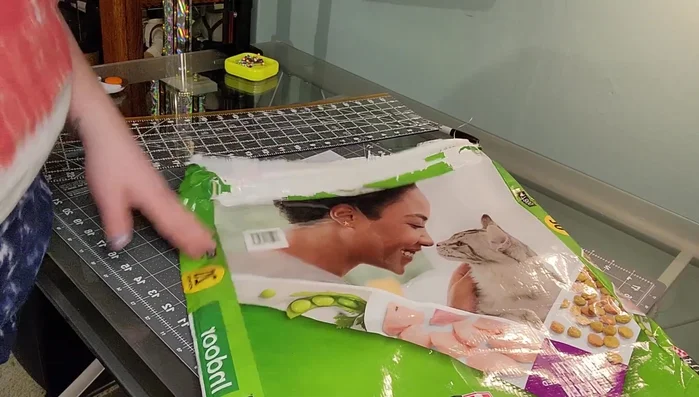
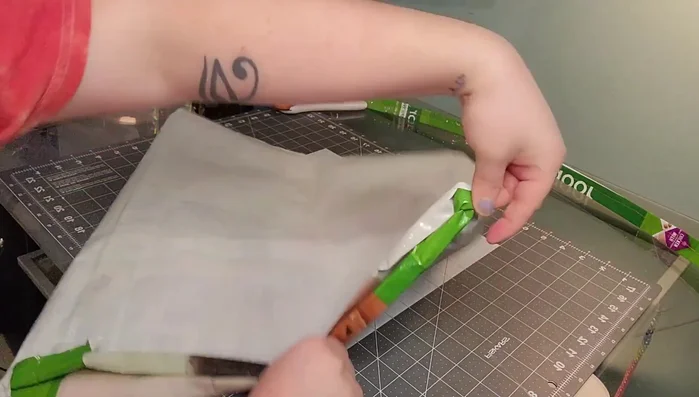
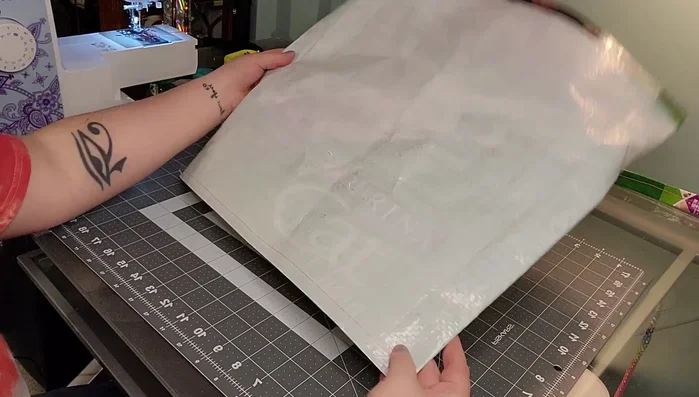
- Salvage enough material from the bag to create straps. Consider removing any unwanted images or sections.
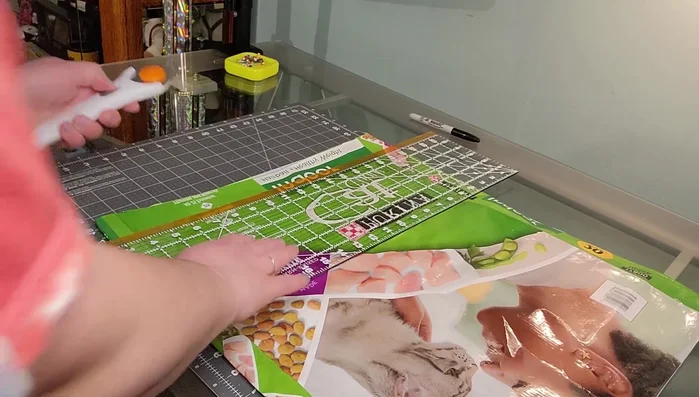
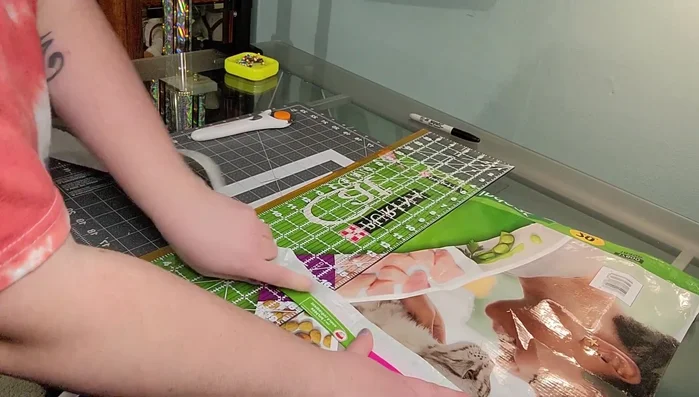
- Cut out strap material, aiming for 1.5-2 inches wide to account for folding and seaming. Locate and utilize the natural seam of the bag to help guide this process.
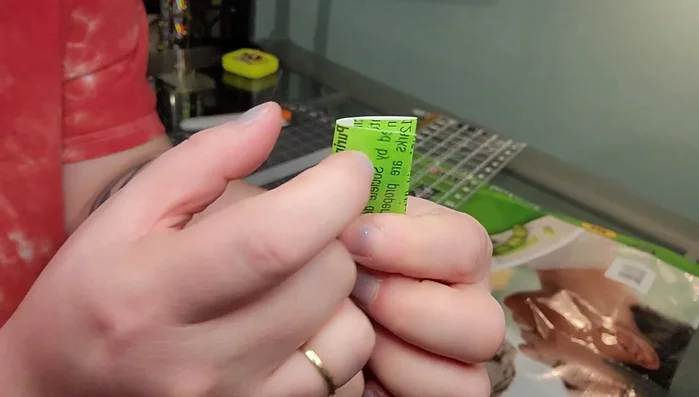
- Fold the strap material in thirds (trifold) to create a neat strap and crease well using fingers or a table edge.
- Straight stitch down the center of the folded strap to secure it.
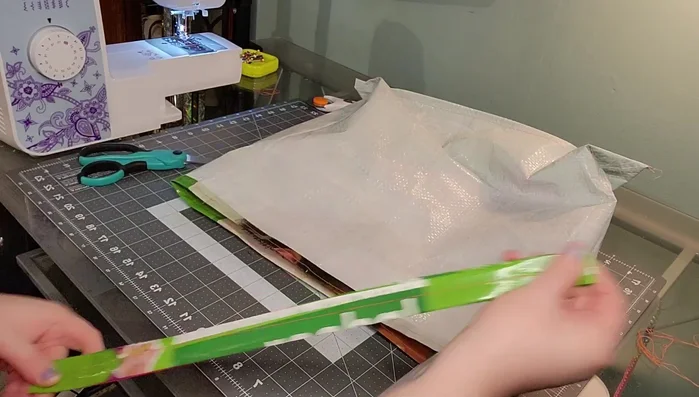
Create the Straps Finish the Top Edge
- Turn the bag inside out. Fold the top edges down to create a neat, rolled top.
- Pinch and fold the corners of the bag to create a smooth, finished look.
- Sew a straight stitch all the way around the top of the bag to secure the folded edge.
Finish the Top Edge Sew the Bottom
- Sew across the bottom of the bag, reinforcing with back stitches and leaving about a half-inch seam allowance.
- Reinforce the bottom corners by opening up the triangle seam, flattening it, and drawing a line across to sew that section.
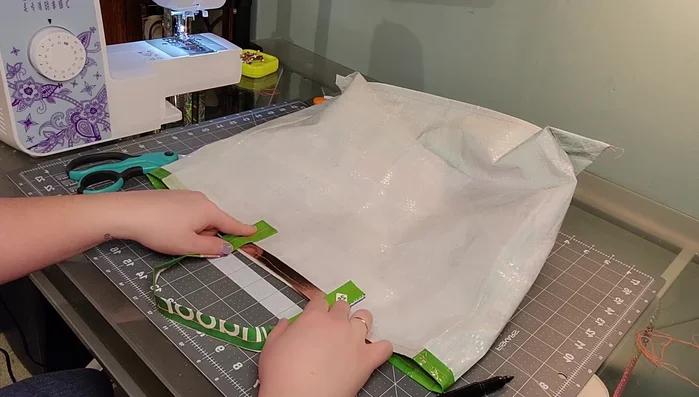
Sew the Bottom Attach the Handles
- Cut the strap in half to make two handles. Determine the placement of handles based on the bag design, marking the middle and slightly below the hemline for ample securing.
- Attach the handles by sewing across the seam line and then sewing an X across the tabs to secure them firmly to the bag.
- Repeat the handle attachment process for the other side.
Attach the Handles Final Touches
- Turn the bag right side out, and carefully shape the corners to finish.
Final Touches
Read more: DIY Plastic Gallon Candy Basket: Upcycled & Adorable!
Tips
- Use a rotary cutter for straight, clean cuts.
- Creasing the strap material well makes for a nicer finished product.
- Pay attention to the bag's natural seams to help guide the cutting and sewing process.
- Take your time and make sure your bag is lined up correctly before sewing.
- Reinforce seams by back stitching for extra durability.