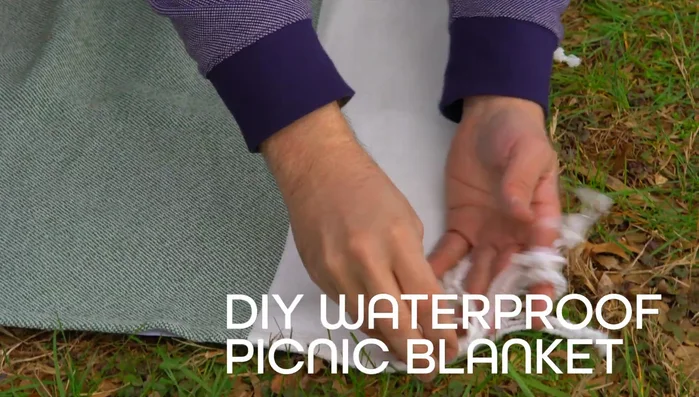
Picnics are a quintessential summer pastime, a chance to relax, reconnect with loved ones, and enjoy the great outdoors. But the dreaded damp bottom, courtesy of unexpected showers or dewy grass, can quickly turn a delightful afternoon into a soggy disappointment. Say goodbye to uncomfortable picnics forever! This guide will show you how to craft your own durable and completely waterproof picnic blanket, ensuring your next outdoor feast remains delightfully dry, no matter the weather. Forget flimsy, disposable options that end up in landfills; create a reusable, stylish, and utterly practical solution tailored to your needs.
Investing a little time in making your own waterproof picnic blanket is a worthwhile undertaking. You'll not only save money compared to buying pre-made waterproof options, but you'll also have the satisfaction of creating something uniquely yours. Ready to say goodbye to soggy bottoms and hello to comfortable, dry picnics? Let's dive into the step-by-step instructions to create your perfect DIY waterproof picnic blanket.
Preparation and Safety Guidelines
- Vinyl sheet
- Old blanket
- Heavy-duty snap pliers
- Snaps
- Strap material
- Brass details
- Measuring tape
- Scissors
- Always use a waterproof fabric designed for outdoor use. Regular fabrics treated with waterproofing sprays may not be sufficiently durable or resistant to prolonged moisture.
- Ensure all seams are properly sealed to prevent water leakage. Use waterproof seam sealer specifically designed for fabrics.
- Test your finished blanket in a controlled environment (like your garden) before using it in a potentially wet environment to check for leaks.
Step-by-Step Instructions
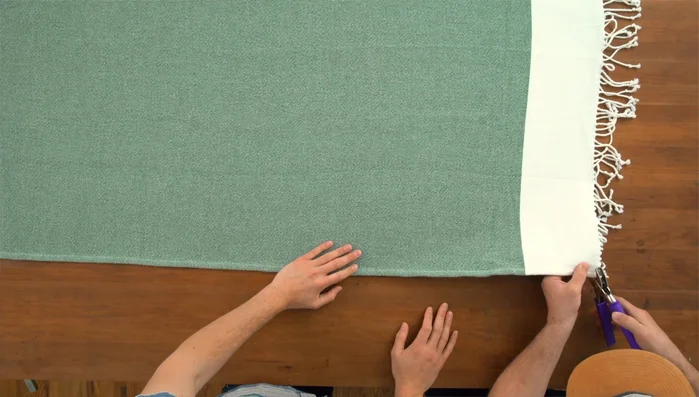
Prepare the Waterproof Layer
- Cut a vinyl sheet to the size of your old blanket.
- Punch holes on one side of the vinyl using the snap pliers.
- Change the snap pliers attachment and attach snaps to the vinyl and blanket through the punched holes.
- Repeat steps 2 and 3 for all sides of the blanket.

Prepare the Waterproof Layer Prepare the Carrying Straps
- Measure and cut two straps from the strap material. One strap should be the width of the folded blanket, and the other slightly longer.
- Attach snaps to the straps.
- Seal the frayed ends of the straps with a lighter or decorative brass details.
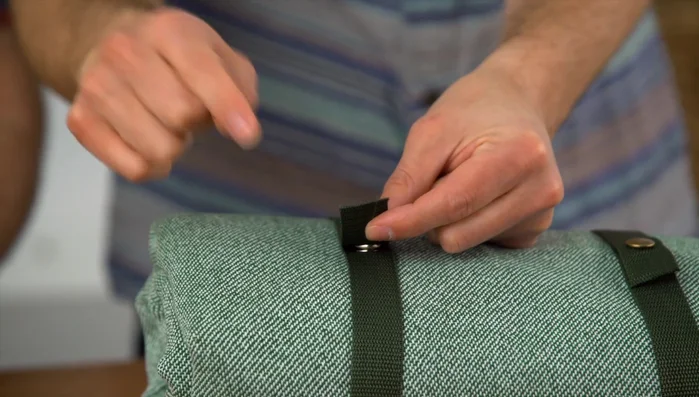
Prepare the Carrying Straps Attach Straps and Handle
- Attach the straps to the blanket using snaps or other fasteners.
- Add a handle to the blanket using the longer strap and brass details, securing it with screws.
Attach Straps and Handle


Read more: DIY Plastic Gallon Candy Basket: Upcycled & Adorable!
Tips
- Press firmly when attaching snaps to ensure a secure hold.
- Use a lighter to seal frayed edges of the straps for a cleaner finish.
- Consider adding decorative brass details to enhance the appearance.