Are you tired of cluttered countertops and disorganized spice jars? Do you dream of a kitchen accessory that's both beautiful and functional? Then prepare to be inspired! This comprehensive guide will walk you through the process of crafting a stunning spice rack, expertly blending the warm tones of wood with the luxurious gleam of brass. Forget generic, mass-produced organizers; we're creating a unique piece that will elevate your kitchen's aesthetic and become a cherished part of your culinary space. Imagine the compliments you'll receive!
This ultimate guide will equip you with everything you need to successfully build your own brass and wood spice rack, from selecting the right materials and tools to mastering essential techniques. We'll cover each step meticulously, ensuring even beginners can achieve professional-looking results. Ready to transform your spice collection from chaotic jumble to organized masterpiece? Let's dive into the detailed, step-by-step instructions below.
Preparation and Safety Guidelines
- 1x3 lumber
- 1x6 lumber
- 3/8 dowels
- 5/16 inch brass rods
- Miter saw
- Drill press (hand drill acceptable)
- Pocket hole jig
- Clamps
- Sandpaper
- Wood filler
- Primer
- Paint
- Wall hangers
- Always wear safety glasses when using power tools like saws and drills. Wood and brass particles can cause eye injuries.
- Use appropriate ventilation when working with wood finishes. Many finishes release harmful fumes.
- Ensure all screws and fasteners are securely tightened to prevent the rack from collapsing or causing injury.
Step-by-Step Instructions
Prepare the Wood
- Cut lumber to final dimensions using gang cutting for consistent lengths.
- Optionally, rip down thinner boards to accommodate spice jar sizes.
- Sand all pieces smooth.

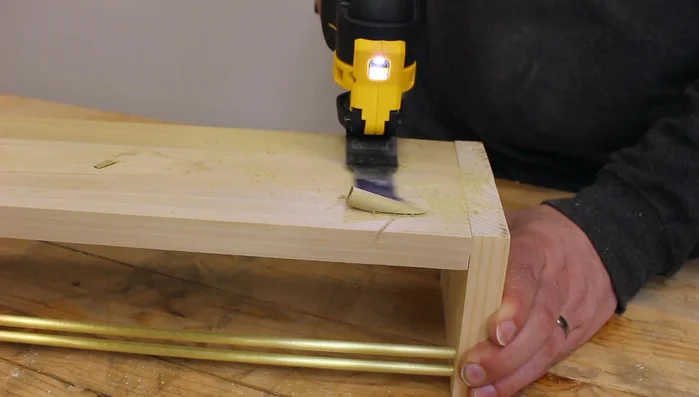
Prepare the Wood Create Brass Rod Recesses
- Drill recesses for brass rods using a drill press (or hand drill).
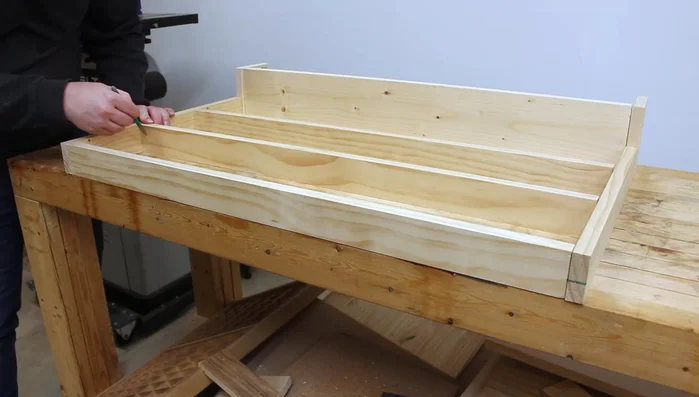
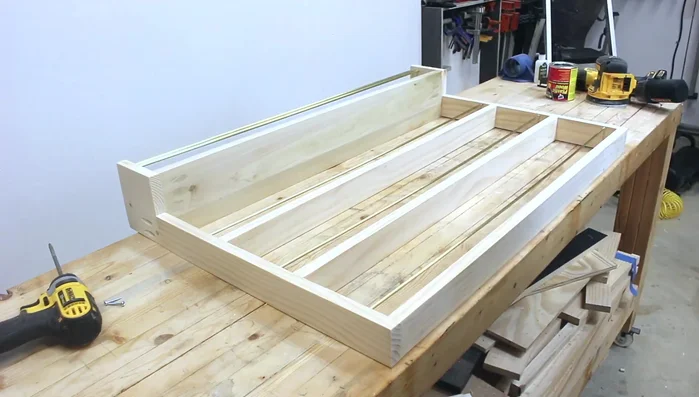
Assemble Shelf Units
- Drill pocket holes, strategically placing them to be hidden by shelves or cookbooks.
- Assemble shelves to side pieces using pocket holes and clamps.
- Install brass rods into recesses.
- Attach the second side piece to complete the shelf units.
Assemble Shelf Units - Repeat steps 6-8 for the top cookbook shelf.
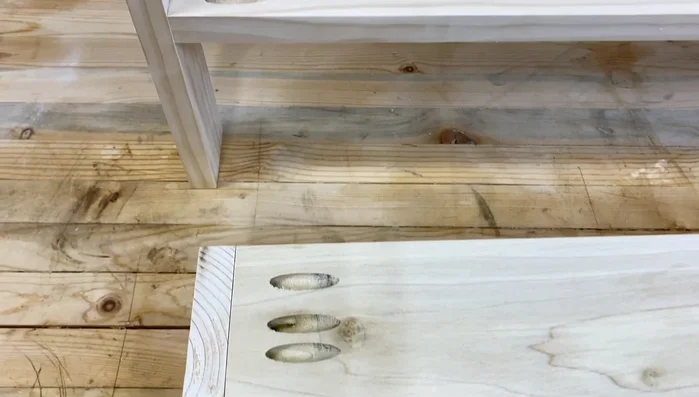
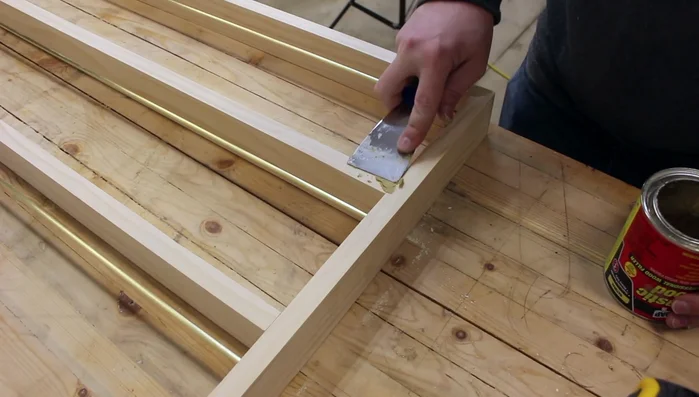
Assemble Shelf Units Conceal Pocket Holes
- Fill pocket holes with 3/8 dowels, gluing and hammering them in place.
- Cut off excess dowel using a multi-tool or hand saw, then sand smooth.
- Fill all gaps and joints with wood filler.
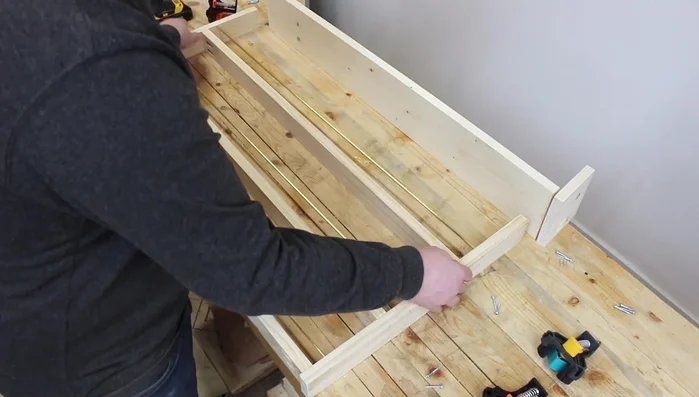
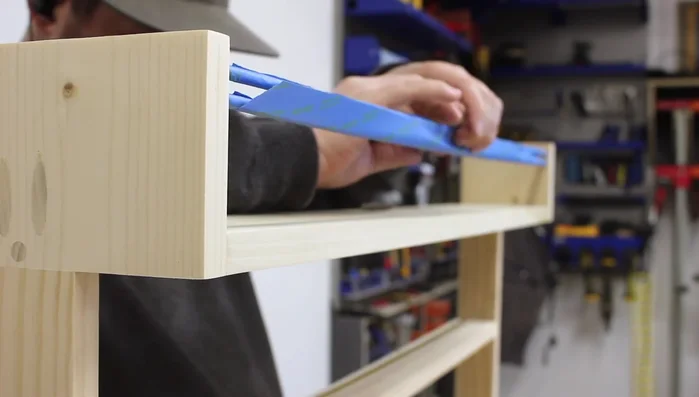
Conceal Pocket Holes Final Assembly
- Attach the top and bottom units together.
Final Assembly Finishing Touches
- Prime and paint the spice rack (primer first, then final coat).
- Install wall hangers and hang the spice rack.
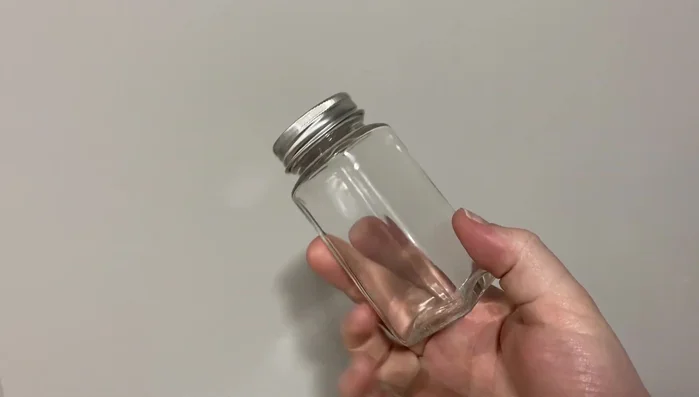
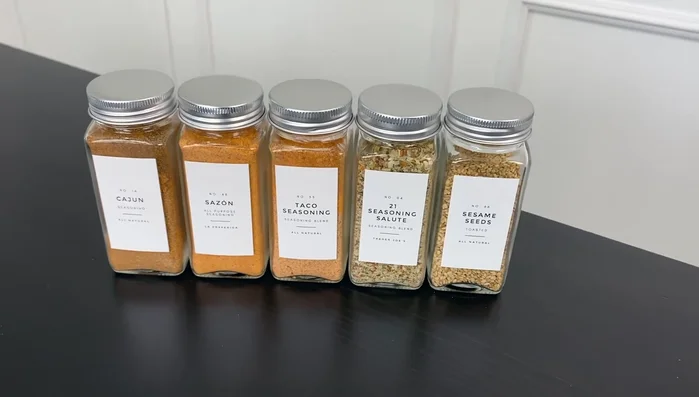
- Add spices and labels.
Finishing Touches


Read more: DIY Pantry Door Spice Rack: Organize Your Spices in Minutes!
Tips
- Gang cutting ensures all like pieces are the same length.
- Using a drill press for drilling holes ensures accuracy and straightness, but a hand drill works in a pinch.
- Small corner clamps are affordable and easy to use for assembly.
- Using dowels to fill pocket holes is more cost-effective than store-bought plugs.
- Applying primer before paint creates a smoother finish.