Tired of staring at the same old kitchen but dreading the cost of a full renovation? You're not alone! Many homeowners crave a kitchen refresh, but the idea of a complete overhaul can feel overwhelming, both financially and logistically. A selective kitchen edit offers a fantastic alternative, allowing you to achieve a stylish and updated look without breaking the bank or spending weeks on a major project. This approach focuses on strategic updates that maximize impact for minimal investment.
Forget extensive demolition and expensive appliances – this guide will show you how to revitalize your kitchen with simple, budget-friendly swaps and clever styling tricks. We’ll focus on transforming your space through careful selection of paint colors, affordable hardware upgrades, and strategic decluttering. Ready to discover how to achieve a stunning kitchen refresh without the hefty price tag? Let’s dive into our step-by-step process for a budget-friendly kitchen transformation.
Preparation and Safety Guidelines
- Screws
- Glue
- MDF
- Dowel
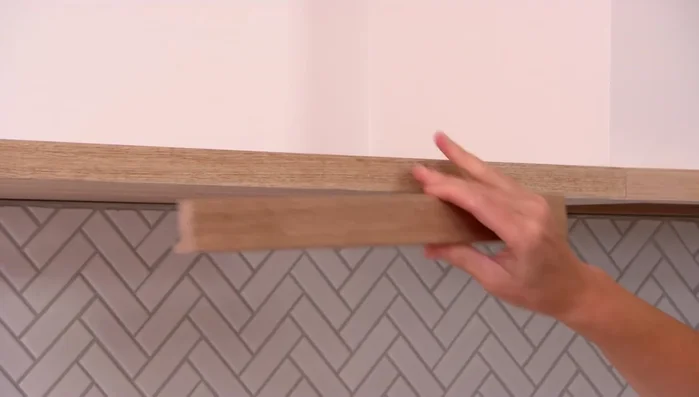
- Timber Molding
- Resin for Countertops
- Paint
- Tiles
- New Appliances
- Cabinet Handles
- Always unplug appliances before cleaning or repairing them. Electricity and water are a dangerous combination.
- Use caution when handling cleaning chemicals. Wear gloves and ensure proper ventilation. Follow product instructions carefully.
- Be mindful of sharp objects like knives and broken glass when decluttering and reorganizing. Dispose of broken items safely.
Step-by-Step Instructions
Declutter and Prepare
- Selectively remove broken or unnecessary items. Keep the existing structure (bones) of the kitchen.
Open Up the Space
- Remove bulkheads to open up the space.

Open Up the Space Install New Surfaces
- Install new countertops (consider resin for easy joining of surfaces).
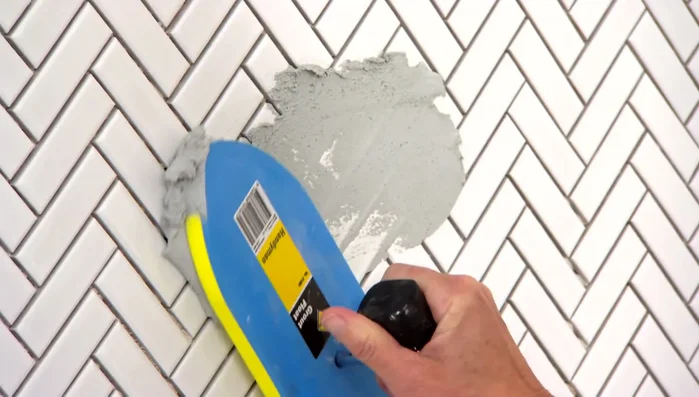
- Tile the walls, using a light-colored grout to create a visual flow.
Install New Surfaces Update Storage
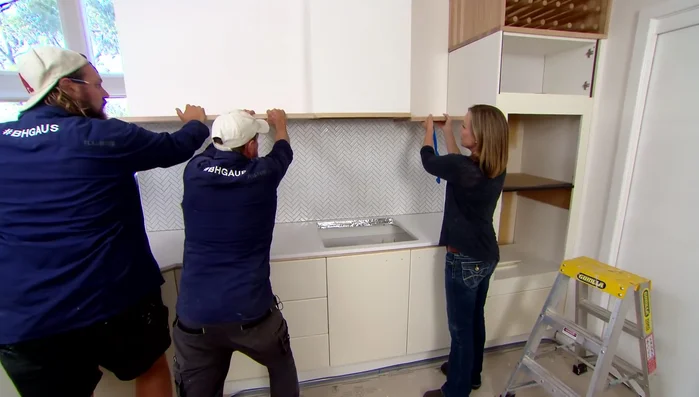
- Replace upper cabinets with open shelving for storage without major structural changes.
Install Appliances and Hood
- Install an integrated range hood, concealing the housing to maintain a minimalist design.
Add Functional Details
- Add simple details like a wine rack in the gap above the oven to utilize unused space.
- Install shelves on either side of the range hood to create visual continuity.
Add Functional Details Enhance the Island
- Update the kitchen island's front with V-board for texture and visual appeal.
- Install a foot rail for added convenience and visual interest.
Enhance the Island Refine the Details
- Replace cabinet handles with new ones to match the overall kitchen aesthetic (timber handles in this case).
Refine the Details Install Hanging Planters
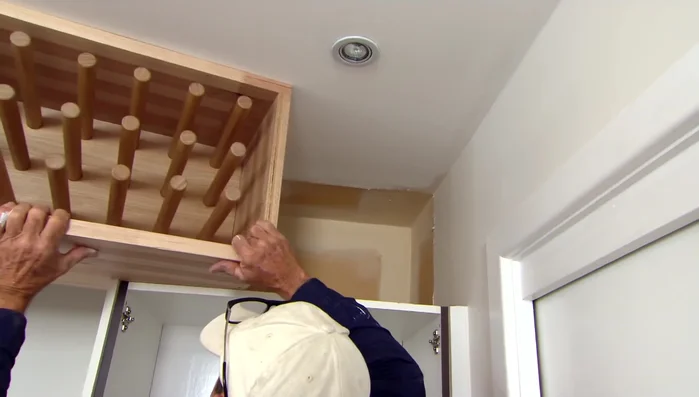
- Construct a hanging plant rack over the island to add a style statement and soften the look.
Install Hanging Planters Add Finishing Touches
- Install small shelves for plants using meranti or maple wood and half-round dowels.
Add Finishing Touches


Read more: DIY Pantry Door Spice Rack: Organize Your Spices in Minutes!
Tips
- Consider a calm color palette (Scandinavian vibe) for a relaxing atmosphere.
- Use natural materials (timber) to warm up the space.
- Choose grout color strategically to define or soften tile shapes.
- Use simple design details (like continuous lines) to create a cohesive look.
- Repurpose existing elements (like the kitchen's structure) to save time and money.