Children's toys – a constant source of joy, and often, a source of clutter! A sturdy toy box is the perfect solution to keep those precious playthings organized and easily accessible, while also adding a touch of charm to your child's room. Forget flimsy, easily-broken plastic bins; this guide will show you how to build a truly robust and long-lasting toy box that can withstand years of enthusiastic play and countless toy-related adventures. We'll explore the materials you'll need, provide clear instructions on assembly techniques, and offer tips for customization to match your child's personality and your home decor.
This ultimate guide offers a comprehensive step-by-step process for building a toy box that's not only beautiful but built to last. From selecting the right wood to applying the finishing touches, we’ll cover everything you need to know to create a functional and safe storage solution that will be cherished for years to come. Get ready to roll up your sleeves and build the perfect toy box for your little one!
Preparation and Safety Guidelines
- Computer
- 1x4 pine lumber
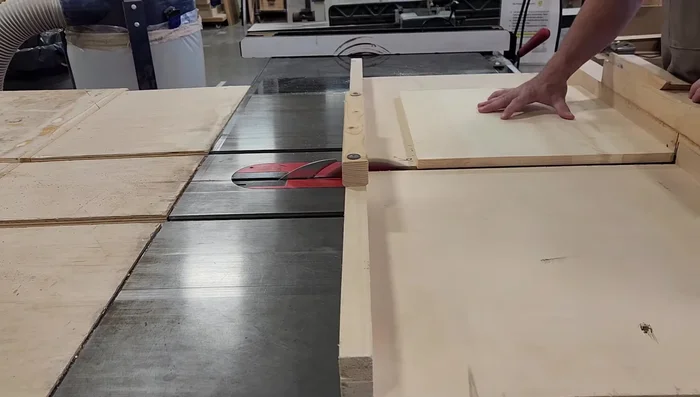
- Table saw
- Edge jointer
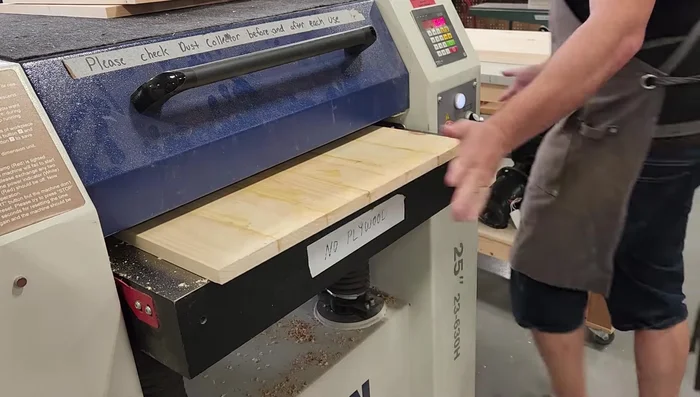
- Planer (25in)
- Parallel clamps
- Chisel
- Glue scraper
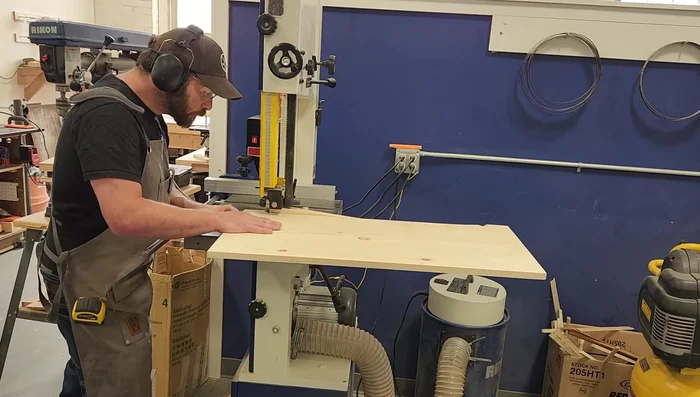
- Band saw
- Oscillating sander (or belt sander)
- Rounded file
- Domino joiner (optional)
- Dowels or screws (optional)
- Brad nailer
- Router
- Spacers
- Hinges
- Soft-close pistons
- Handles
- Osmo wood wax finish
- Tack cloth
- Sandpaper
- Always use non-toxic paints, stains, and finishes. Children will inevitably put toys (and potentially their mouths) near the box.
- Ensure all hardware, like hinges and latches, are securely fastened and pose no choking hazard. Consider recessed hinges and child-safe latches.
- Check for sharp edges or corners and sand them smooth to prevent injuries. Regularly inspect the toy box for any damage or wear that could compromise safety.
Step-by-Step Instructions
Planning and Preparation
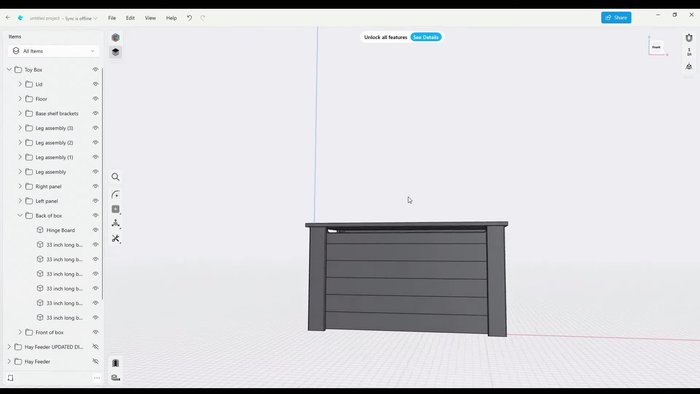
- Design the toy box on a computer.

Planning and Preparation Wood Preparation and Cutting
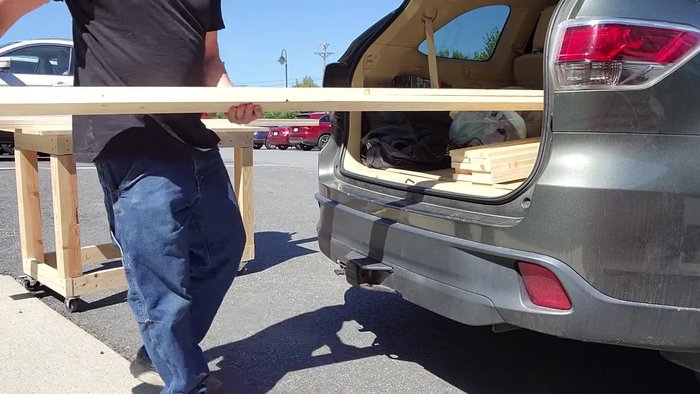
- Select and carry the wood inside.
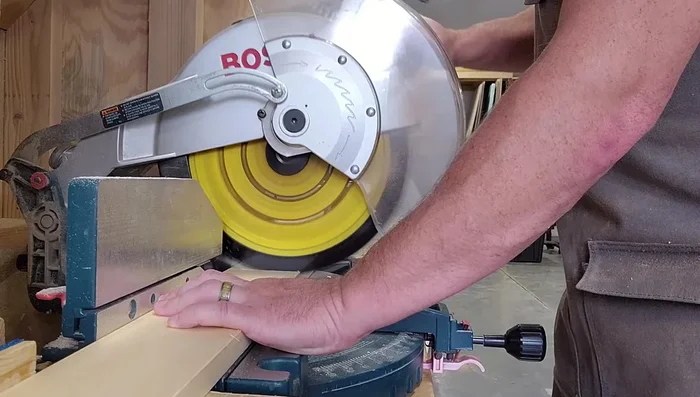
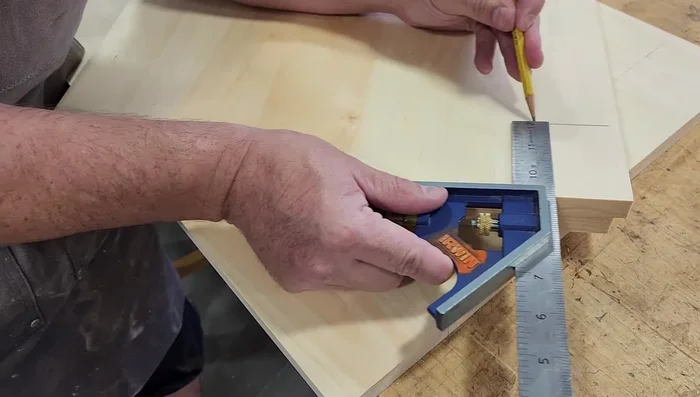
- Cut boards to rough length and mill them (edge jointing is crucial, mark the 90° edge).
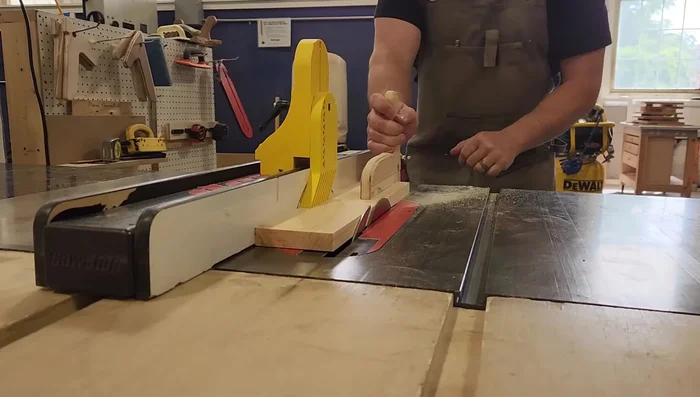
- Trim boards to final width on the table saw and label them (front, back, sides, top).
Wood Preparation and Cutting Panel Assembly and Refinement
- Glue up the panels, arrange boards for aesthetic appeal (best facing front, less appealing at back). Use parallel clamps for even pressure. Let glue dry overnight.
- Clean excess glue (glue scraper recommended).
- Plane the panels to clean up faces.
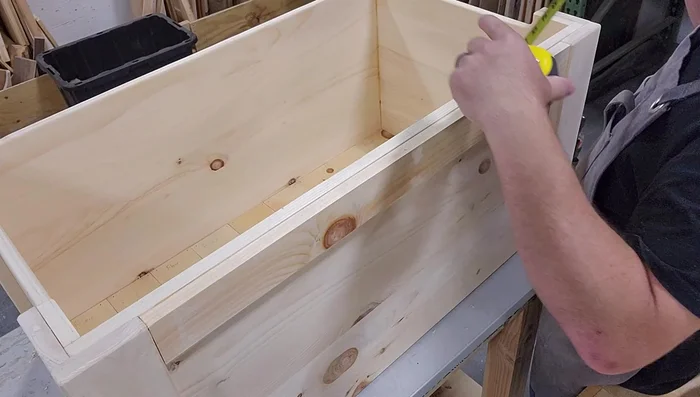
- Trim panels to final size on the crosscut sled.
Panel Assembly and Refinement Adding Detail and Functionality
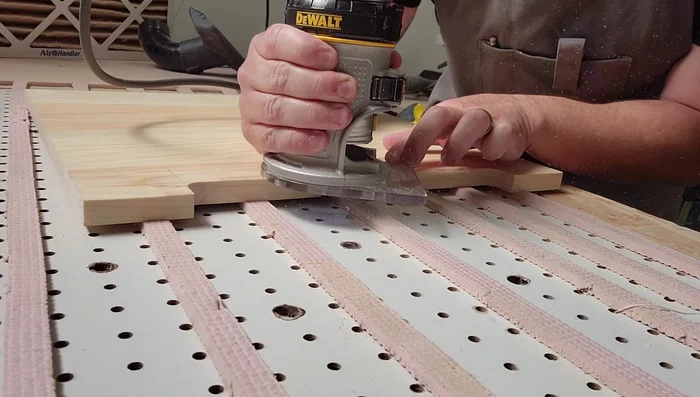
- Cut finger grooves in the front and sideboards (use leg boards as templates, cut on bandsaw, stay outside the line and sand down later).
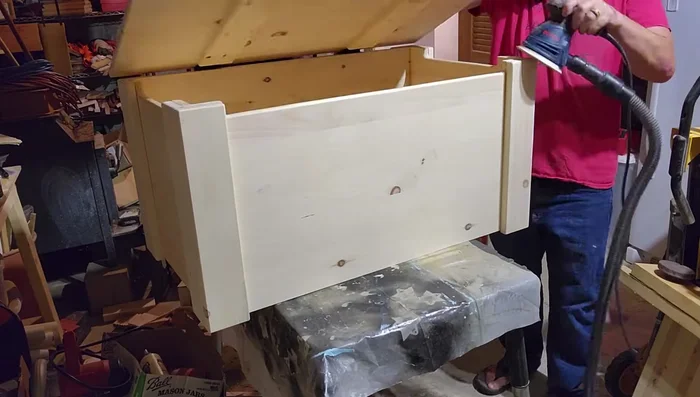
- Sand the finger grooves (oscillating or belt sander, clean corners with file and hand sanding).
- Round over exposed edges and sand.
Adding Detail and Functionality Box Assembly
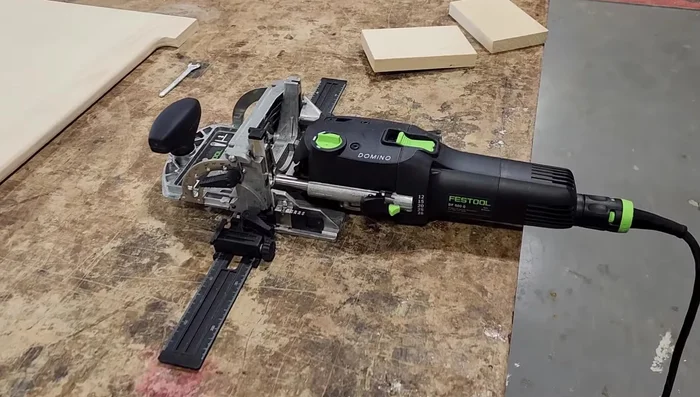
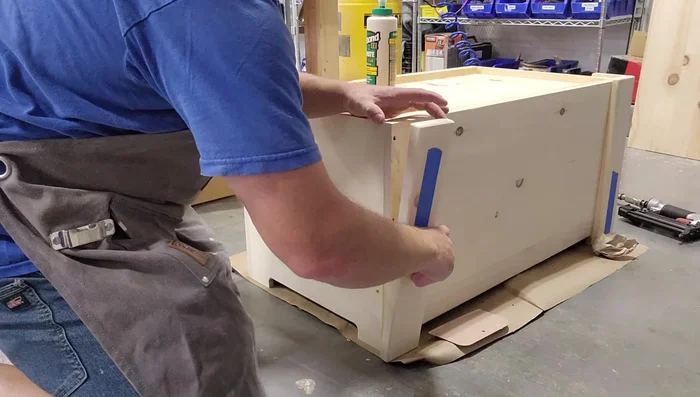
- Join the box (Domino joiner is highly efficient, but dowels, screws, or strong glue with clamps are alternatives).
Box Assembly Interior Construction
- Build the floor (glue and brad nail floorboards onto shelves pre-installed in the interior).
Interior Construction Leg Assembly
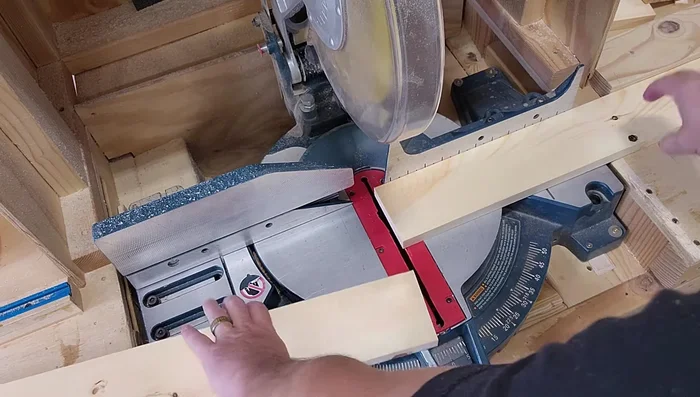
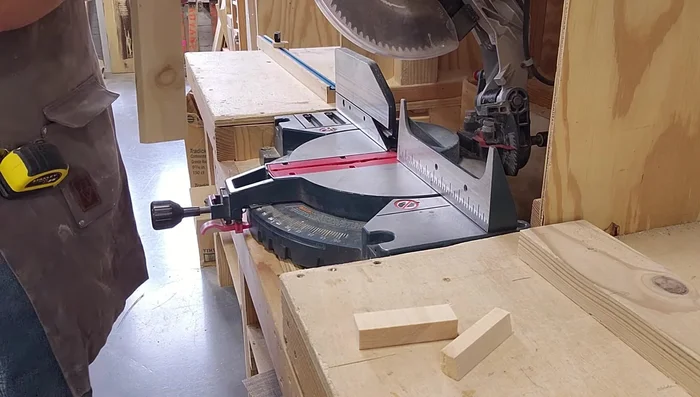
- Prepare legs (trim to size, round over edges as needed).
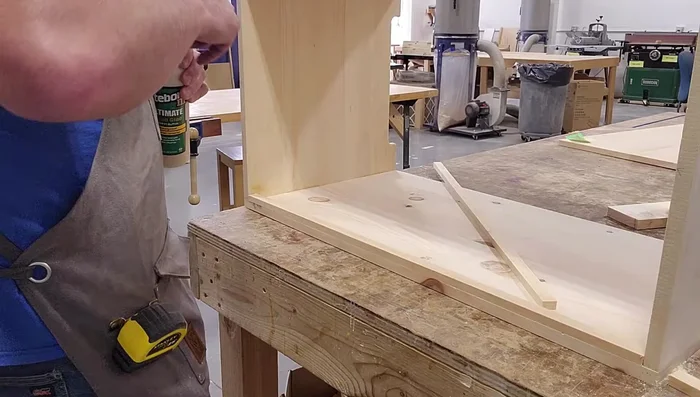
- Attach legs (glue and brad nails, use spacers for even gap, consider using a router to trim flush with box top).
Leg Assembly Top Construction
- Construct the top (cut braces to prevent warping, glue to top, trim to size leaving a reveal).
Top Construction Finishing Touches
- Install hinges and pistons (use half the screws initially, finish later for better stability).
- Fill screw holes, sand, and apply finish (Osmo wood wax finish).
- Add handles.
Finishing Touches


Read more: Build a Giant Toy Box: DIY Playroom Organization
Tips
- Mark the 90° edge on boards to avoid confusion during assembly.
- Use a glue scraper for efficient glue removal.
- Use the right tool for the job. The glue scraper and planer were noted as game changers.
- Pre-plan your wood arrangement for aesthetic reasons.
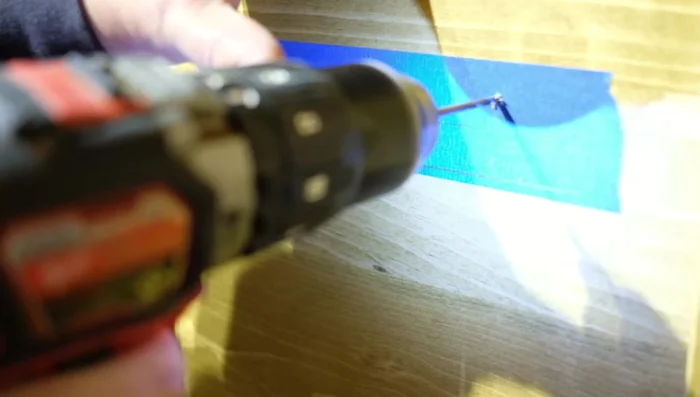
- Apply blue tape to inside corners to prevent glue staining.