Dreaming of a vibrant vegetable patch or a stunning flower garden but facing limited space or poor soil? Building your own raised garden bed is the perfect solution, offering improved drainage, soil control, and a beautiful aesthetic addition to any yard. This project doesn't require a hefty budget or advanced carpentry skills; in fact, we'll show you how to construct a robust and attractive raised bed using readily available and affordable fence boards. Forget expensive pre-fabricated options and embrace the satisfying DIY approach.
This guide outlines a budget-friendly method for creating a raised garden bed using readily sourced fence boards. We’ll take you through each step, from choosing the right materials and planning your design to assembling and finishing your beautiful, functional new garden space. Ready to get your hands dirty and build your dream garden? Let's begin!
Preparation and Safety Guidelines
- Fence boards
- Exterior screws
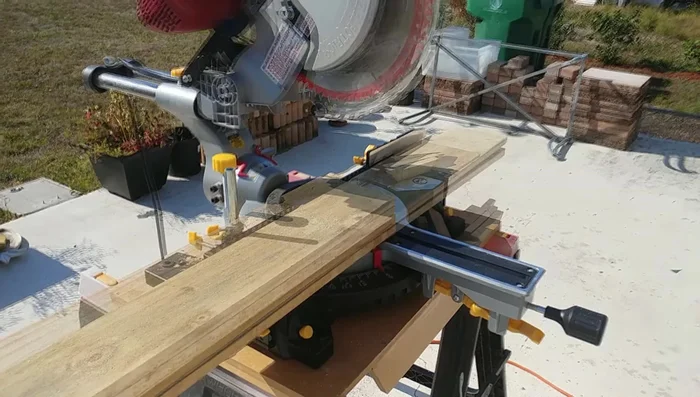
- Miter saw (or miter box and handsaw)
- Drill(s) or flip bit
- Wood glue (optional)
- Always wear safety glasses and gloves when using tools like saws and hammers. Wood splinters and flying debris can cause serious eye and hand injuries.
- Ensure the ground is level before assembling the raised bed to prevent uneven settling and potential structural damage.
- Use treated lumber specifically designed for ground contact to prevent rot and extend the lifespan of your raised bed. Untreated wood will quickly decompose.
Step-by-Step Instructions
Prepare Materials
- Cut off the pointy ends of the fence boards. Cut two boards to 71 inches long. Cut three boards into four pieces, each 17 3/4 inches long. Cut three 36-inch balusters in half.

Prepare Materials Construct the Ends
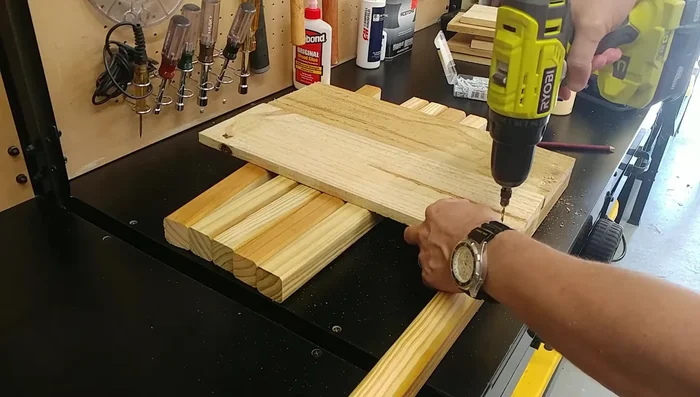
- Stack two of the 17 3/4-inch boards on top of a half-baluster and attach them securely with screws. Repeat for the other end, ensuring they are mirror images.
Construct the Ends Add Center Support
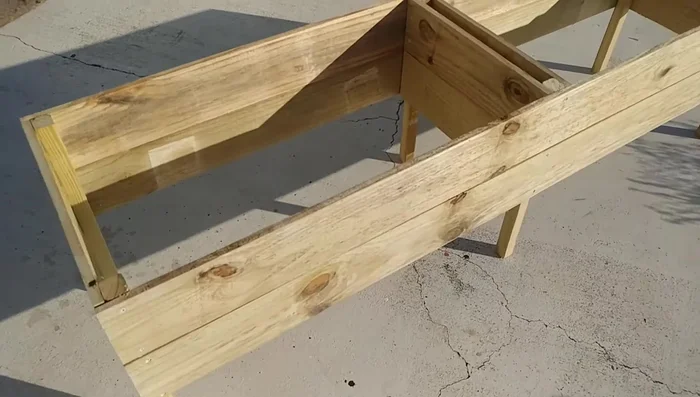
- Attach two smaller pieces (cut from remaining boards) to the inside of the ends to provide additional support, creating a divider.
Add Center Support Attach the Side Boards (First Side)
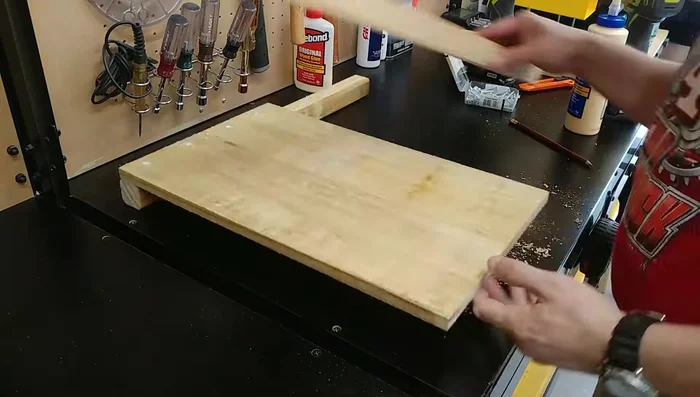
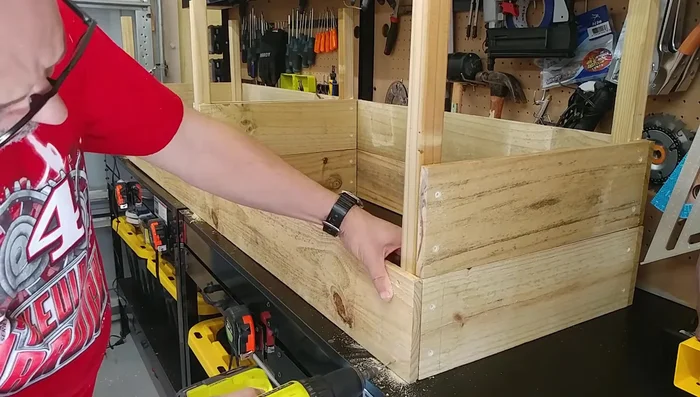
- Attach the remaining long (71-inch) boards to the ends, forming the sides of the raised bed. Ensure proper alignment.
Attach the Side Boards (First Side) Attach the Side Boards (Second Side)
- Flip the structure and repeat step 4 to attach the other long boards.
Attach the Side Boards (Second Side) Add Base (Optional)
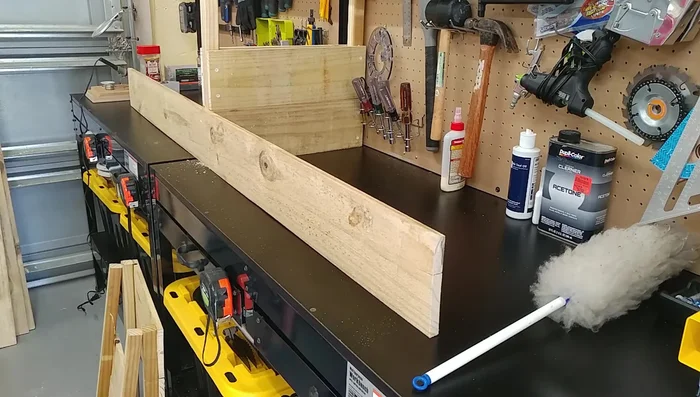
- Add legs or a bottom. If desired, add four more boards to the bottom to create a floor for added height and stability.
Add Base (Optional)
Read more: Build a Sag-Proof Wood Fence Gate: The Ultimate DIY Guide
Tips
- Use basic tools: While a miter saw is used in the video, a miter box and handsaw can be used for the cuts.
- Use readily available materials: Fence boards are cheap, readily available, and weather-resistant.
- Ensure mirror image ends: The two end pieces must be mirror images of each other to avoid assembly issues.
- Add extra support: The additional center supports help prevent bulging in the middle.
- Consider wood glue: Glue can help the planter stay together longer.