Wooden signs offer a rustic charm unmatched by other materials, but their natural vulnerability to the elements can significantly shorten their lifespan. Exposure to sun, rain, and snow leads to fading, warping, and eventual rot, rendering your beautiful handcrafted signage unusable. This is where resin comes in – a protective barrier that dramatically extends the life of your wooden creations, safeguarding your investment and ensuring your message remains clear and visible for years to come. This is especially crucial when using vinyl decals, as they're susceptible to peeling and damage from moisture.
This guide provides the ultimate solution: a comprehensive, step-by-step process to completely weatherproof your wooden signs using resin, even those adorned with vinyl decals. We'll walk you through each stage, from preparing the wood to applying the final resin coat, guaranteeing a professional-looking, long-lasting finish. Ready to transform your vulnerable wooden signs into weather-resistant masterpieces? Let's dive into the detailed instructions.
Preparation and Safety Guidelines
- Wooden sign
- Stain
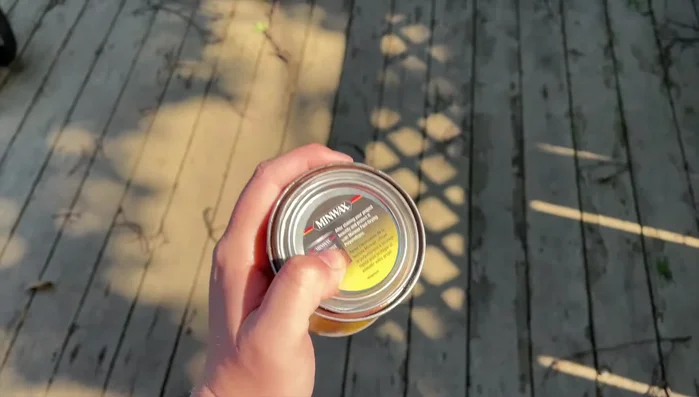
- UV resin
- Silicone brush
- Gloves
- Rag
- Vinyl decal
- Heat gun (optional)
- Lighter (optional)
- Always work in a well-ventilated area. Resin fumes can be harmful if inhaled.
- Wear appropriate safety gear, including gloves, eye protection, and a respirator. Skin contact and eye exposure should be avoided.
- Dispose of resin and its containers properly according to local regulations. Resin is a hazardous material.
Step-by-Step Instructions
Prepare the Wooden Sign
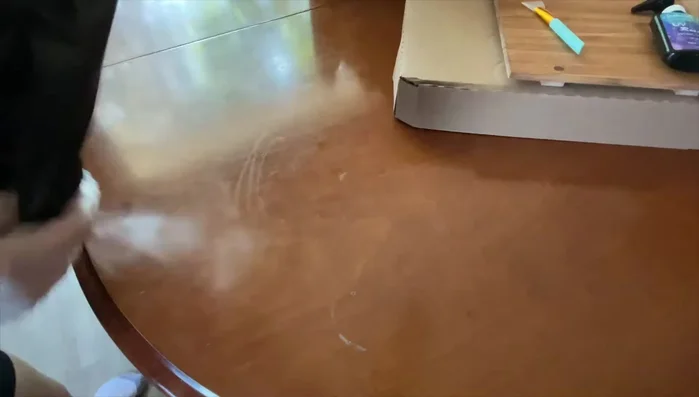
- Stain the wooden sign.

Prepare the Wooden Sign Apply First Resin Coat
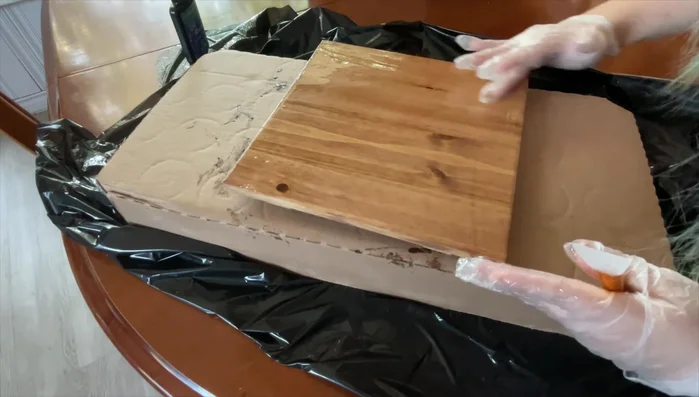
- Apply a coat of resin to seal the wood.
- Spread the resin evenly using a silicone brush and fingers.
Apply First Resin Coat Cure the Resin
- Cure the resin using UV light or sunlight.
Cure the Resin Apply Vinyl Decal
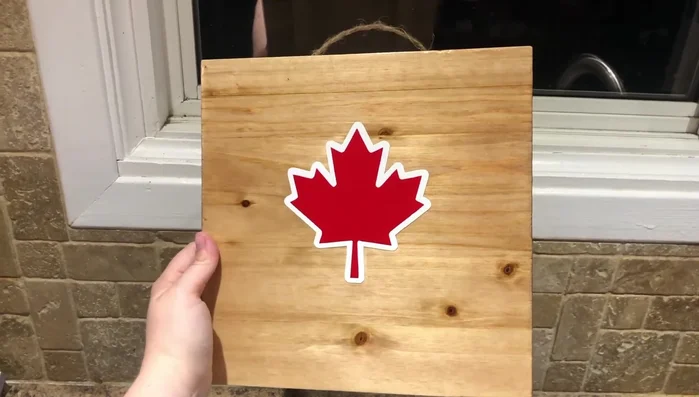
- Apply the vinyl decal.
Apply Vinyl Decal Apply Second Resin Coat (Optional)
- Apply a second coat of resin over the vinyl (optional).
Apply Second Resin Coat (Optional)


Read more: Build a Sag-Proof Wood Fence Gate: The Ultimate DIY Guide
Tips
- Work in a well-ventilated area when staining and applying resin.
- Allow ample drying time between stain coats.
- Use a heat gun or lighter to remove bubbles from the resin (optional).
- Avoid touching the freshly cured resin to prevent fingerprints.
- Using permanent vinyl and sealing with resin ensures maximum weatherproofing.