Maintaining a lush, thriving garden can be a rewarding but demanding task, especially during dry spells. Consistent watering is crucial, but lugging watering cans or relying on inefficient sprinkler systems can be time-consuming and wasteful. A well-designed DIY garden irrigation system offers a practical solution, providing targeted hydration while conserving precious water and minimizing your workload. This approach focuses on creating an efficient, low-pressure system perfect for smaller to medium-sized gardens, eliminating the need for expensive, high-pressure pumps.
This article presents a step-by-step guide to constructing your own low-pressure irrigation system, using readily available and affordable materials. From planning your layout and selecting appropriate components to installation and ongoing maintenance, we’ll walk you through each stage of the process, empowering you to create a customized solution tailored to your garden's unique needs. Let's get started!
Preparation and Safety Guidelines
- 3/4 inch hose
- 1/2 inch pipes
- Tees
- Elbows
- Valves
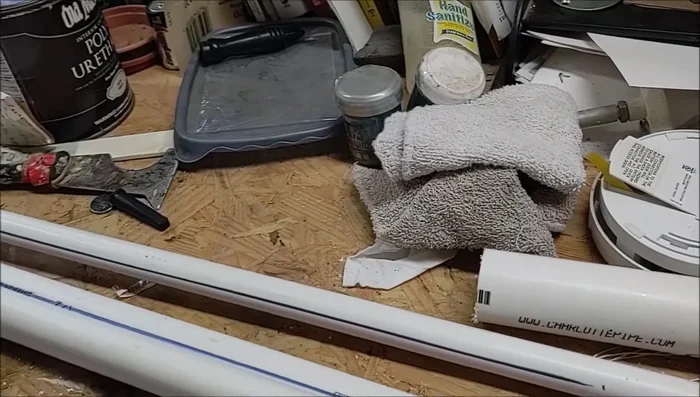
- Pipe cement
- Drill
- 1/16 drill bit
- Caps
- Tape measure
- Sharpie
- Always turn off the water supply before making any adjustments to the system or working on any components. Failure to do so can lead to water damage and injury.
- Use appropriate fittings and connectors for your pipe size and pressure. Improper connections can lead to leaks and system failure.
- Never bury electrical wiring near irrigation lines. Contact with water can cause electrical hazards.
Step-by-Step Instructions
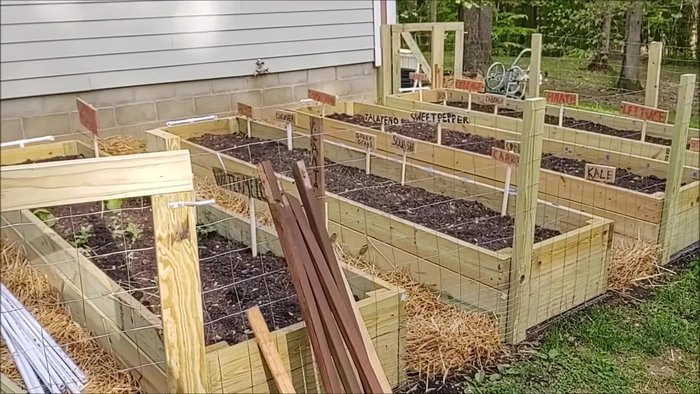
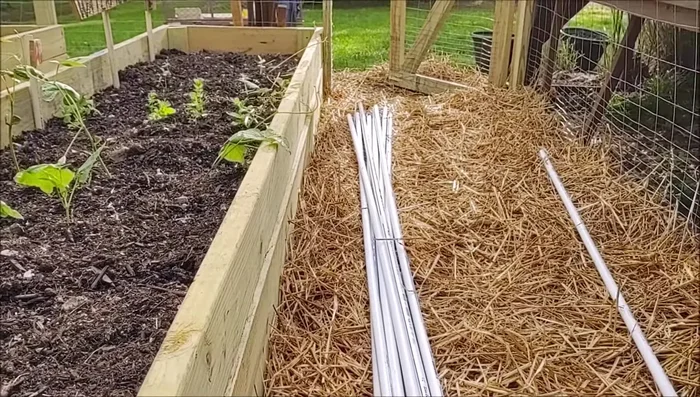
Garden Preparation
- Prepare the garden beds and install fencing and pathways.

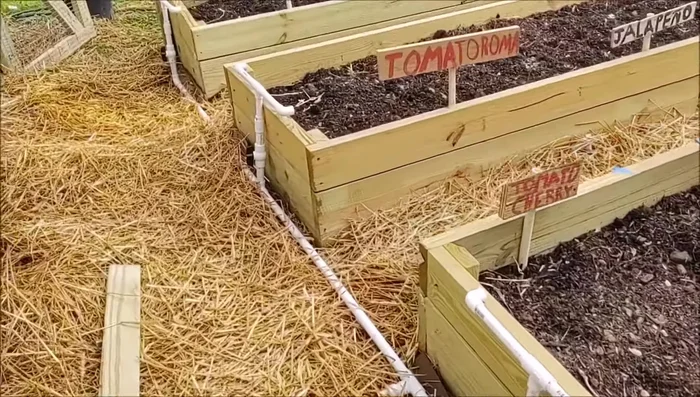
Garden Preparation Install Main Irrigation Line
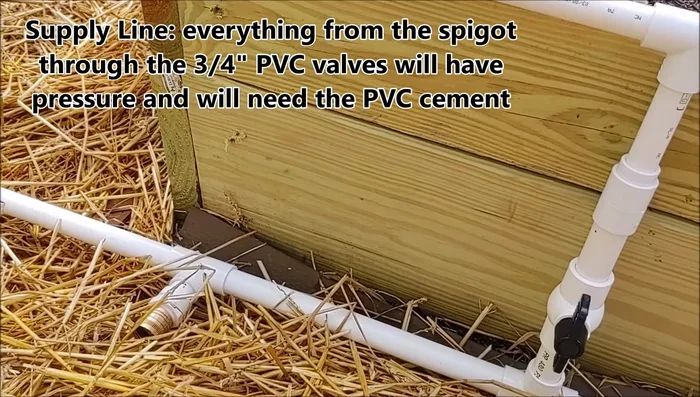
- Install the main 3/4 inch irrigation line with an adapter to your garden hose. Use tees to split the line to different garden beds.
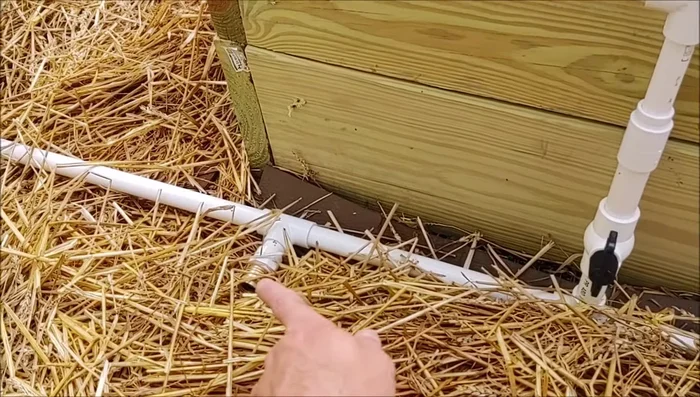
Install Main Irrigation Line Install Valves for Pressure Control
- Install a valve on each 3/4 inch line leading to a bed to control water pressure individually.
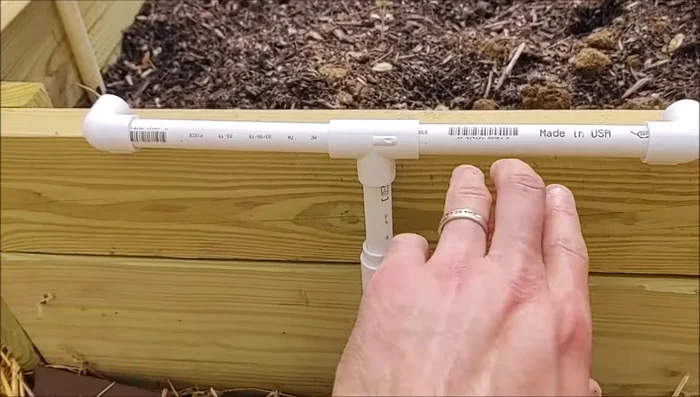
Install Valves for Pressure Control Install Bed-Specific Irrigation Lines
- Reduce the line to 1/2 inch pipes for each bed. Minimize bends by teeing off the main line close to the bed.
- Lay the 1/2 inch pipes along the length of each bed.
Install Bed-Specific Irrigation Lines Drill Irrigation Holes
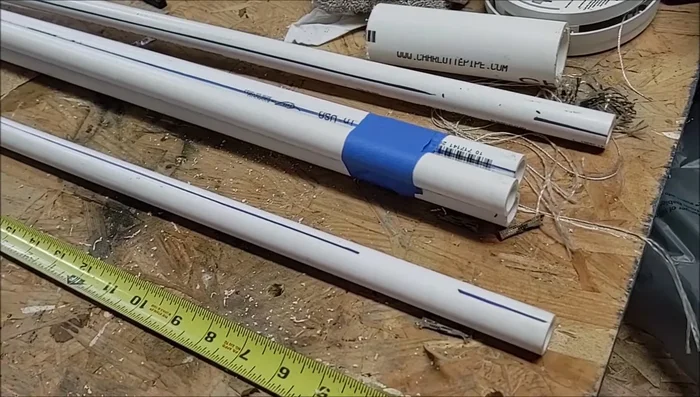
- Use the 'three pipes' method to mark and drill holes in the 1/2 inch pipes (every 6 inches, add more holes if needed).
Drill Irrigation Holes Pressure Test the System
- Pressure test the entire system *before* applying pipe cement. This allows adjustments and ensures functionality before cementing the pipes.
Pressure Test the System Secure and Cement Pipes
- Apply pipe cement to the 3/4 inch lines.
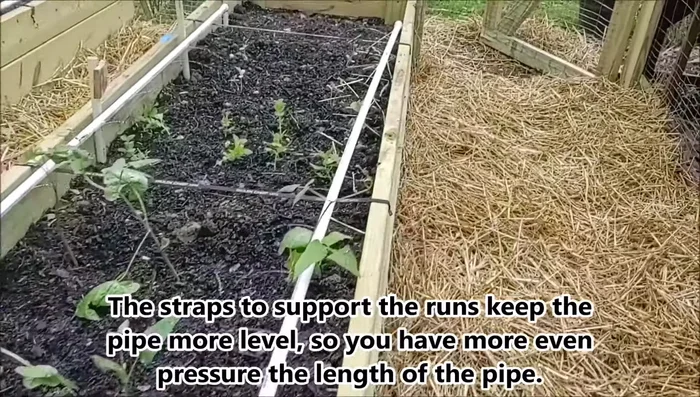
- Secure the pipes to the bed surface with straps to allow for adjustments later.
Secure and Cement Pipes
Read more: Build a Sag-Proof Wood Fence Gate: The Ultimate DIY Guide
Tips
- Minimize bends in the 1/2 inch lines for better water flow.
- Use a low-pressure system (after the valves) for easier adjustments and part replacement later.
- 'Three pipes' drilling method for evenly spaced holes: Tape three pipes together, mark a line down the center, drill along the line, then separate.
- Use a pressure test to check the system’s functionality *before* permanently cementing the pipes.
- Use straps to secure the pipes, allowing for easy adjustments and relocation if necessary.