Dreaming of a vibrant outdoor bar where you can entertain friends and family, but lack the hefty investment of a full workshop? Don't let a tool shortage stifle your creativity! Building your dream outdoor bar is entirely achievable, even without owning every power tool under the sun. This project prioritizes clever planning and readily available resources, proving that stunning results are within reach for every budget and skill level. You'll be surprised at how much you can accomplish with a little ingenuity and some strategic tool rentals.
Forget expensive equipment and complicated designs; this guide focuses on practical solutions and efficient techniques. We'll navigate the entire process, from selecting the perfect location and choosing budget-friendly materials to mastering crucial construction steps with readily accessible tools. Ready to transform your outdoor space into the ultimate entertaining haven? Let's dive into the step-by-step process!
Preparation and Safety Guidelines
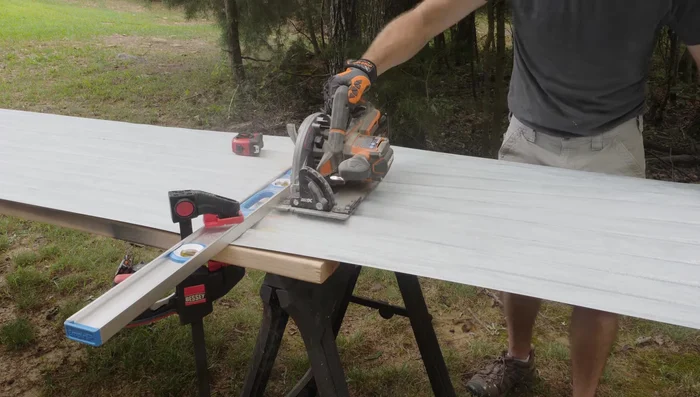
- Kreg Track Saw
- Electric Mixer (rental)
- Miter Saw
- Jointer
- Planer
- Pocket Hole Jig
- Heavy Duty Pocket Hole Screws
- Brad Nailer
- Bandsaw
- Tape Measure
- Square
- Rulers
- Safety Glasses
- Dust Mask
- Gloves
- Construction Adhesive
- Silicone Caulk
- Denatured Alcohol
- Concrete Mix
- Re-mesh
- Clear Plastic Packing Tape
- Magnesium Float
- Steel Trowel
- Corrugated Roofing Panels
- Cedar Lumber (2x4s and other dimensions)
- MDF scraps
- Always prioritize safety! Wear appropriate safety glasses and gloves when working with power tools, even if you're not operating them yourself. Understand the limitations of your skills and don't hesitate to ask for help with tasks beyond your capabilities.
- Check local building codes and regulations before starting your project. Ensure your outdoor bar complies with zoning laws and permits may be required depending on the size and structure of your build.
- If using rented tools, familiarize yourself with their operation *before* starting your project. Ask the rental company for demonstrations and safety instructions. Never operate tools you don't understand.
Step-by-Step Instructions
Create the Concrete Countertop
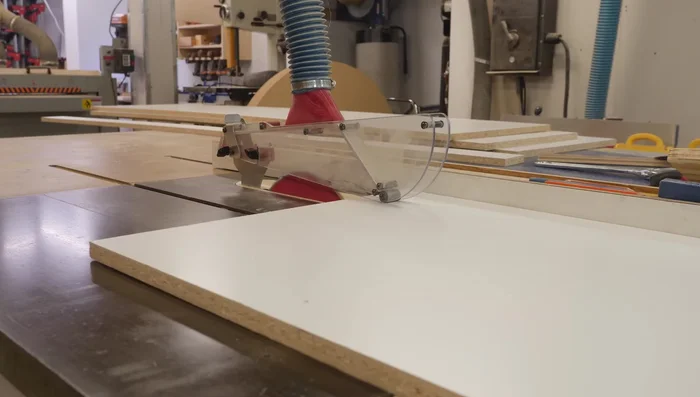
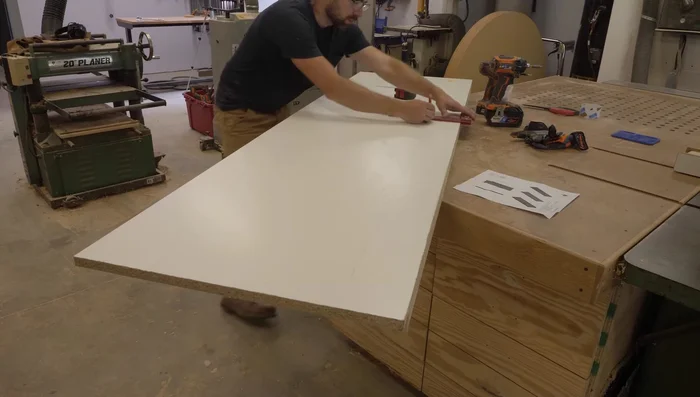
- Build the concrete countertop mold using ¾” melamine.
- Seal the melamine edges with clear plastic packing tape to prevent swelling from concrete moisture.
- Assemble the mold and apply silicone caulk to interior corners for additional waterproofing.
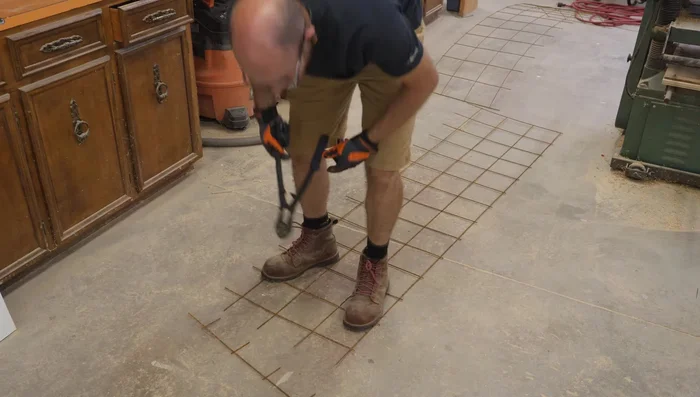
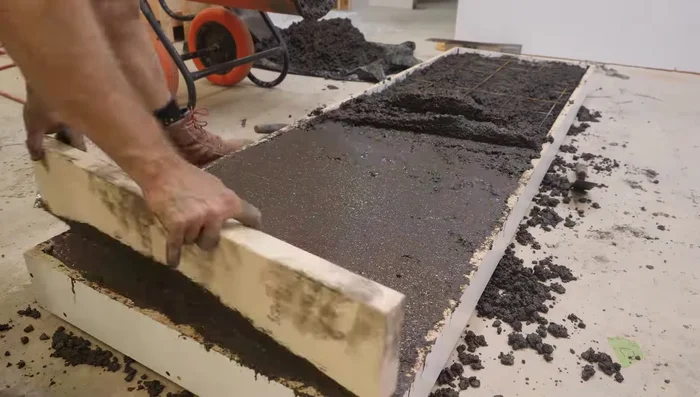
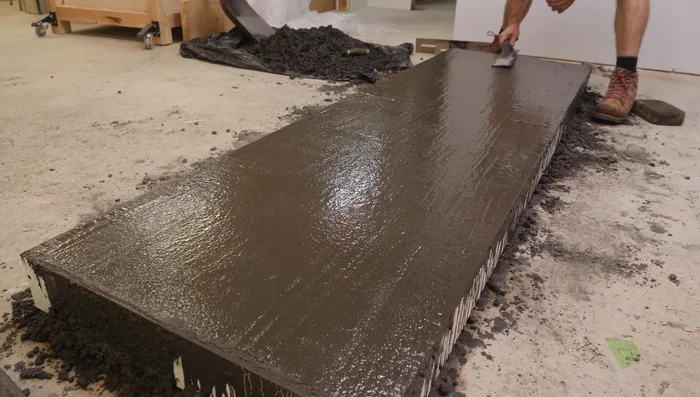
- Place remesh inside the mold, then pour and screed the concrete.

Create the Concrete Countertop - Vibrate the form to remove air bubbles (rent a vibrating tool if necessary).
- Float and smooth the concrete surface using a magnesium float and steel trowel.
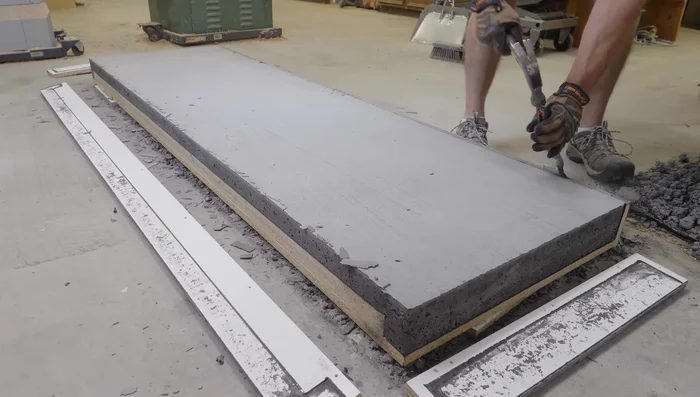
- After curing, remove the concrete countertop from the mold. Repair any imperfections with a tinted concrete patch.
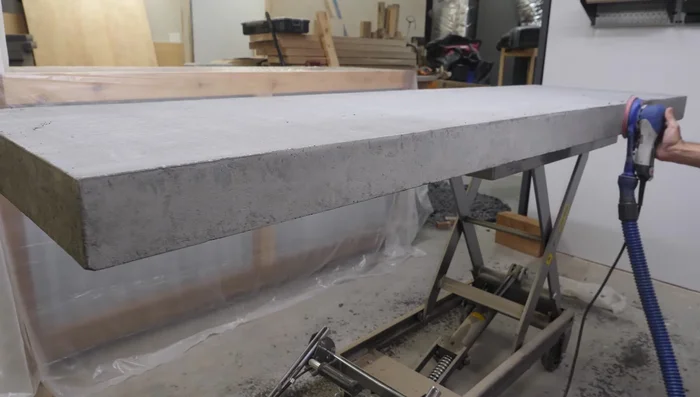
- Sand and seal the concrete countertop.
Create the Concrete Countertop Build the Bar Base
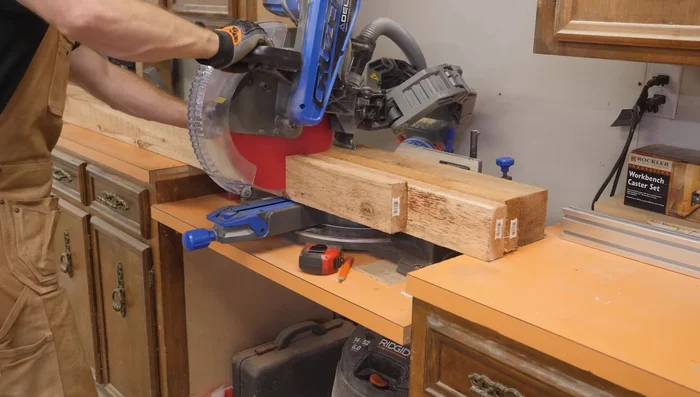
- Construct the bar base using cedar lumber for its rot resistance. Use a jointer and planer to prepare the lumber.
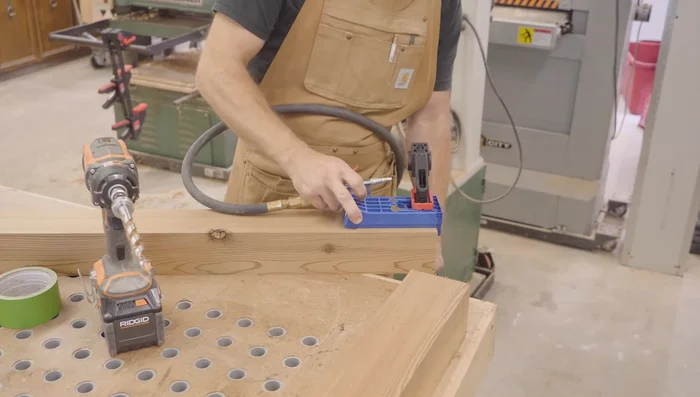
- Assemble the bar frame using pocket hole screws; pre-drill for added strength.
Build the Bar Base Construct the Shelves
- Create the bottom shelf using slats and support rails.
- Build additional shelves as needed, using similar techniques to the bottom shelf.
Construct the Shelves Install the Corrugated Metal
- Attach corrugated metal panels to the frame using appropriate screws.
Install the Corrugated Metal Final Assembly
- Attach the concrete countertop to the bar base using construction adhesive.
Final Assembly


Read more: Build a Sag-Proof Wood Fence Gate: The Ultimate DIY Guide
Tips
- Rent tools you don't own to save money and time.
- Use heavy-duty screws for outdoor applications.
- Properly vibrate the concrete form to eliminate air bubbles for a smoother finish.
- Spritz the concrete surface with water before applying a patch for better adhesion.
- Cedar is a great choice for outdoor projects due to its natural rot resistance.