Tired of generic serving trays that lack personality? Yearning for a handcrafted piece that reflects your unique style and adds a touch of rustic charm to your home? Then you've come to the right place! This ultimate guide will walk you through the rewarding process of building your own personalized wooden tray, from selecting the perfect wood to adding those special finishing touches that make it truly yours. Whether you're a seasoned woodworker or a complete beginner, this project is surprisingly accessible and incredibly satisfying.
Forget mass-produced items; embrace the beauty of handcrafted design. This guide provides clear instructions and helpful tips, guiding you step-by-step through each stage of construction. From choosing the right tools and materials to mastering essential woodworking techniques, you’ll soon be creating a beautiful, functional, and entirely unique wooden tray to cherish for years to come. Ready to get started? Let's dive into the step-by-step process!
Preparation and Safety Guidelines
- Track saw
- Table saw
- Jointer
- Planer
- Double square
- Drill press
- Jigsaw
- Chisel
- Sander
- Spindle sander
- Laser engraver
- Epoxy
- Flush cut saw
- Clamps
- Rubio Monocoat Pure
- Always wear safety glasses to protect your eyes from wood chips and dust.
- Use appropriate respiratory protection, such as a dust mask, when sanding or using power tools to avoid inhaling harmful particles.
- Ensure proper ventilation when working with stains, varnishes, or other finishes to prevent exposure to harmful fumes.
Step-by-Step Instructions
Prepare the Wood
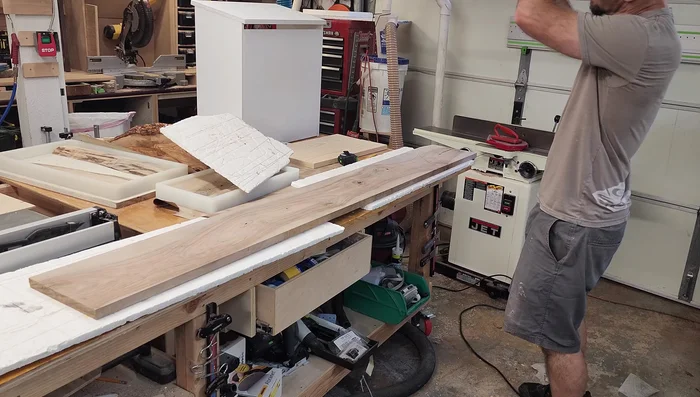
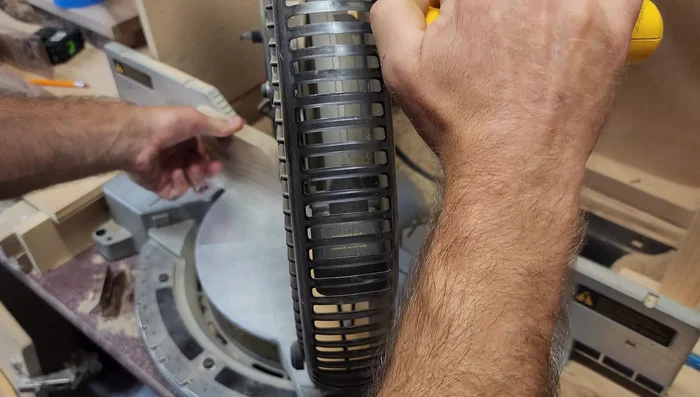
- Cut the Walnut to width using a track saw for a clean cut, then rip it to the desired width using a table saw with a ripping blade.
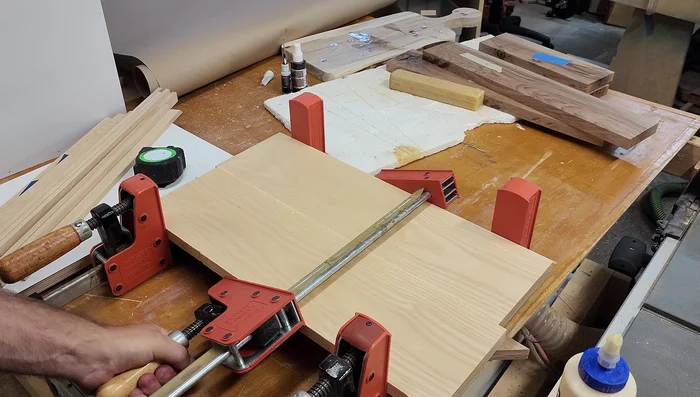
- Joint and glue two pieces together for a solid glue-up. This method ensures stability even if your jointer fence isn't perfectly aligned.
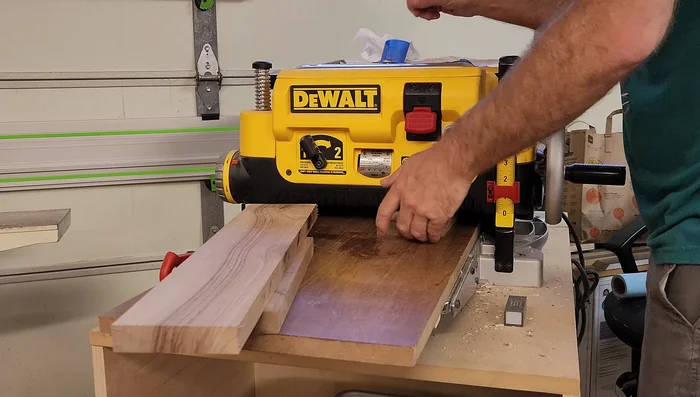
- Plane the Walnut pieces to ensure even thickness and a smooth surface.

Prepare the Wood Cut and Shape the Tray
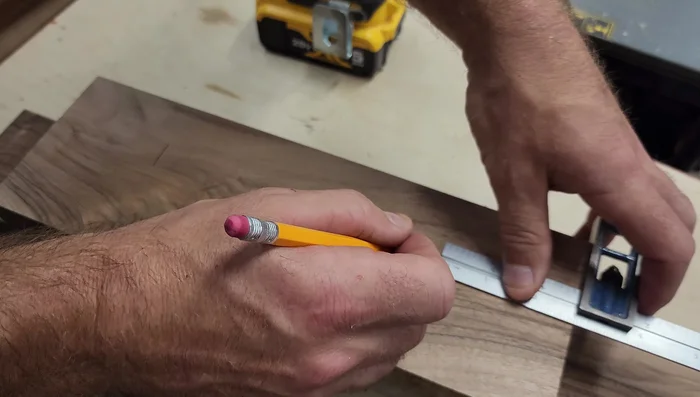
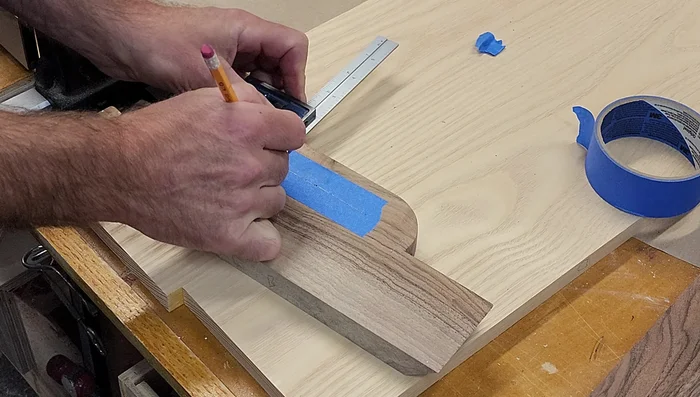
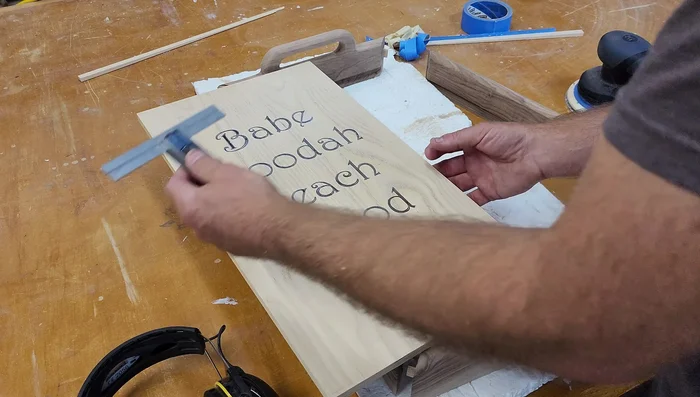
- Mark and cut the handle openings. Use a double square and a can to mark the handle shape. The video suggests using a larger radius for easier sanding.
- Cut the miters. The video recommends using a table saw with a crosscut sled and stop blocks for accurate and consistent cuts. Recutting on a table saw yields better results than a miter saw in this case.
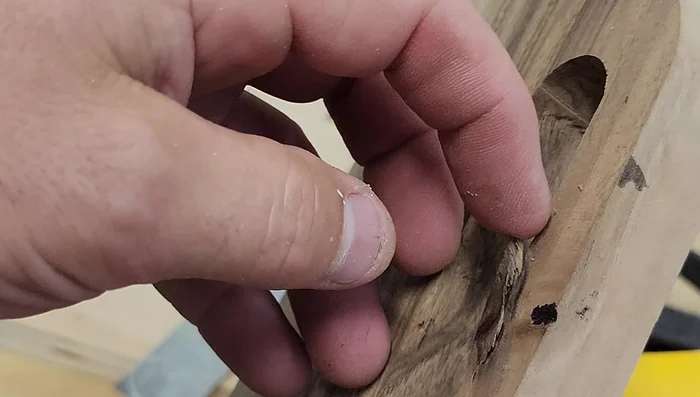
- Cut out the handles using a Forstner bit and a drill press to hog out most of the material. Then use a jigsaw (though a better method is suggested), chisel and sander to refine the shape.
- This step is presented as a possible solution and not always guaranteed to work.)
Cut and Shape the Tray Prepare for Assembly
- Cut dados for the bottom. The video highlights a mistake made by not locking the fence. To fix, find the highest dado, rip all to that height, and then carefully cut down to the desired height for a consistent fit.
Prepare for Assembly Assemble the Tray
- Square up the bottom, center it, and then rip off the excess. Glue the rails and clamp them securely.
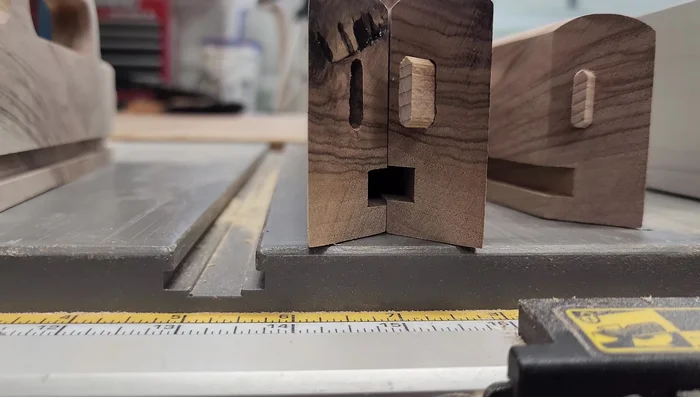
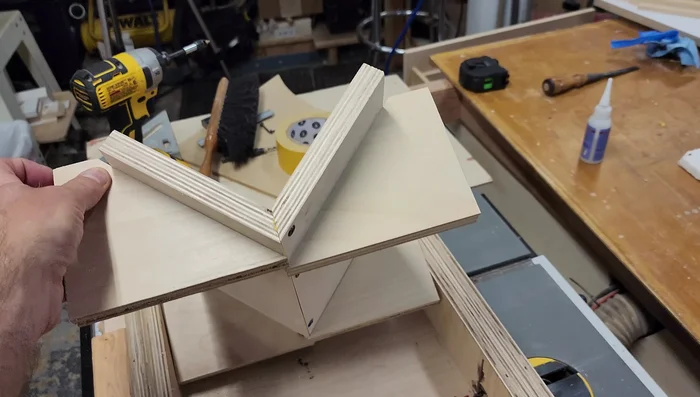
- Create and use a spline jig to cut and insert splines for added strength and stability.
Assemble the Tray Finishing Touches
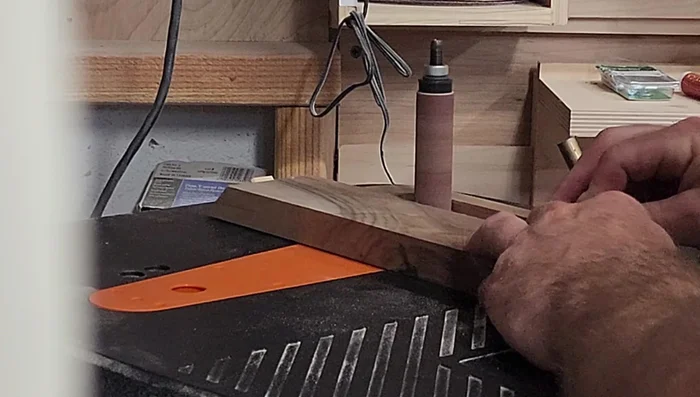
- Sand the tray thoroughly, using a spindle sander for hard-to-reach areas.
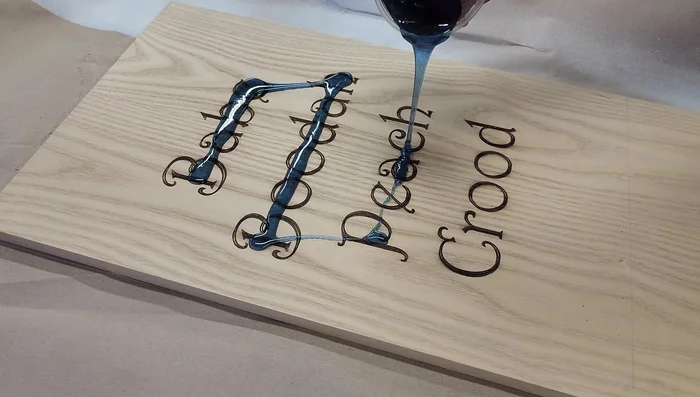
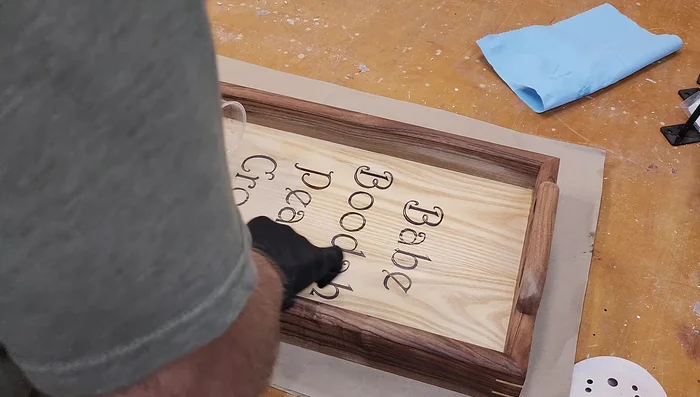
- Laser engrave the family nicknames and fill in the grooves with epoxy to prevent dust and debris buildup.
- Finish the tray using Rubio Monocoat Pure, applying it with a scrubby pad and buffing it off with a t-shirt.
Finishing Touches
Read more: DIY Pantry Door Spice Rack: Organize Your Spices in Minutes!
Tips
- Use a ripping blade for ripping and a crosscut blade for cross-cutting hardwoods.
- Gluing two pieces of wood together before jointing is a good trick for a solid glue up, even with an imperfect jointer fence.
- Use a larger radius when cutting out handles for easier sanding.
- Using a table saw with a crosscut sled and stop blocks for miter cuts is more accurate than a miter saw.
- Always double-check your fence is locked before cutting dados.