Tired of flimsy garden fences that buckle under the weight of a summer breeze or succumb to the first frost? Yearning for a robust, aesthetically pleasing boundary that will stand the test of time and enhance your outdoor space? Then building a cattle panel garden fence using the inset method is the perfect solution! This technique offers a unique blend of strength and visual appeal, transforming ordinary cattle panels into a stunning and durable garden feature. It's a surprisingly straightforward project, accessible to even novice DIY enthusiasts.
The inset method cleverly integrates the panels into the ground, providing unparalleled stability and minimizing the need for extensive posts. This guide will walk you through each step, providing clear instructions and helpful tips to ensure you achieve a beautiful and long-lasting fence that will protect your prized plants and add charm to your garden. Ready to get started? Let's dive into the step-by-step process!
Preparation and Safety Guidelines
- Redwood 4x4s
- Redwood 2x4s
- 16-foot cattle panels
- Angle grinder
- Router
- Router table
- Craig jig
- Post hole digger
- Hammer
- Screws
- String level
- Always wear gloves and safety glasses when handling cattle panels; the wire can be sharp and cause injury.
- Use appropriate post supports and ensure they are deeply and securely embedded in the ground to prevent the fence from collapsing or becoming unstable, especially in windy conditions.
- Check local building codes and regulations regarding fence height and placement before starting your project.
Step-by-Step Instructions
Prepare Fence Posts and Bottom Plates
- Set fence posts approximately four feet apart. Depth depends on climate; 18 inches was sufficient in a non-freezing climate.
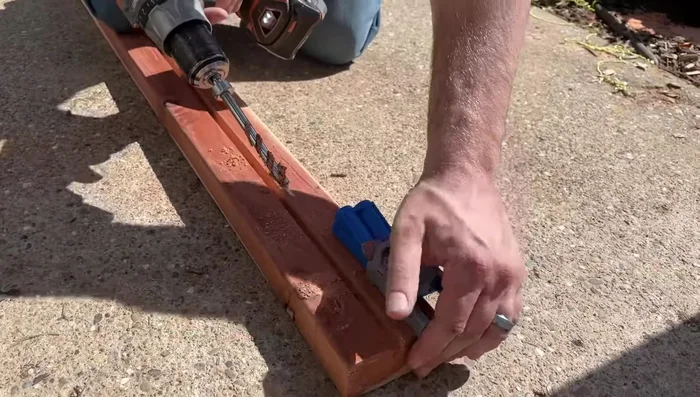
- Route grooves into posts and bottom plates before installation to inset the cattle panels.
- Install bottom plates using pocket holes for a hidden finish.

Prepare Fence Posts and Bottom Plates Prepare Cattle Panels
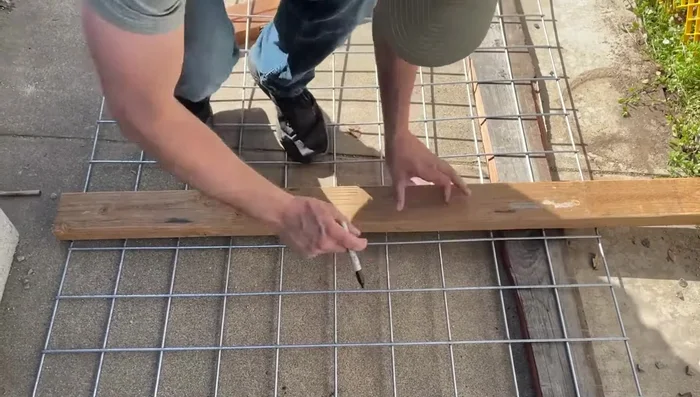
- Cut cattle panels to size using an angle grinder (or bolt cutters). Wear safety gear!
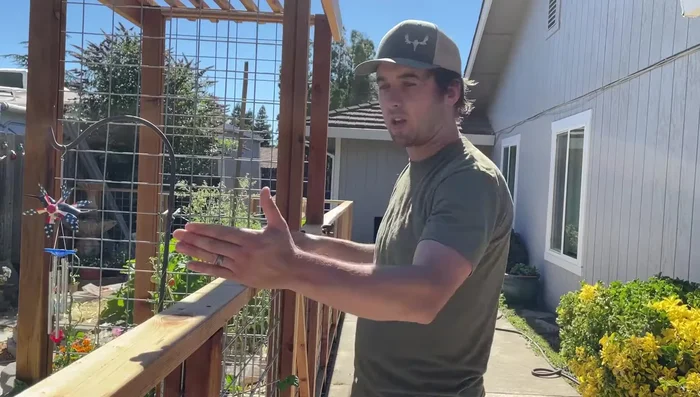
Prepare Cattle Panels Install Cattle Panels
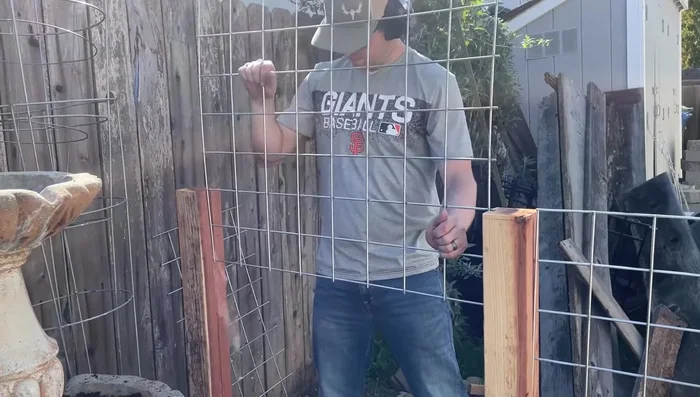
- Insert cattle panels into the routed grooves of the frame. No staples needed!
- Tap the cattle panels firmly into place with a hammer to ensure a secure fit.
Install Cattle Panels Install Top Bar
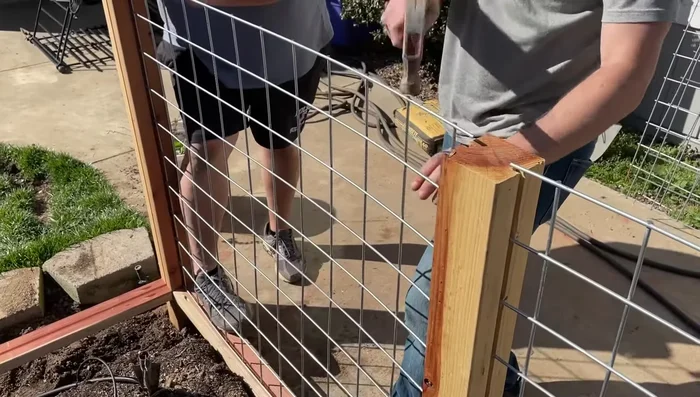
- Install the top bar, ensuring it's level using a string level.
Install Top Bar
Read more: Build a Sag-Proof Wood Fence Gate: The Ultimate DIY Guide
Tips
- When cutting cattle panels, add ½ inch extra height; ¼ inch will inset into the bottom rail and ¼ inch will be above the post for the top rail.
- Choose straight boards for easier routing. Warped boards will make the process more challenging.
- The inset method using a router saves material and creates a cleaner, more aesthetically pleasing look compared to the bracketed method.
- For the gate, create an angled bar, route it, trace the wire, and cut. Add a crossbar for aesthetics (optional).