Imagine a tranquil outdoor space, enhanced by a beautiful, handcrafted cedar table set. The rich aroma of the wood, the warmth of the sun on your skin, and the comforting presence of family and friends gathered around – this is the idyllic scene you can create with your own cedar table, benches, and cube stools. This project, while ambitious, is achievable with the right guidance and a little elbow grease. Cedar’s natural resistance to rot and insects makes it the perfect choice for enduring outdoor furniture, promising years of enjoyment in your garden, patio, or deck.
This guide provides a comprehensive, step-by-step process for building this stunning outdoor furniture set. We'll walk you through selecting materials, cutting and assembling the pieces, and finishing the wood for optimal protection and longevity. Get ready to transform your outdoor area into a welcoming haven, built with your own two hands. Let's begin!
Preparation and Safety Guidelines
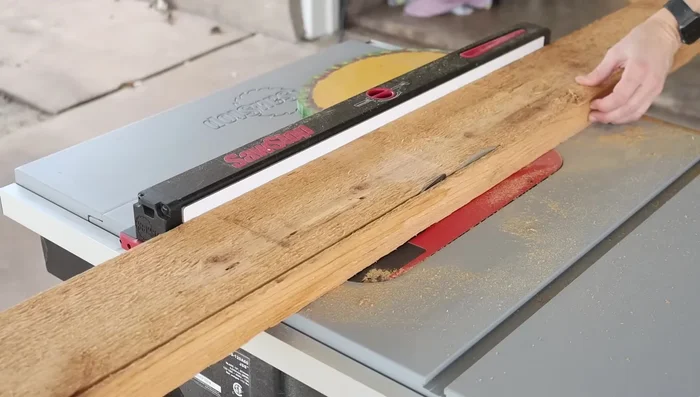
- Table saw
- Miter saw
- Track saw
- Circular saw
- Jigsaw
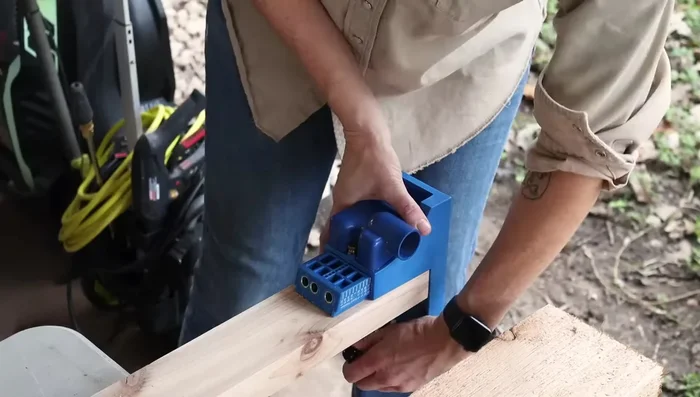
- Pocket hole jig
- Biscuit joiner
- Drill
- Heat gun
- Clamps
- Sandpaper
- Epoxy
- Wood glue
- Exterior rated wood glue
- Flush trim saw
- Dowel jig
- Painter's tape
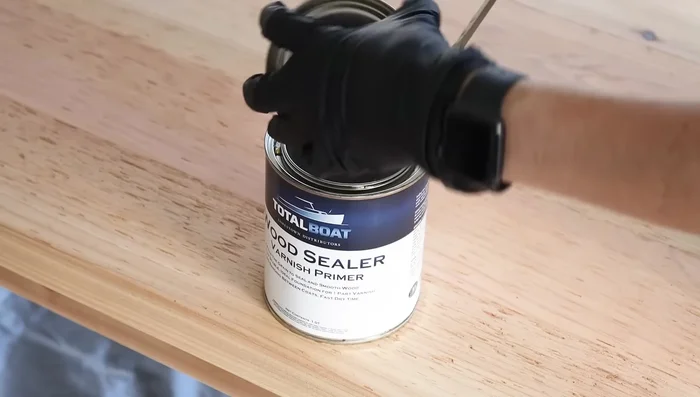
- Wood sealer
- Clear finish (e.g., TotalBoat Halcyon)
- Measuring tape
- Square
- Always wear appropriate safety glasses and a dust mask when cutting and sanding cedar wood. Cedar dust can be irritating to the eyes and respiratory system.
- Use caution when operating power tools. Ensure the tools are properly maintained and you are familiar with their safe operation before starting. Never operate power tools while tired or distracted.
- When working with wood, ensure your work area is well-ventilated. Proper ventilation helps to minimize the inhalation of wood dust and fumes from finishes.
Step-by-Step Instructions
Prepare the Lumber
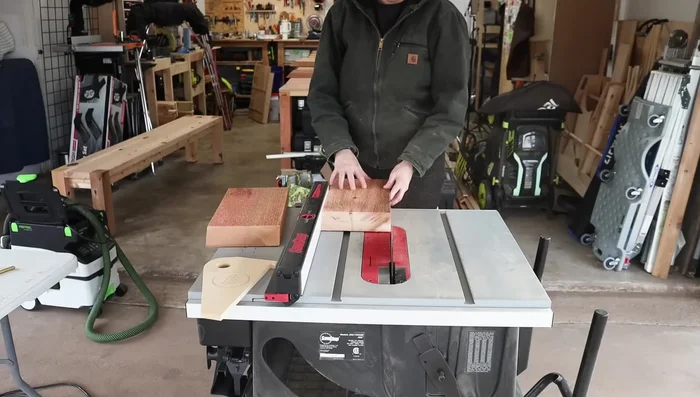
- Cut down 4x4s for table and bench legs, and 2x4s for the table base.
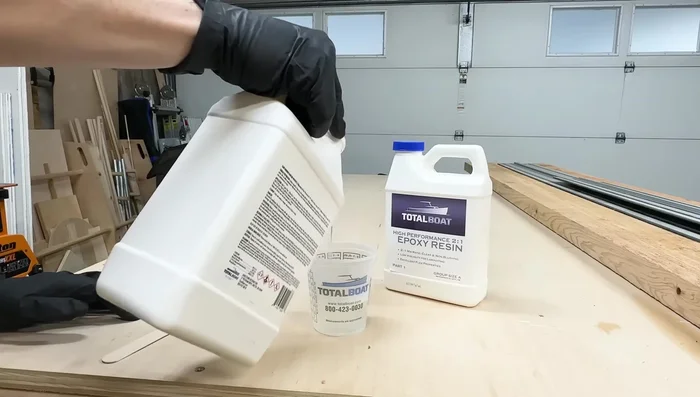
- Fill knots and holes in 4x4s with epoxy. Sand after curing.
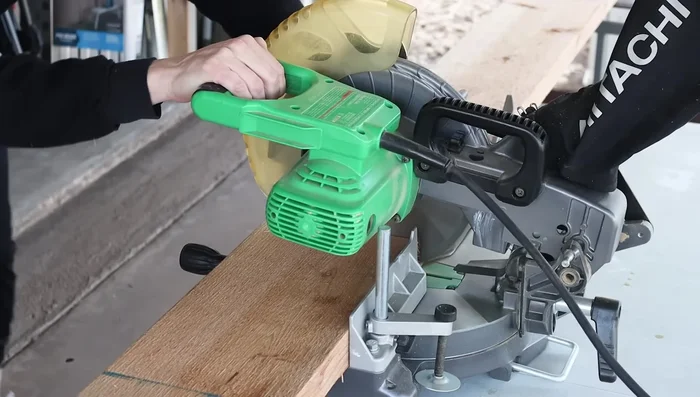
- Square up 2x4s for the table base using a table saw.

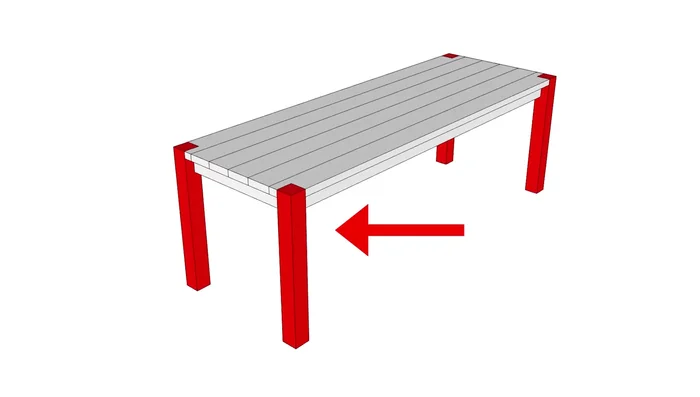
Prepare the Lumber Construct the Table Base
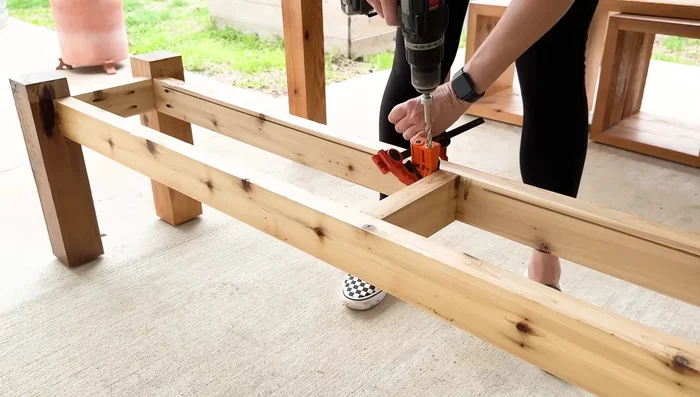
- Build the two end frames of the table base using pocket holes, ensuring the legs extend to the tabletop.
- Build the remaining frame, attaching long 2x4s between the end frames using pocket holes and a tabletop board as a depth reference.
- Add rubber feet to the bottom of the legs.
Construct the Table Base Create the Tabletop
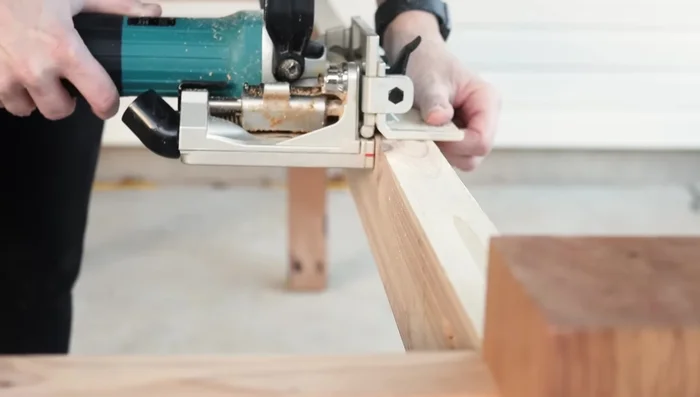
- Glue up 2x6 cedar boards for the tabletop, ensuring nice sides face up and end grain alternates. Use a biscuit joiner for alignment or dowels as an alternative. Use cauls to keep the tabletop flat during glue up.
- Cut a groove in the table base apron using a biscuit joiner (or table saw/circular saw) for tabletop fasteners.
- Cut the tabletop to length and shape using a track saw (or circular saw).
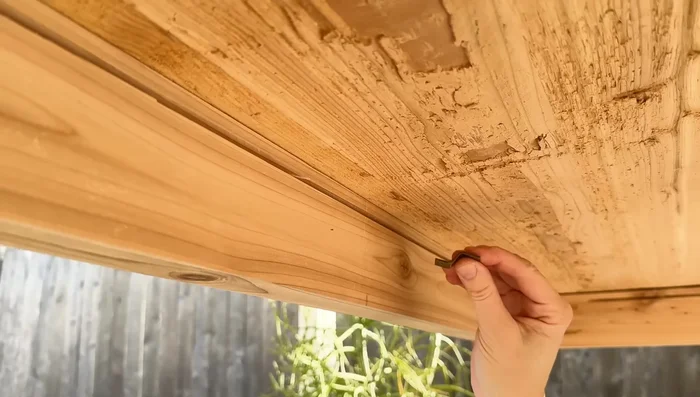
- Attach the tabletop to the base using tabletop fasteners.
Create the Tabletop Build the Bench
- Build the bench (miniature replica of the table), following the same process as the table base and top.
- Add extra support to the middle of the bench for added strength.
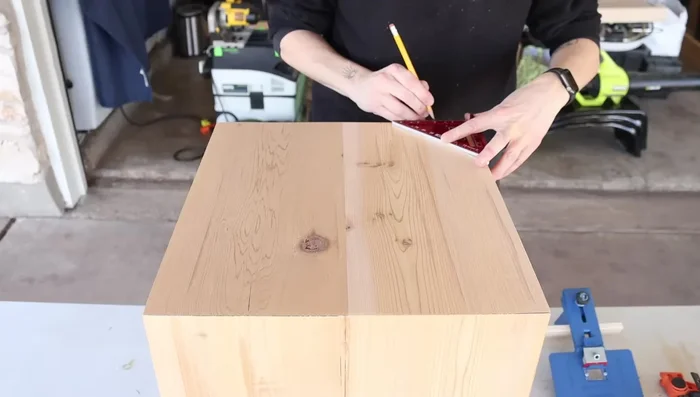
Build the Bench Construct the Cube Stools
- Cut 2x8 boards to length using a track saw (or circular saw). Use a cross-cut sled or miter saw to create 45-degree bevel joints.
- Glue up pairs of boards to create wider boards for the cube stools.
- Glue up the entire cube at once).
- Add dowels to the corners of the cube stools using a dowel jig for strength and design.
Construct the Cube Stools Finishing Touches
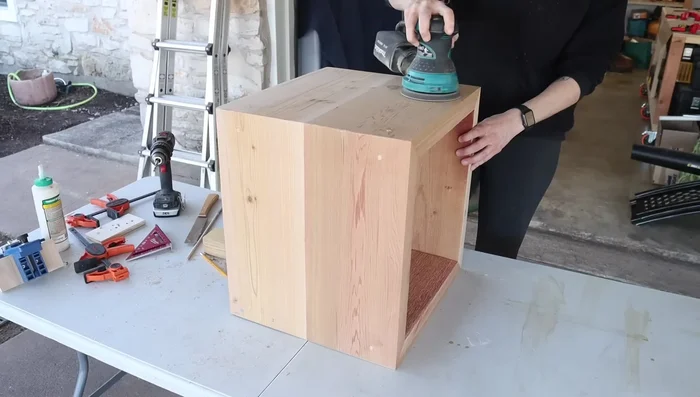
- Sand all surfaces.
- Apply rubber feet to the bottoms of the stools.
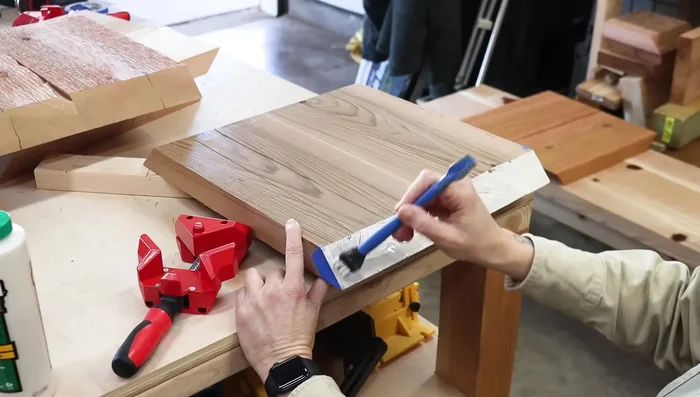
- Apply wood sealer and finish (e.g., TotalBoat Halcyon) to all parts.
Finishing Touches

Read more: Build a Sag-Proof Wood Fence Gate: The Ultimate DIY Guide
Tips
- Use high-performance epoxy to fill knots and holes for a durable finish.
- Use cauls during glue-up to prevent warping.
- Use tabletop fasteners to allow for wood expansion and contraction due to humidity changes.
- Alternate end grain direction in the tabletop to prevent twisting or warping.
- Use a biscuit joiner for precise alignment when gluing boards together. Dowels are a suitable alternative.