Children's bedrooms often face the challenge of limited space, quickly becoming cluttered and overwhelming. From toys and clothes to books and artwork, the accumulation of belongings can easily outpace the available room, leading to frustration for both children and parents. A well-organized and efficiently designed space, however, can transform a cramped bedroom into a functional and enjoyable haven. Maximizing storage is key to achieving this transformation, especially in smaller rooms where every inch counts. Clever storage solutions are essential, not just for tidiness, but for fostering a sense of calm and order that benefits a child's development.
This article presents a practical, step-by-step guide to creating a smart storage system specifically designed for children's bedrooms, turning storage challenges into creative opportunities. We will explore various ingenious ideas and practical strategies to help you conquer the clutter and unlock the full potential of your child's small bedroom. Follow along as we unveil effective solutions that are both functional and fun.
Preparation and Safety Guidelines
- Wooden squares
- Sound insulation cotton
- Gypsum board
- Cabinet
- Mattress
- Whiteboard
- Perforated board
- Always ensure that heavy items are stored on lower shelves and within easy reach to prevent falls and injuries. Avoid placing anything on top of unstable furniture.
- Use child-safe locks on drawers and cabinets containing cleaning supplies or potentially hazardous items. Regularly check the sturdiness of shelving and furniture to prevent collapses.
- Never allow children to climb on or play with storage units. Supervise children closely around storage solutions to prevent accidents.
Step-by-Step Instructions
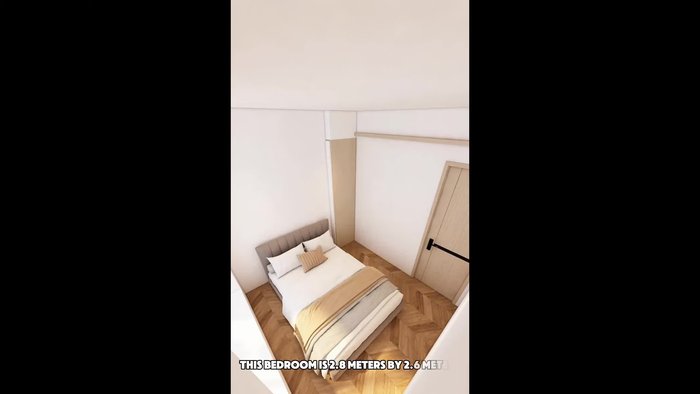
Clear the Space
- Remove the bed and wardrobe to create more space.

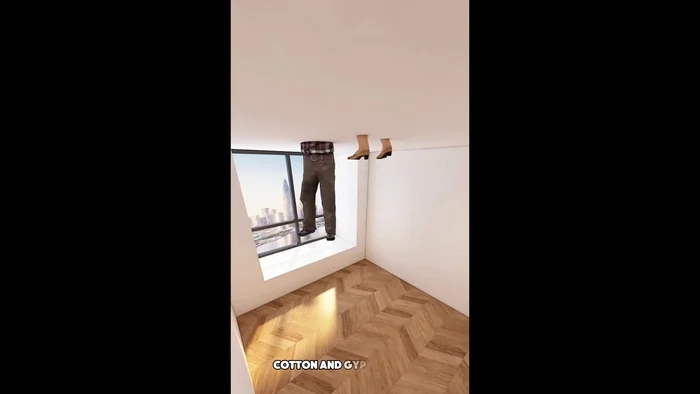
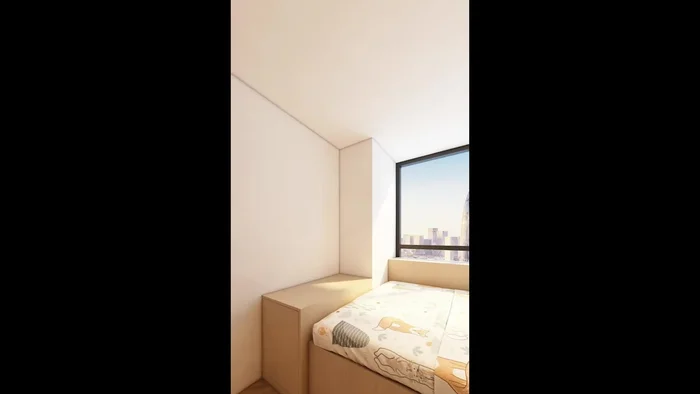
Clear the Space Construct Headboard Storage
- Build a wall-mounted storage unit above the bed using wooden squares, sound insulation cotton, and gypsum board. This creates a headboard and additional storage.
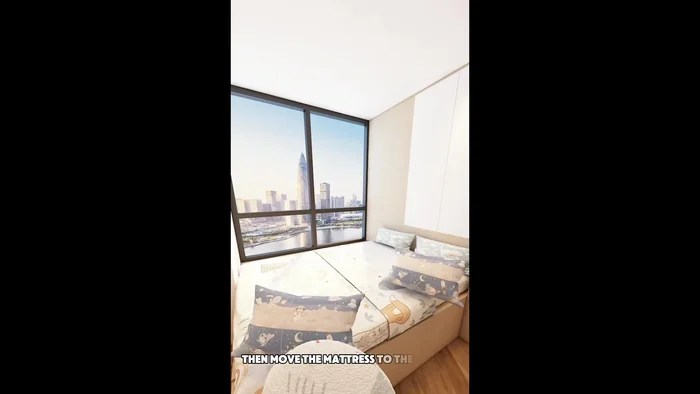
- Relocate the mattress to another area (perhaps a second cousin's house) temporarily to free up space for the new storage solution.
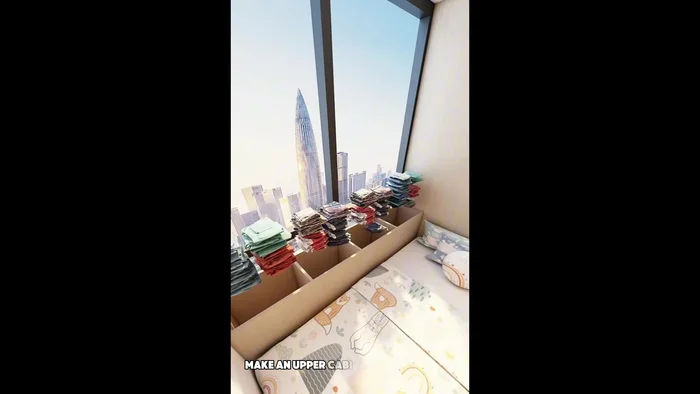
Construct Headboard Storage Install Window Storage
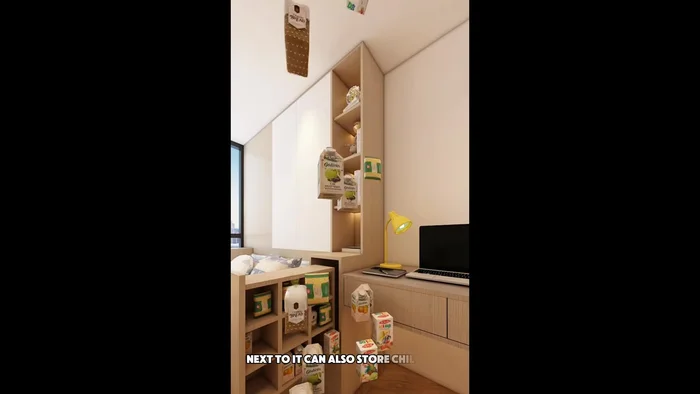
- Install an upper cabinet by the bay window to store items and block cold air. Close the cabinet doors to keep dust out.
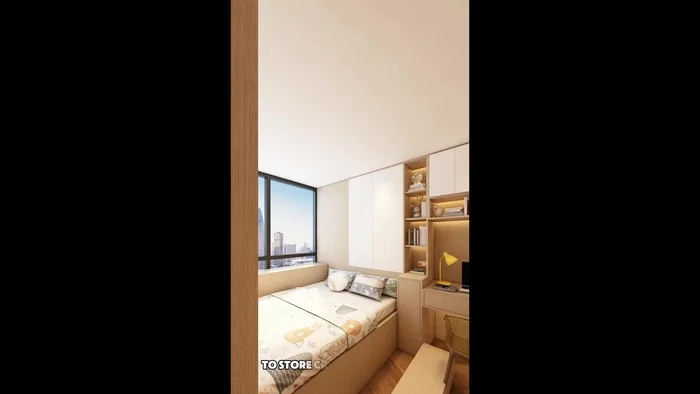
Install Window Storage Add Bedside Storage and Electrical
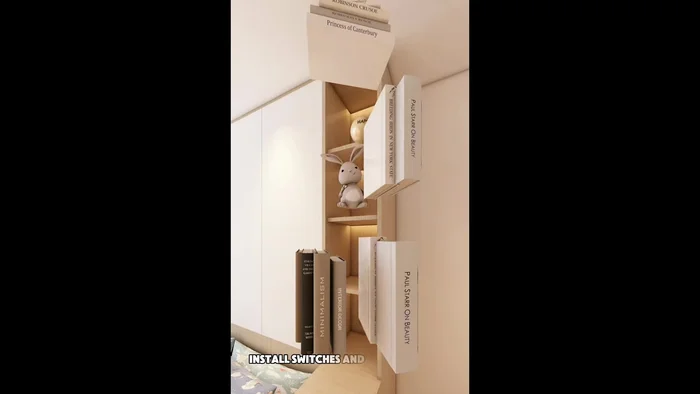
- Install switches and sockets at the head of the bed for convenience.
- Utilize a pull-out cabinet for storing children's snacks.
- Install a tall cabinet next to the pull-out cabinet. Use the upper shelves for children's books and the lower shelves for less frequently used items. Close the doors to keep dust out.
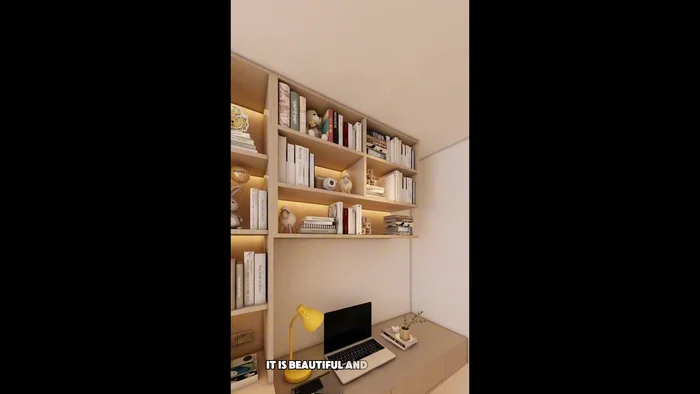
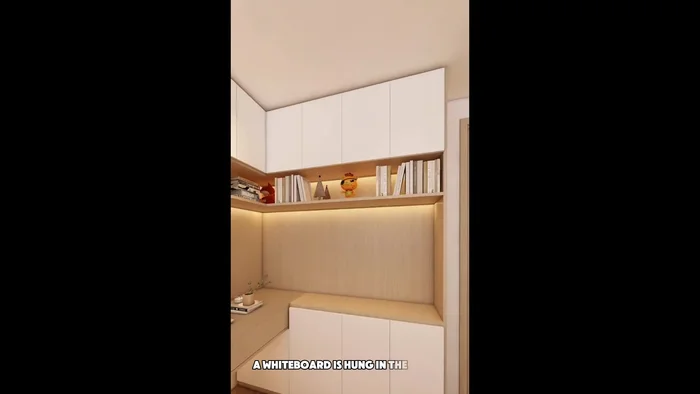
Add Bedside Storage and Electrical Create a Workspace
- Hang a whiteboard in the middle for children's drawings and notes.
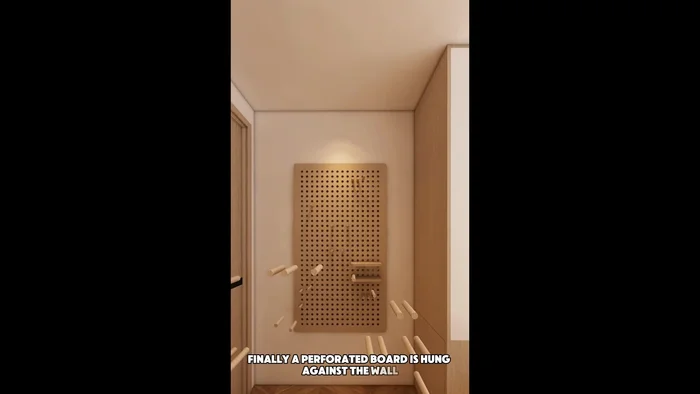
Create a Workspace Install Clothing Storage
- Use the end of the bed as a wardrobe for children's clothes. Close the cabinet door to block dust.
- Use drawers as steps, providing additional storage for underwear and socks.
- Hang a perforated board on the wall for coats and bags.
Install Clothing Storage
Read more: Build a Giant Toy Box: DIY Playroom Organization
Tips
- Consider the child's needs and activities when planning the layout.
- Ensure safety by preventing falls and hazards.
- Utilize vertical space to maximize storage.
- Choose dust-proof and easy-to-clean materials.
- Create a functional and aesthetically pleasing space that is both practical and visually appealing.