Are you tired of rummaging through your pantry, desperately trying to identify that half-empty bag of lentils? Organizing your pantry can be a game-changer, boosting efficiency and reducing food waste. Crisp, clear labels are key to achieving this, and Cricut Design Space offers a fantastic way to create personalized pantry labels that are both stylish and functional. Forget generic, boring labels; with a little creativity and the power of your Cricut machine, you can design labels that perfectly match your kitchen aesthetic and clearly identify every item in your pantry.
This tutorial will guide you through the process of designing and creating stunning pantry labels using Cricut Design Space, from choosing fonts and images to selecting the right materials and cutting your designs. Let's dive into the step-by-step process and transform your pantry organization from chaotic to chic!
Preparation and Safety Guidelines
- Cricut
- Cricut Design Space
- Always test your chosen material's compatibility with your Cricut machine and the adhesive you'll be using before creating a large batch of labels. Some materials may not cut cleanly or adhere well.
- Ensure your labels are sealed properly, especially if storing food items susceptible to moisture or pests. A clear laminate or sealant is recommended for longer shelf life and protection.
- Before applying labels to containers, thoroughly clean and dry the surface for optimal adhesion. This prevents peeling or bubbling.
Step-by-Step Instructions
Create the Base Label
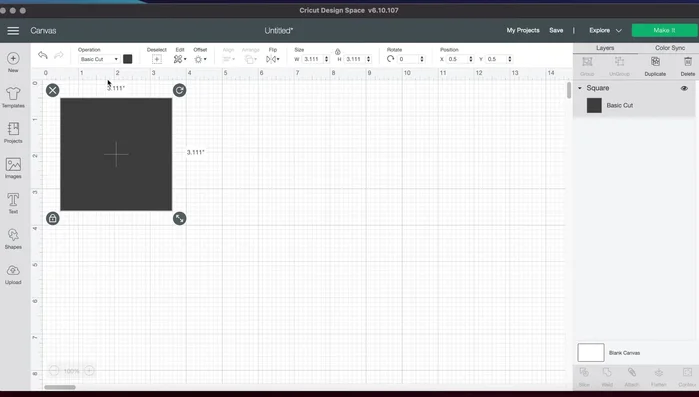
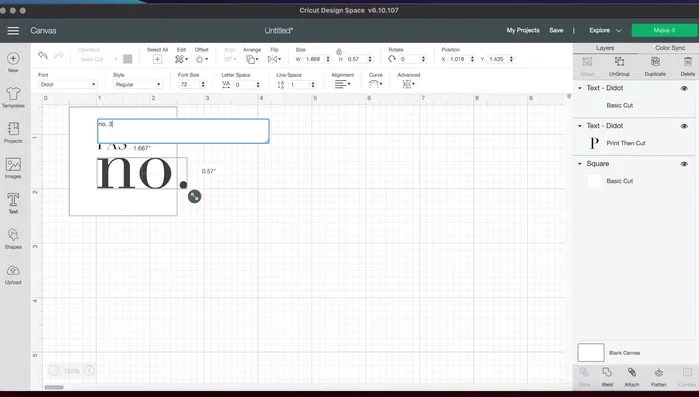
- Create a 2x2 inch square shape in Cricut Design Space and change the background color to white.
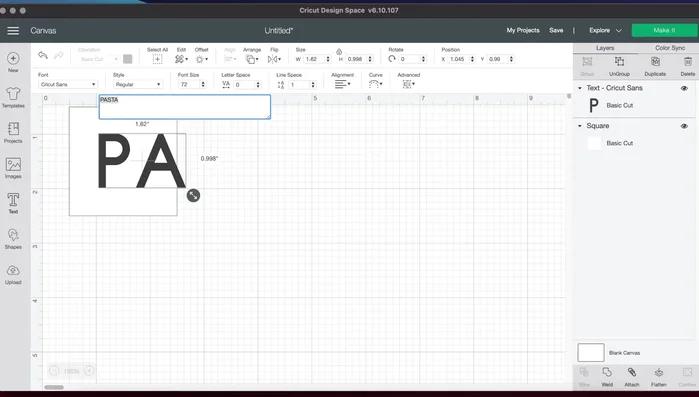
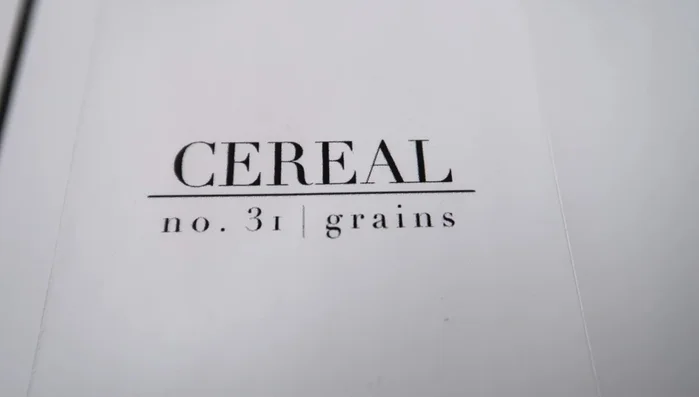
- Add text for the item name (e.g., "Pasta"), using a clean font like Didot (or your preferred font) at size 16. Change the font color to black and switch the operation to "Print then Cut".
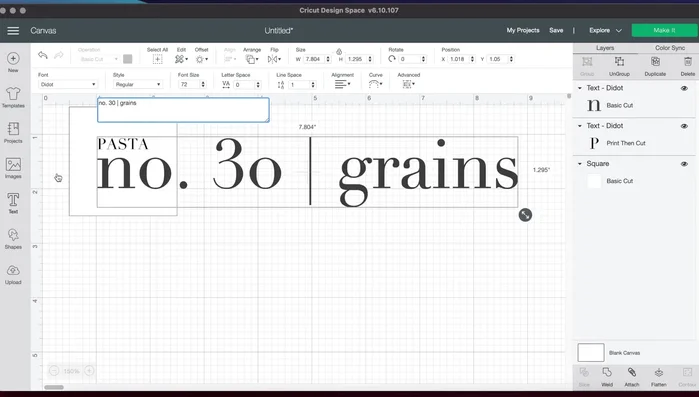
- Add another line of text for the quantity (e.g., "Number") and a third line for the category (e.g., "Pasta"). Adjust font sizes and spacing as needed. Remember to change operation to 'Print then Cut' and font color to black.
- Add a line using a text box and the line key, adjusting font size and style. Set operation to 'Print then Cut' and color to black.

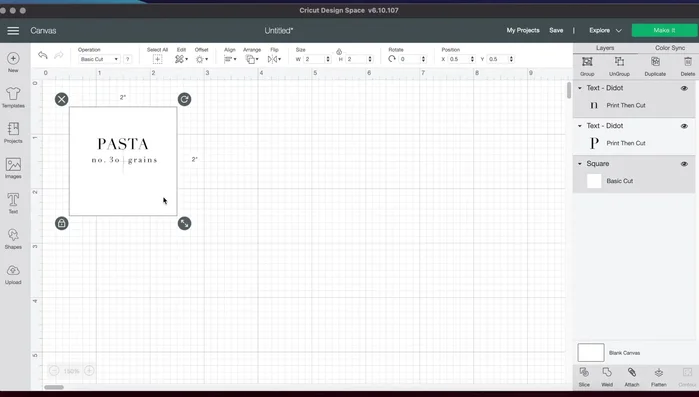
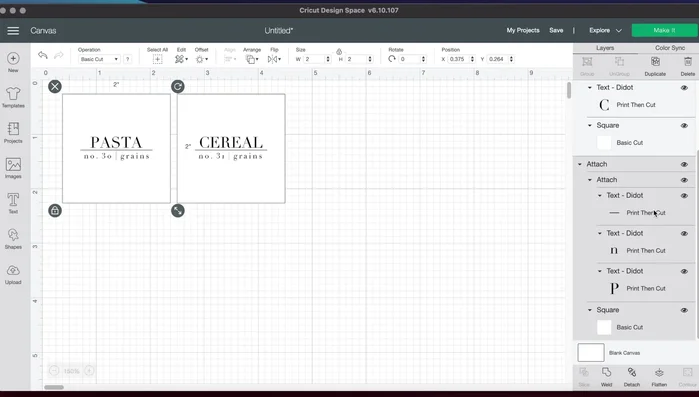
Create the Base Label - Align and center all text elements horizontally and vertically within the square. Attach all elements together.
Create the Base Label Duplicate and Customize Labels
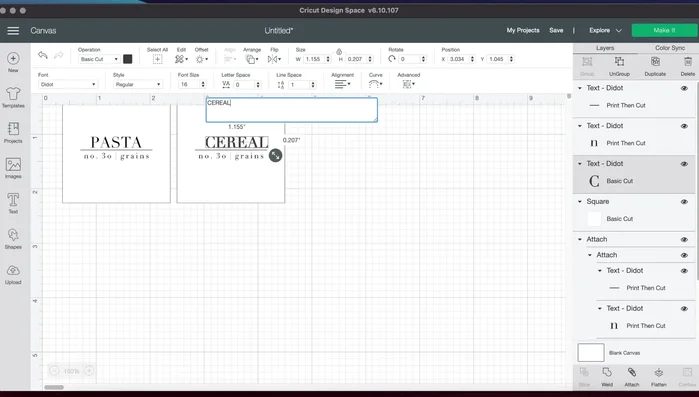
- Copy and paste the label to create multiples. Detach the elements of the copied label to modify the text for each item.
- Re-align and adjust font size/spacing. Remember to set the operation to "Print then Cut" and the font color to black for each label.
- Select all elements in each label and attach them. Flatten each label to ensure it cuts around the entire square, not individual letters.
Duplicate and Customize Labels Prepare for Printing
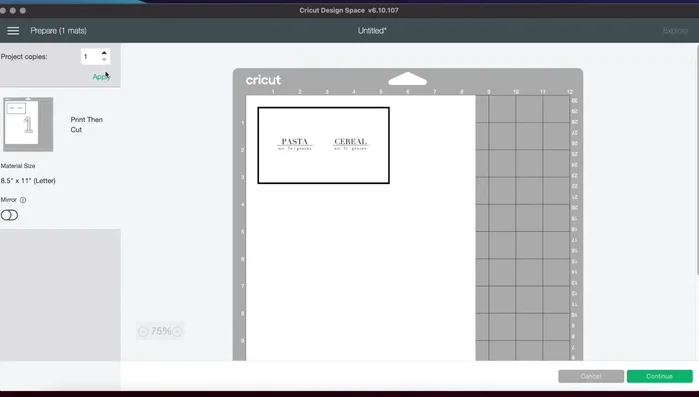
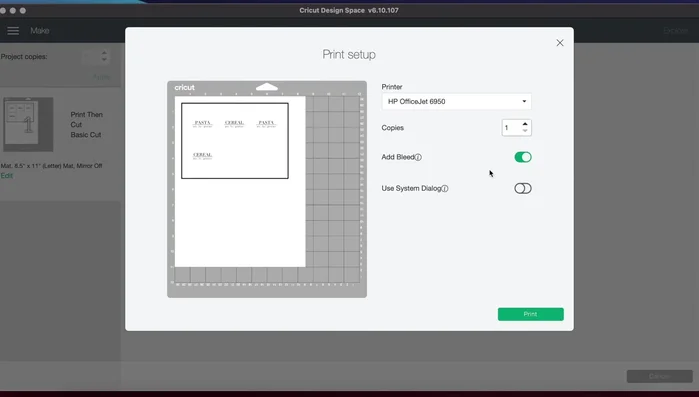
- Use the 'Make It' function to generate the cutting sheet. Adjust project copies as needed.
- Turn off 'Add Bleed'. Consider printing in black and white using system dialogue for better ink efficiency.
Prepare for Printing Print the Labels
- Print the labels.
Print the Labels

Read more: DIY Pantry Door Spice Rack: Organize Your Spices in Minutes!
Tips
- Use a clean, professional-looking font for a crisp look.
- Adjust spacing between letters for a more stylized look.
- Ensure all text elements are aligned and centered within the square for a neat appearance.
- Flatten the labels after attaching all elements to ensure a clean cut around the square, not individual letters.
- Turn off 'Add Bleed' and consider printing in black and white for better ink efficiency.