Tired of bland walls and expensive, limited-selection décor? Transform your space with stunning, personalized wall art using this beginner-friendly Cricut tutorial! Learn how to create large, removable wall decals – perfect for renters, homeowners, or anyone looking to update their interior design quickly and affordably. We'll guide you through the entire process, from designing your perfect decal to applying it seamlessly, ensuring a professional-looking finish without the hefty price tag. Forget about pre-made, mass-produced options; unlock your creativity and design bespoke wall art that truly reflects your unique style.
This tutorial simplifies the process of crafting impressive large-scale decals, demystifying the often intimidating world of vinyl crafting. Whether you're a design novice or have some experience with your Cricut machine, you’ll find this project accessible and rewarding. Ready to get started on creating your dream wall art? Let's dive into the step-by-step process!
Preparation and Safety Guidelines
- Cricut or Silhouette cutting machine
- Removable vinyl (Oracal 631 recommended)
- Transfer tape
- Squeegee
- Rubber burnishing ball (optional)
- Always test your design on scrap material before applying it to your wall to ensure proper adhesion and color vibrancy. This prevents mistakes on your final product.
- Use a well-ventilated area when working with vinyl and ensure proper disposal of any leftover materials according to local regulations.
- Before applying the decal, thoroughly clean the wall surface to remove dust, dirt, and grease for optimal adhesion. Avoid applying to freshly painted walls, allowing adequate drying time (at least 2-3 weeks).
Step-by-Step Instructions
Design & Prepare
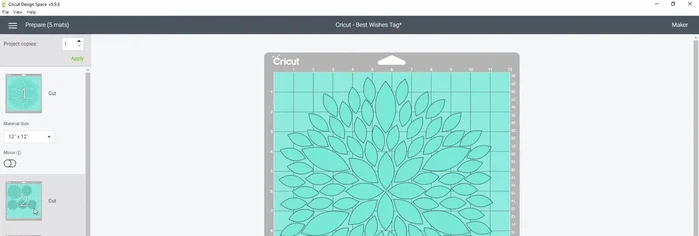
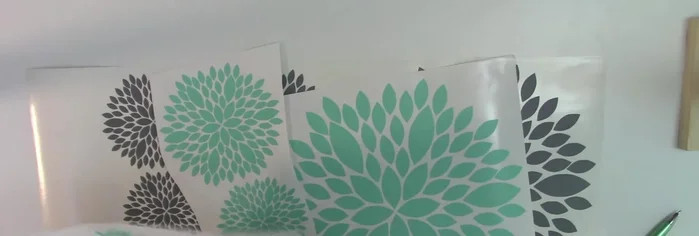
- Design your decal in design space. Upload an SVG file (flower burst example used), adjust sizes and colors, and arrange the design elements to fit your desired wall space. Keep the largest piece under 11.5 inches for easier handling.
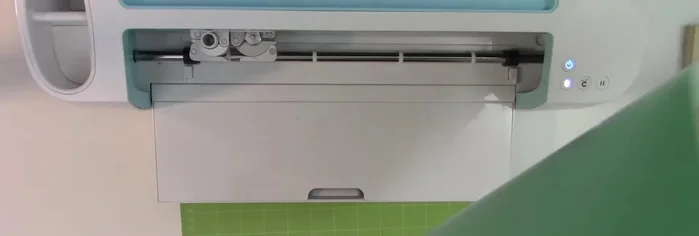
- Prepare your vinyl. Load your chosen vinyl onto your cutting mat. Ensure it's smooth and wrinkle-free before loading into the machine.

Design & Prepare Cut the Vinyl
- Cut your design. In Design Space, click "Make It" and choose your mat size (12x12 or 12x24). Select "Matte Vinyl" as your material. If you encounter glitches, try re-clicking "Make It".
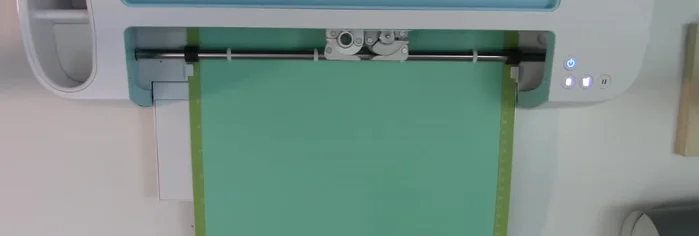
- Cut the vinyl. Let the machine cut out your design.
Cut the Vinyl Weed the Design
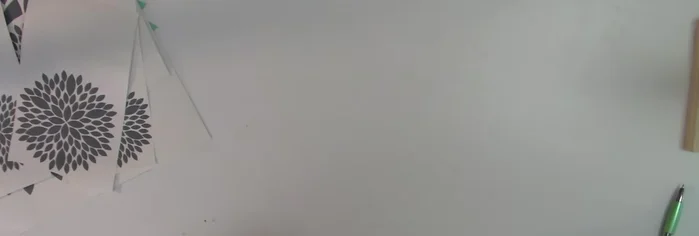
- Weed your design. Carefully remove the excess vinyl from around your cut design elements.
Weed the Design Apply Transfer Tape
- Apply transfer tape. Apply medium-tack transfer tape over the weeded decal pieces. Use your hands or a lint-free cloth to ensure good adhesion.
Apply Transfer Tape Apply to Wall
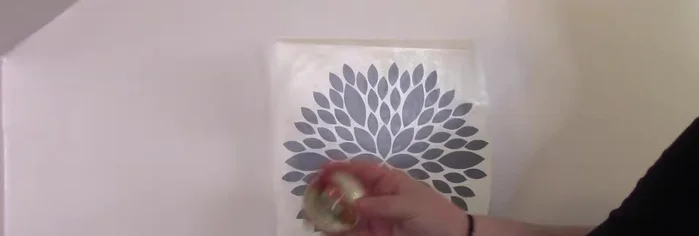
- Apply the decal to your wall. Use a squeegee and/or a rubber burnishing ball to smooth out the vinyl and adhere it to the wall. Slowly peel away the transfer tape at a sharp angle.
Apply to Wall

Read more: Build a Giant Toy Box: DIY Playroom Organization
Tips
- Use high-quality removable vinyl and transfer tape for optimal results.
- If the vinyl doesn't adhere fully, use your fingers or the burnishing ball to press down firmly.
- Work slowly and carefully. Take your time to ensure the decal is applied correctly.