Want to add a touch of personalized charm to your yard without breaking the bank? Then get ready to unleash your inner crafter with this beginner-friendly guide to creating super cute yard signs using your Cricut! Forget expensive pre-made options – we'll show you how easy it is to design and produce unique, eye-catching signs that perfectly reflect your style, whether it's a whimsical welcome message, a festive holiday greeting, or a quirky announcement. This project is perfect for those new to crafting or Cricut machines, requiring only basic materials and simple techniques.
From choosing the perfect design and prepping your materials to weeding your vinyl and securely attaching it to your chosen base, we'll walk you through every step of the process. This guide is packed with helpful tips and tricks to ensure your DIY yard sign turns out beautifully. Let's dive into the detailed step-by-step instructions and transform your outdoor space with a custom-made masterpiece!
Preparation and Safety Guidelines
- Cricut Maker (or similar cutting machine)
- Wood round
- Wooden stake (or paint stir stick)
- Permanent adhesive vinyl
- Starcraft HD vinyl
- Sty Tech opal vinyl
- SVG cut files
- Paint (Starcraft chalk and mineral paint)
- Sealer (Starcraft pure coat)
- Sponges
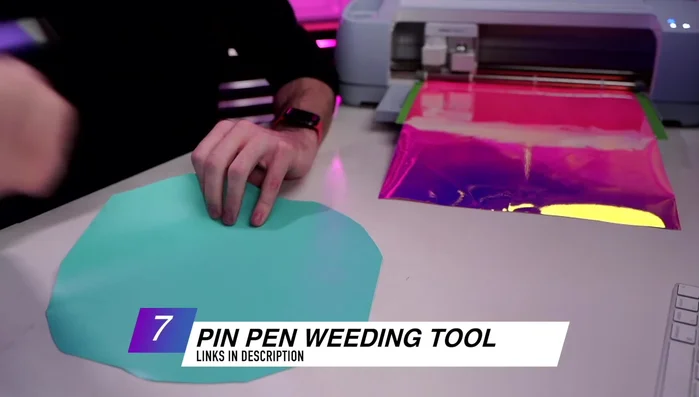
- Weeding tool
- Always supervise children around cutting machines and sharp tools. Keep fingers clear of the blade during operation.
- Use appropriate safety glasses when cutting materials that may produce dust or debris.
- Ensure your work surface is stable and clear of obstructions before operating your Cricut machine.
Step-by-Step Instructions
Prepare Materials and Design
- Cricut machine, wood round, wooden stake (or paint stir stick), permanent adhesive vinyl, Starcraft HD vinyl, Sty Tech opal vinyl, SVG cut files, paint, sealer, sponges, weeding tool.
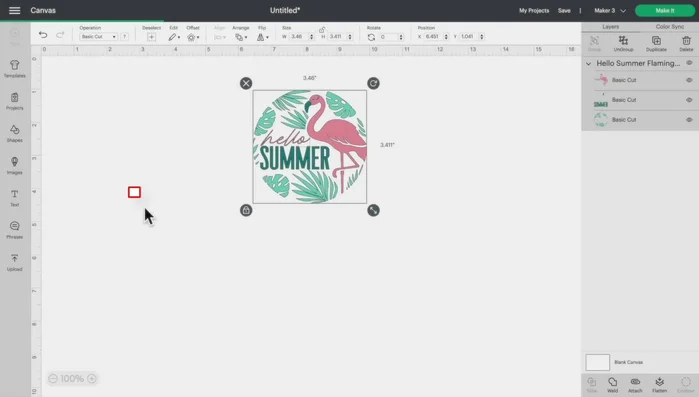
- Download SVG file from Craft.net and upload it to Cricut Design Space.
- Resize the SVG file to fit your wood round in Cricut Design Space (11 inches in this example).

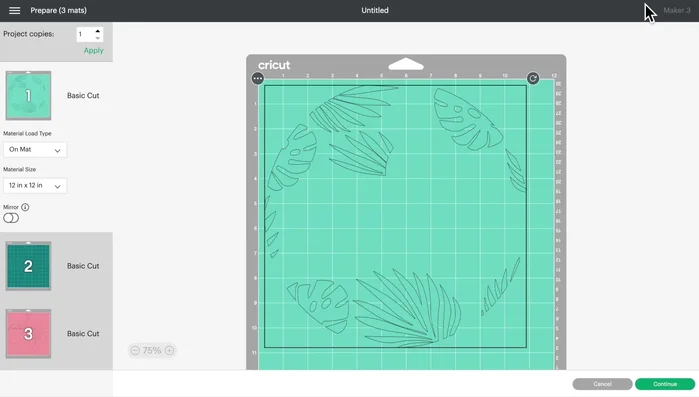
Prepare Materials and Design Cut the Vinyl Design
- Cut the vinyl design using your Cricut machine.
Cut the Vinyl Design Prepare the Wood Round
- Paint the wood round using a sponge for even application. Apply multiple coats if needed and let dry completely.
- Seal the painted wood round with Starcraft pure coat.
Prepare the Wood Round Weed and Apply Vinyl
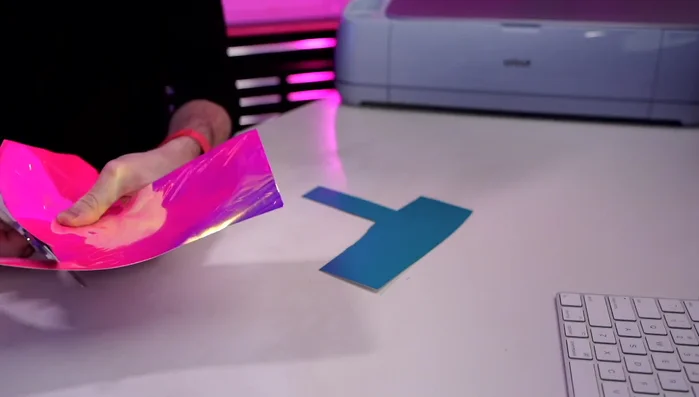
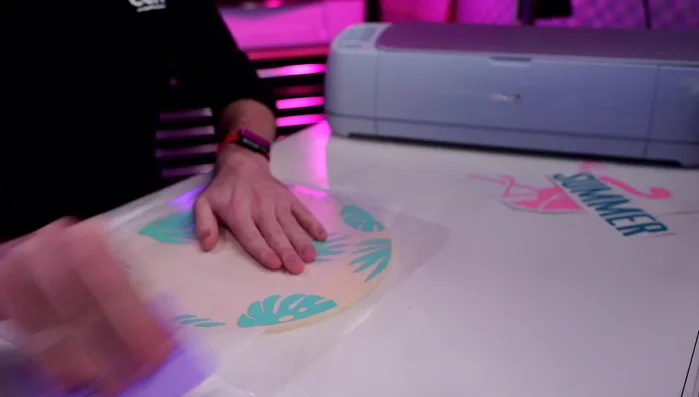
- Weed out the excess vinyl from your cut design.
- Apply the vinyl design to your painted and sealed wood round.
Weed and Apply Vinyl Attach the Stake
- Attach the wooden stake (or paint stir stick) to the back of the yard sign.
Attach the Stake

Read more: Build a Sag-Proof Wood Fence Gate: The Ultimate DIY Guide
Tips
- Use permanent adhesive vinyl for outdoor use.
- Seal your wood round before applying vinyl for better durability and protection.
- Use a sponge to apply chalk paint for a smooth, even finish.
- Starcraft pure coat is a great sealer that is water-based, durable and food safe.