Tired of that unsightly corner of your backyard? A neglected patch of land or an old, broken structure can dramatically detract from the overall aesthetic of your outdoor space. But what if you could transform that eyesore into a captivating focal point? This article explores the rewarding process of creating a stunning DIY backyard fountain, breathing new life into a previously undesirable area. We'll guide you through transforming a forgotten space into a tranquil oasis, adding value and beauty to your property without breaking the bank.
Forget expensive landscaping contractors and pre-fabricated features. With a little creativity, readily available materials, and a dash of elbow grease, you can craft a bespoke water feature that reflects your personal style. From choosing the right pump to selecting the perfect stones and plants, we'll provide a comprehensive step-by-step guide to help you build your own beautiful backyard fountain. Let's get started with the first step in this exciting project!
Preparation and Safety Guidelines
- Poly resin planters
- Geotextile fabric
- Pea pebbles
- Pavers
- Cinder blocks
- Pressure treated spindles
- Galvanized mesh
- Stainless steel staples/screws/washers
- PVC pipe
- Bulkhead fitting
- Coupling
- Barbed fitting
- Pump (Aldo osw waterfall pump)
- River rocks
- Stones
- Driftwood
- Plants (hostas, ferns, sedums)
- Moss
- Expanding foam
- Always disconnect the power supply before working on any electrical components of the fountain pump or lighting. Failure to do so could result in serious injury or death.
- Use appropriate safety gear, including gloves and eye protection, when working with tools, rocks, or other materials. Some materials can be sharp or cause irritation.
- Ensure the fountain's location is stable and won't cause flooding or damage to surrounding structures. Proper drainage and waterproofing are crucial.
Step-by-Step Instructions
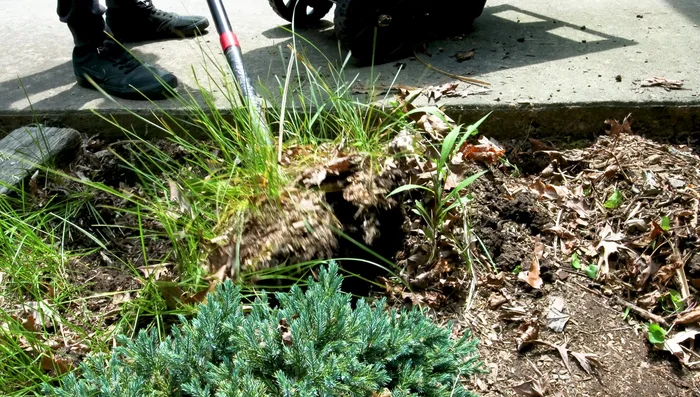
Site Preparation
- Remove mulch, leaves, and weed root systems.
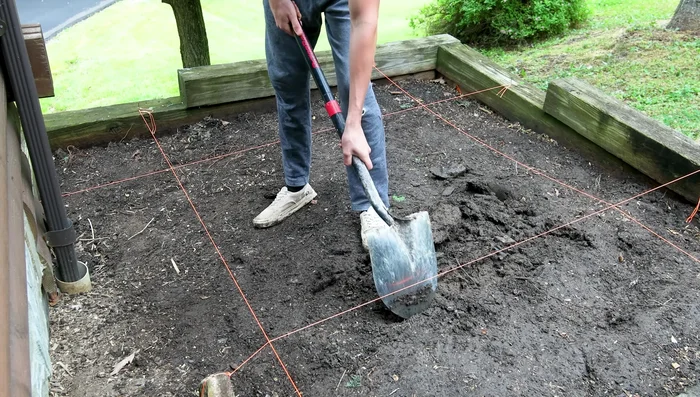
- Excavate a 4x4 foot hole, approximately 20 inches deep at the lowest point, creating a reservoir of about 200 gallons.

Site Preparation Base Preparation
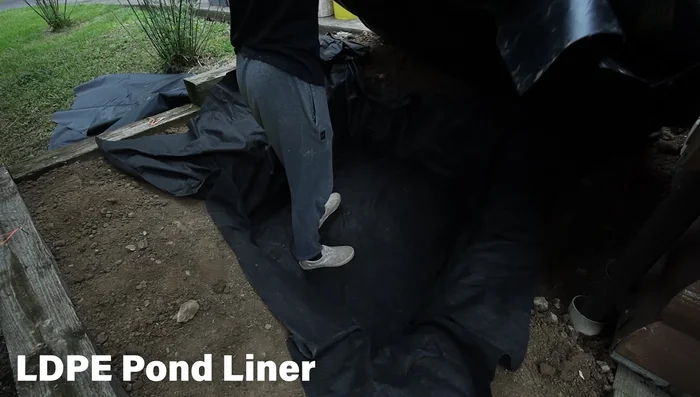
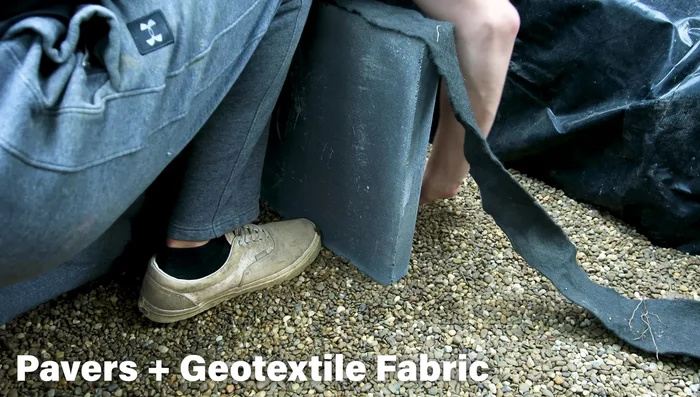
- Line the hole with geotextile fabric to protect the liner. Add a layer of pea pebbles to level the bottom.
- Use pavers to create a flat, stable surface on the bottom, ensuring it's level.
Base Preparation Fountain Structure Construction
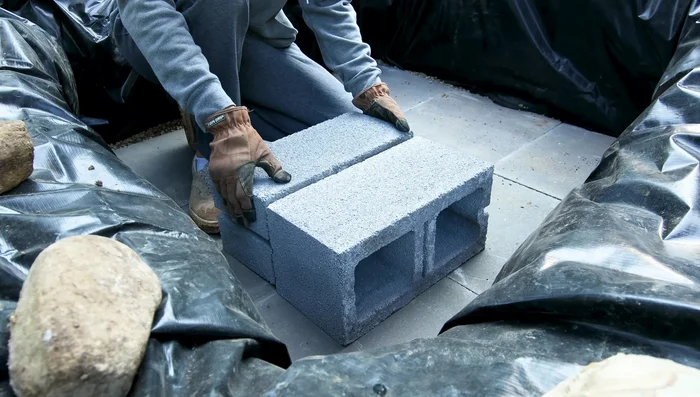
- Use cinder blocks to create a raised platform for the planters, leaving space for tubing and ensuring water flow.
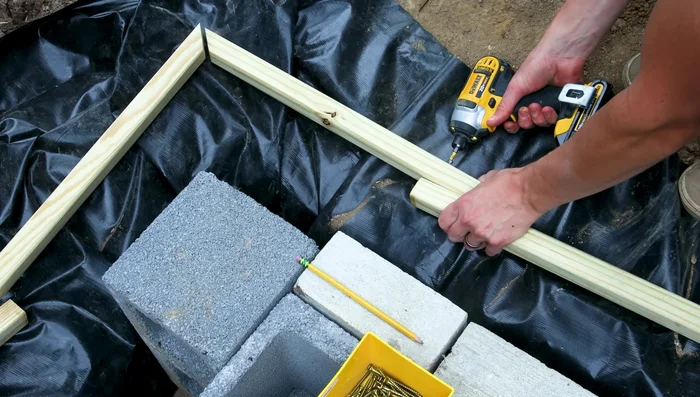
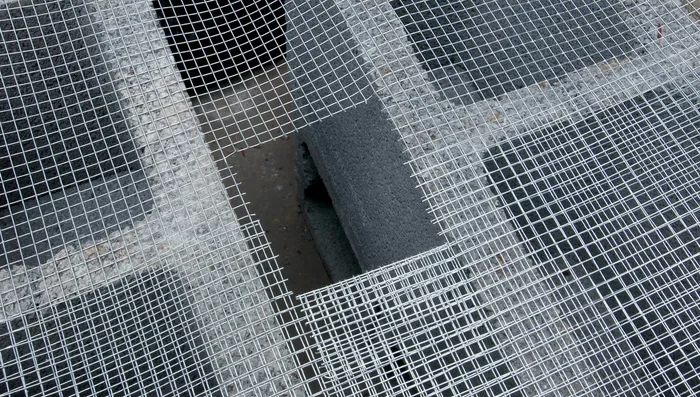
- Construct a frame around the Basin using pressure-treated spindles to support the liner and galvanized mesh.
Fountain Structure Construction Planter Placement and Support
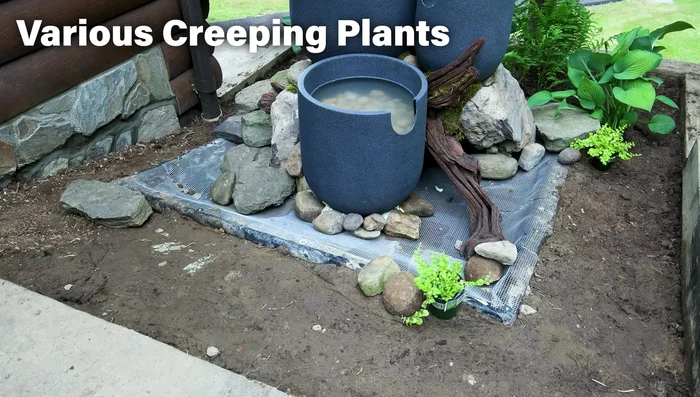
- Place the largest planter on top of the cinder blocks, cutting a hole for the pump tubing. Position the smaller planters on the sides, using stones and driftwood for support and height.
Planter Placement and Support Plumbing and Spillways
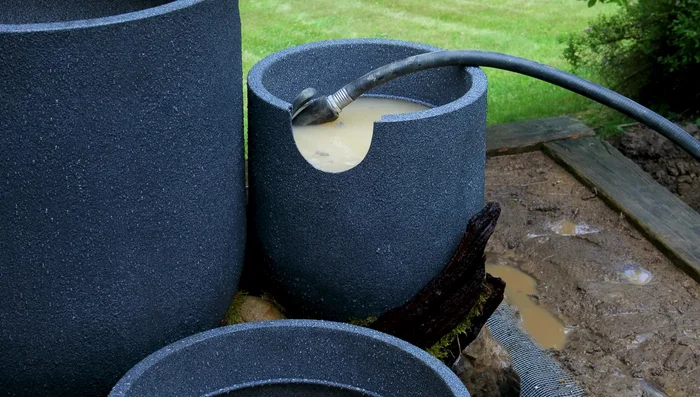
- Drill holes in planters for spillways, install bulkheads and couplings for tubing, and create standpipes to prevent water drainage.
Plumbing and Spillways Securing and Leveling Planters
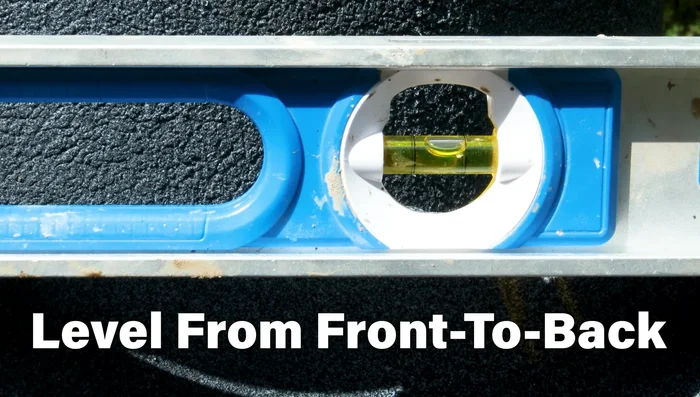
- Level the planters, ensuring they tilt toward the front for spillover. Use expanding foam and additional stones to secure everything.
Securing and Leveling Planters Concealment and Landscaping
- Hide the pump and frame with stones, moss, and river rocks. Add plants around the edges.
Concealment and Landscaping Testing, Refinements, and Final Touches
- Test the water flow. Secure the mesh with screws and washers. Add final landscaping touches, including plants and pebbles.
Testing, Refinements, and Final Touches

Read more: Build a Sag-Proof Wood Fence Gate: The Ultimate DIY Guide
Tips
- Use geotextile fabric to protect the liner from soil and rocks.
- Ensure a level base for the pavers to create a stable foundation.
- Consider water flow when building the cinder block structure.
- Use expanding foam to secure stones and plants, and to provide a base for moss.
- Choose plants that won't grow too tall and will complement the fountain.