Attract feathered friends to your garden without breaking the bank! Building a birdhouse can be a rewarding and surprisingly simple project, even for complete beginners. Forget expensive pre-made options; this guide shows you how to construct a charming and functional birdhouse for under $2, using materials you likely already have around the house or can easily source from a local dollar store. It's a fantastic opportunity to connect with nature, learn a new skill, and contribute to the local ecosystem, all while enjoying a satisfyingly affordable craft project.
This incredibly budget-friendly DIY project requires minimal tools and expertise, making it perfect for a weekend afternoon. Forget complicated designs and intricate carpentry; this simple birdhouse build prioritizes ease and effectiveness. Ready to transform recycled materials into a haven for birds? Let's dive into the step-by-step instructions and build your own $2 birdhouse today!
Preparation and Safety Guidelines
- Tape measure or ruler
- Hammer
- Nails (1 inch long)
- Pencil
- Saw (circular, jigsaw, hand saw, or hacksaw)
- Drill
- Clamp (optional)
- Square (optional)
- Always supervise children during the entire building process. Sharp objects and small parts present choking hazards.
- Use appropriate safety glasses or eye protection when using tools like saws or hammers.
- Ensure the birdhouse is securely mounted to avoid falls and potential injury to both birds and people.
Step-by-Step Instructions
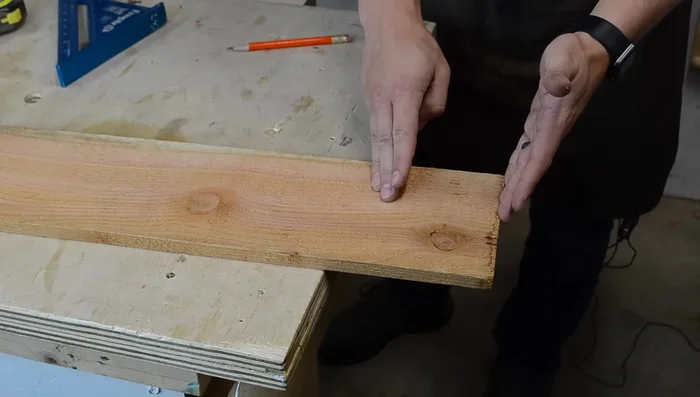
Cut Birdhouse Sides
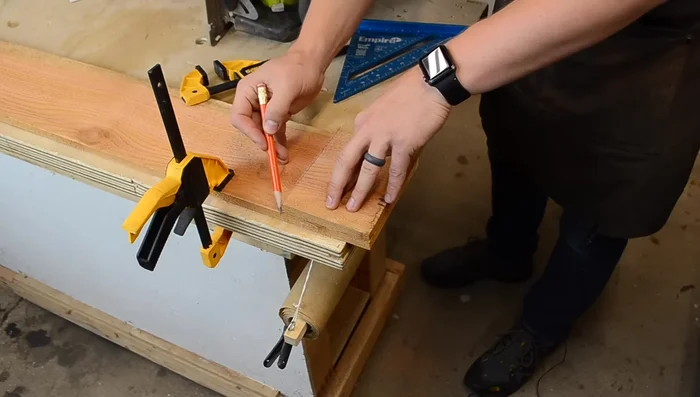
- Cut out the sides of the birdhouse (6 inches wide, 4 1/4 inches tall). Start on the squared end of the cedar plank and mark 4 1/4 inches from the bottom. Use a square to draw a line across for a straight cut.
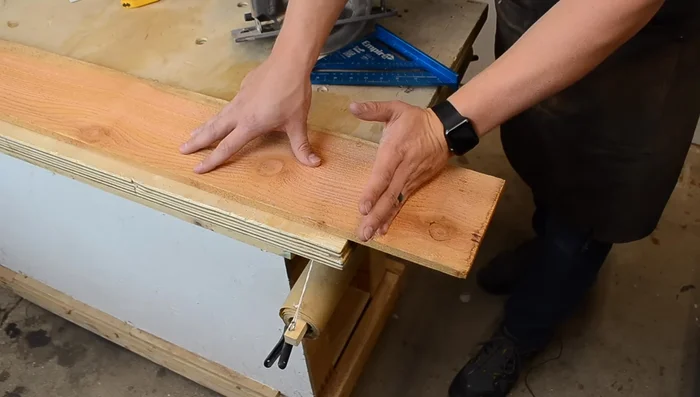
- Clamp the wood to the table near the edge for stability and cut using a saw, guiding it against the square for a straight cut.
- Cut out the second side using the first as a template to ensure identical height.

Cut Birdhouse Sides Cut Roof and Bottom Pieces
- Cut three pieces, each 8 1/2 inches long, for the roof and bottom of the house.
Cut Front and Back Pieces
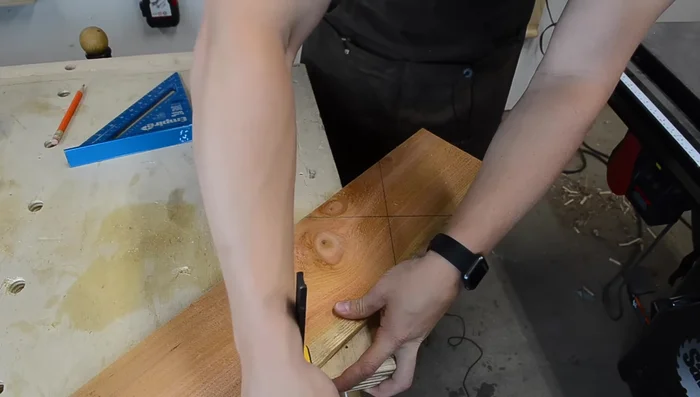
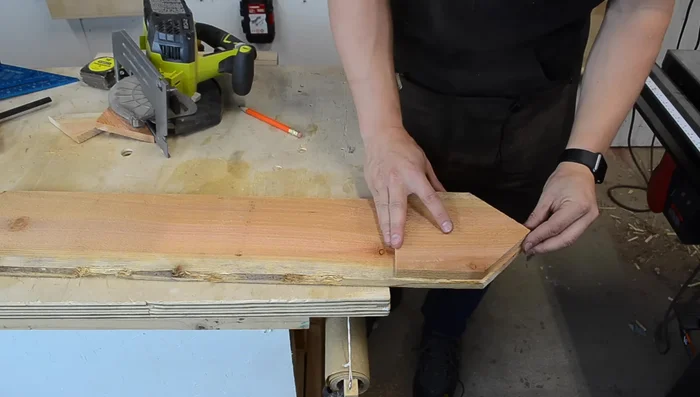
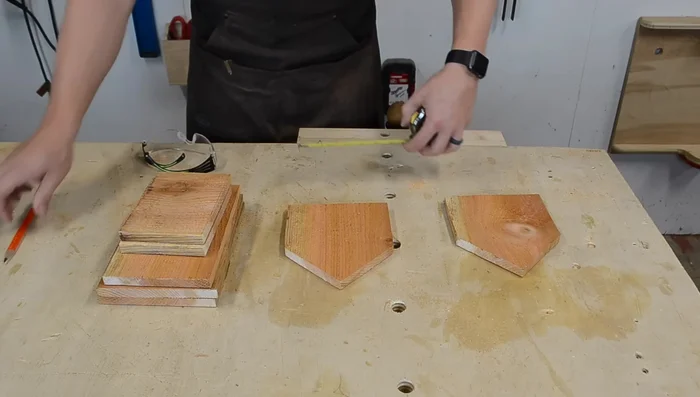
- Cut out the front and back pieces, incorporating 45-degree angles. Use a 45-degree square to mark the angles or measure 4 1/4 inches on one side and 10 inches on the other, connecting the marks for a 45-degree angle.
- Cut out the X shape created in the previous step in three cuts.
- Use the first front/back piece as a template to ensure the second piece is the same height.
Cut Front and Back Pieces Adjust Roof Pieces
- Place the roof pieces on top of each other, align them, and mark where to cut one piece to account for the thickness of the other piece. Cut the marked piece.
Drill Entrance Hole
- Drill a hole in the center of the front piece. Measure the center point (about 3 inches on a 6-inch wide piece) and use a Forstner bit (1 3/8 inches wide) or hole saw to drill the hole. Drill from the outside to get a clean circle.
Drill Entrance Hole Assemble Roof
- Assemble the roof by nailing the shorter piece to the longer piece.
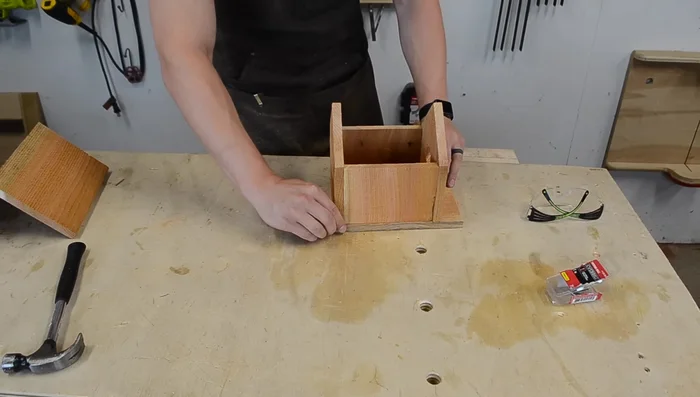
Assemble Roof Attach Sides to Back
- Attach the sides to the back of the house, ensuring the bottom is flush.
Attach Sides to Back Attach Bottom
- Attach the bottom piece, ensuring the back is aligned with the back of the house.
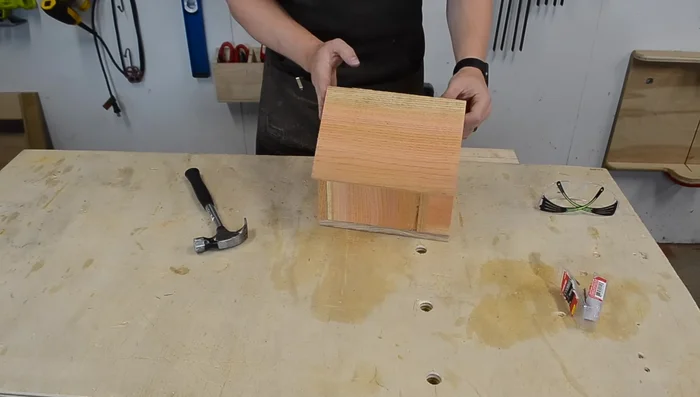
Attach Bottom Attach Roof
- Attach the roof, ensuring the back is flush with the back of the house.
Attach Roof
Read more: Build a Sag-Proof Wood Fence Gate: The Ultimate DIY Guide
Tips
- Clamp the wood close to the table edge when cutting to prevent vibration.
- Use a square or clamp it to guide the saw for a straight cut.
- Always wear ear and eye protection when using power tools.
- Use scrap wood under the wood when drilling to prevent chipping and protect your work surface.