Summer's vibrant hues and the sweet taste of fresh blueberries – what could be better? This year, bring the bounty of the berry patch right to your doorstep with your own DIY blueberry planter! Forget expensive, pre-made options; creating a beautiful and functional planter for your blueberry bushes is surprisingly simple and requires minimal time and effort. Whether you're a seasoned gardener or a complete novice, this project is perfectly accessible, offering a rewarding experience and the delicious reward of homegrown blueberries. You'll be amazed at how quickly you can transform ordinary materials into a charming addition to your garden.
This guide will walk you through a fast and easy process, from selecting the right materials to planting your blueberry bushes. Get ready to transform ordinary containers into thriving havens for your blueberry plants, and get ready to enjoy the fruits (or berries!) of your labor. We’ll cover everything you need to know to create a stunning, productive, and personalized blueberry planter, perfect for adding a touch of rustic charm and abundant sweetness to your outdoor space. Let's get started!
Preparation and Safety Guidelines
- Pre-treated wood
- Corrugated metal
- Kreg jig
- Clamps
- Aviation snips
- Brad nailer (or hammer and nails)
- Circular saw (optional, table saw preferred)
- Exterior screws
- Cedar pickets (optional)
- Weed block
- Always wear gloves when handling soil and planting blueberries. Soil can contain harmful bacteria and thorns or splinters from the planter may be present.
- Ensure your chosen planter has adequate drainage holes to prevent root rot. Waterlogged soil is detrimental to blueberry plants.
- Select a location that receives at least 6-8 hours of sunlight per day. Blueberries need ample sunlight to thrive.
Step-by-Step Instructions
Build the Planter Frame
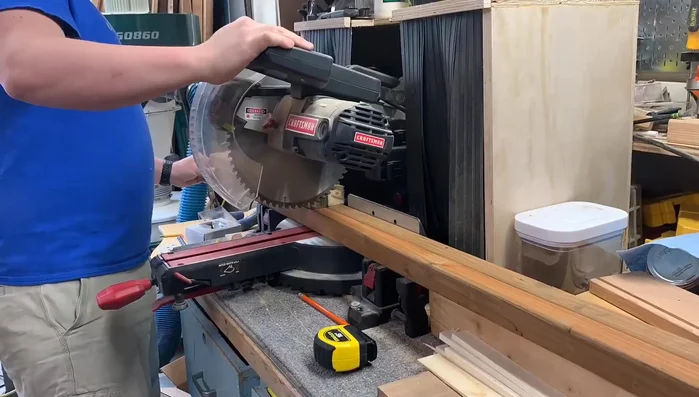
- Cut wood to size for the planter frame. Use pre-treated wood for outdoor durability.
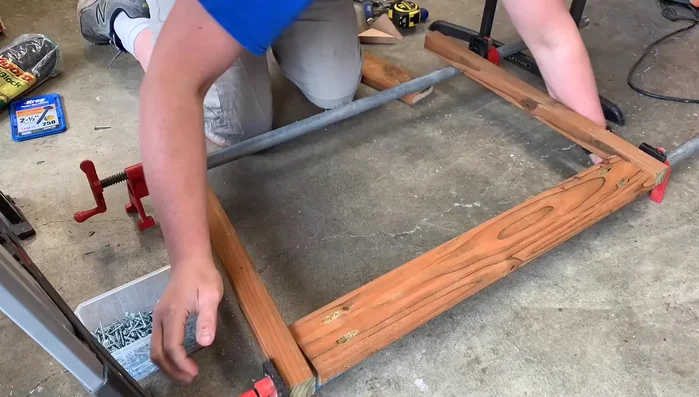
- Drill pocket holes using a Kreg jig and assemble the frame using exterior screws and clamps for a tight hold.

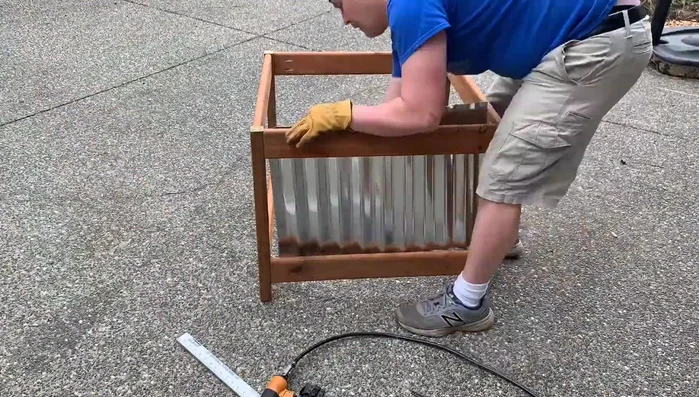
Build the Planter Frame Add Metal Liner
- Cut corrugated metal to size using aviation snips. Attach the metal to the wood frame using brad nails and a brad nailer.
Add Metal Liner Construct Bottom Shelf
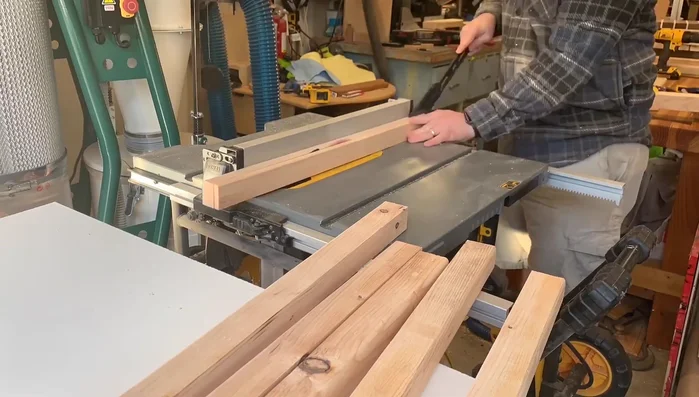
- Cut scrap 2x4s to create a bottom shelf for the planter. Attach the shelf to the frame using pocket holes and screws.
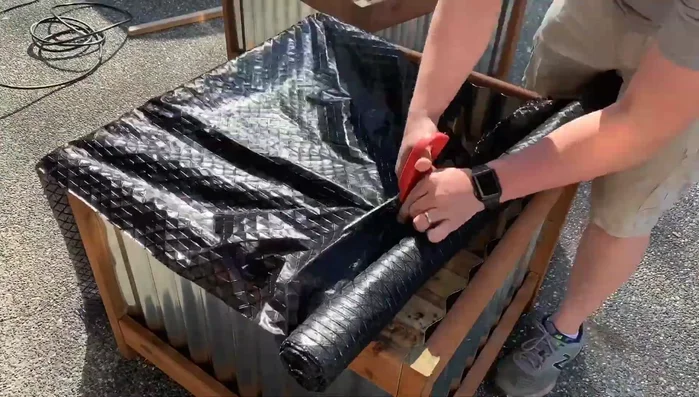
- Add cedar pickets and weed block to the bottom shelf. This will allow drainage while preventing soil from escaping.
Construct Bottom Shelf Add Top Cap
- Cut and attach a top cap made of pre-treated wood using miter cuts and a nail gun for a finished look.
Add Top Cap

Read more: Miniature Spider Welding Tutorial: Crafting a Tiny Metal Arachnid
Tips
- Use pre-treated wood for outdoor planters to increase durability and longevity.
- Clamps are highly recommended for using pocket holes to ensure a strong and tight joint, especially in outdoor projects susceptible to moisture and wood movement.
- Use exterior-grade screws for added durability.
- A brad nailer significantly speeds up the process of attaching the metal and other components. If you don't have one, a hammer and nails will work, but it will take significantly longer.
- While a table saw makes cutting precise, a circular saw is sufficient for this project.