Starting your day with a delicious breakfast shouldn't break the bank. Many dream of a dedicated breakfast bar, a space to enjoy a morning coffee and a quick bite, but often dismiss the idea due to cost. Forget expensive renovations and overpriced kitchen counters – creating a stylish and functional breakfast bar is entirely achievable on a budget, with a little creativity and DIY know-how. Imagine transforming a forgotten corner of your kitchen or even a repurposed piece of furniture into a charming breakfast nook, all without emptying your wallet.
This guide will walk you through a simple, step-by-step process to build your very own budget-friendly breakfast bar. We'll explore affordable materials, easy-to-follow instructions, and creative design ideas to help you achieve the breakfast bar of your dreams, no matter your skill level. Get ready to transform your morning routine and enjoy a stylish, practical breakfast space without the hefty price tag.
Preparation and Safety Guidelines
- Wood
- Bar stools
- Laminate flooring
- Tools (saw, screws, etc.)
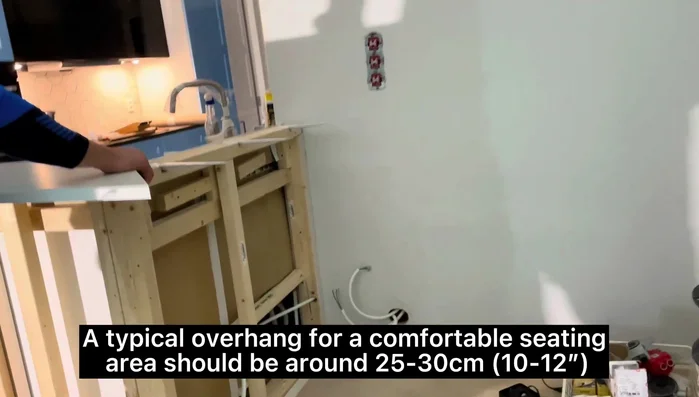
- Always ensure proper support for your countertop. A poorly supported countertop can collapse, causing injury and damage.
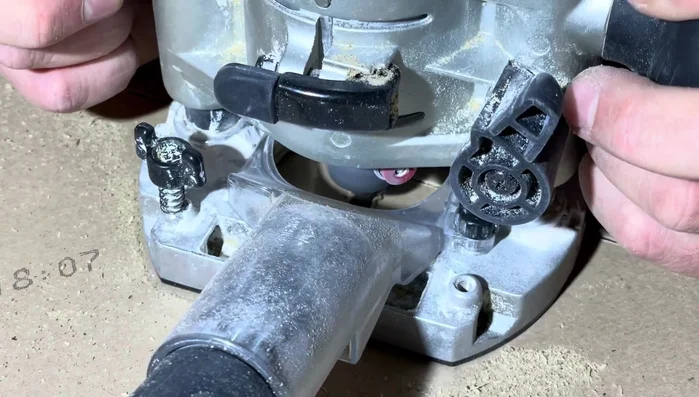
- Use appropriate safety gear (safety glasses, gloves) when using power tools like saws and drills. Follow all manufacturer instructions.
- If working with electricity, always turn off the power at the breaker before starting any electrical work. Consult a qualified electrician if you are unsure.
Step-by-Step Instructions
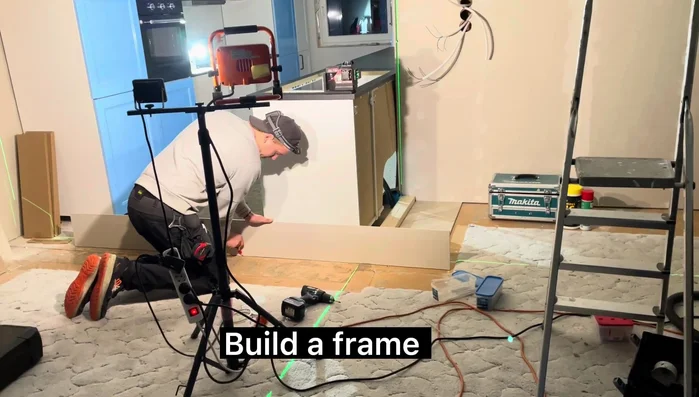
Frame Construction
- Build a frame. The height depends on your bar stools.
- Construct the frame. (Music plays during this step)

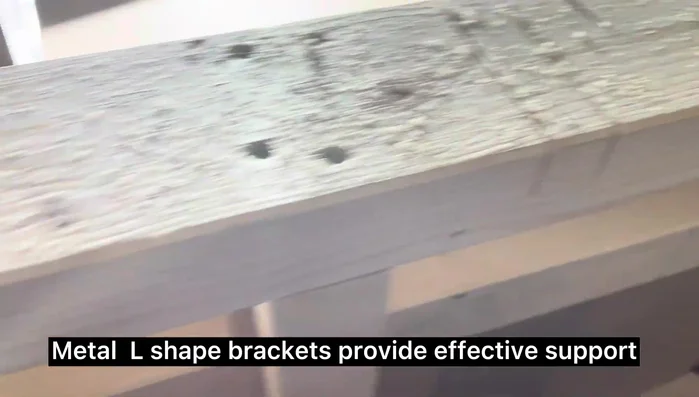
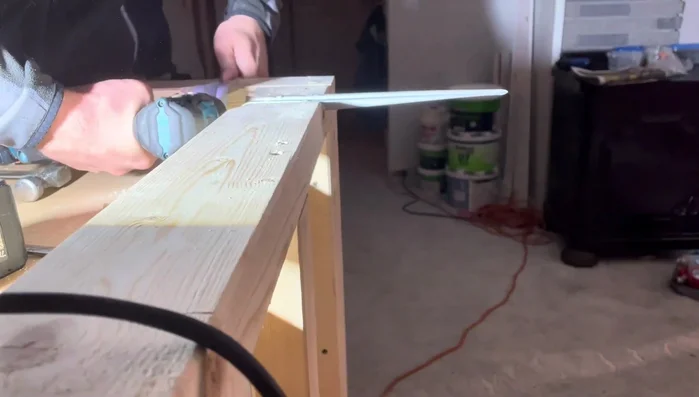
Frame Construction Internal Support
- Secure the frame's internal support.
Internal Support Countertop Preparation
- Attach the countertop (ensure adequate support).
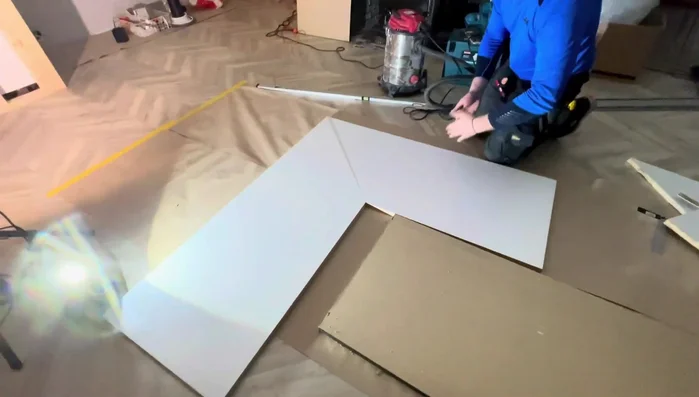
- Cut the laminate flooring to size for the countertop.
Countertop Preparation Countertop Installation
- Attach the laminate flooring to the countertop.
- Finish the countertop edges.
Countertop Installation Finishing
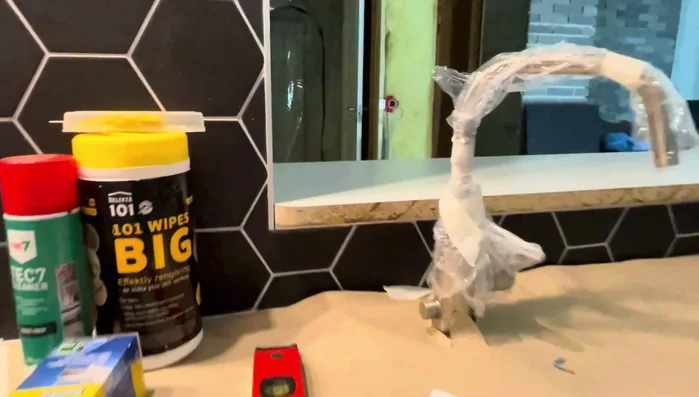
- Add finishing touches and details.
Finishing

Read more: DIY Pantry Door Spice Rack: Organize Your Spices in Minutes!
Tips
- Don't necessarily follow the flooring pattern for the countertop; it might be easier to cut and avoid excess material.
- Consider using laminate flooring for a budget-friendly countertop. It’s stylish and doesn't require painting the underside.