Transform your outdoor space into a haven of rustic charm with a handcrafted cedar garden table. Cedar, renowned for its natural beauty, durability, and resistance to rot, makes the perfect material for a long-lasting garden centerpiece. This beautiful wood offers a rich, warm tone that complements any garden style, from classic cottage to contemporary minimalist. Whether you're a seasoned DIY enthusiast or a beginner just starting out, building your own cedar garden table is a rewarding project that allows you to customize the size, shape, and features to perfectly suit your needs and space. Imagine relaxing in your garden with a cup of tea, enjoying the fruits of your labor.
This comprehensive guide provides a detailed, step-by-step approach to building your own stunning cedar garden table, from selecting the right lumber to applying the finishing touches. We'll walk you through each stage, offering helpful tips and tricks to ensure a successful and enjoyable build. Let's get started and create your dream outdoor escape!
Preparation and Safety Guidelines
- Festal Rotex Sander
- Hand Plane
- Planer
- Table Saw
- Thicknesser
- Panel Saw
- Plywood
- Veneer Press
- Casmite Polyurethane Glue
- Chop Saw
- Festool Domino
- Drill Press
- Rubio Monocoat Wood Cream
- Paint Brushes
- Always wear safety glasses and a dust mask when cutting and sanding cedar. Cedar dust can be irritating to the eyes and lungs.
- Use appropriate safety equipment for power tools. Follow the manufacturer's instructions carefully for each tool you use (e.g., miter saw, drill, etc.).
- Ensure the table is stable and secure once assembled. Avoid placing it on uneven ground or in areas prone to strong winds.
Step-by-Step Instructions
Tabletop Preparation
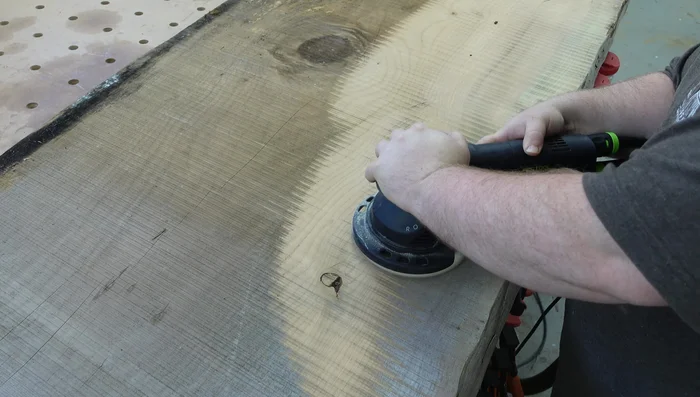
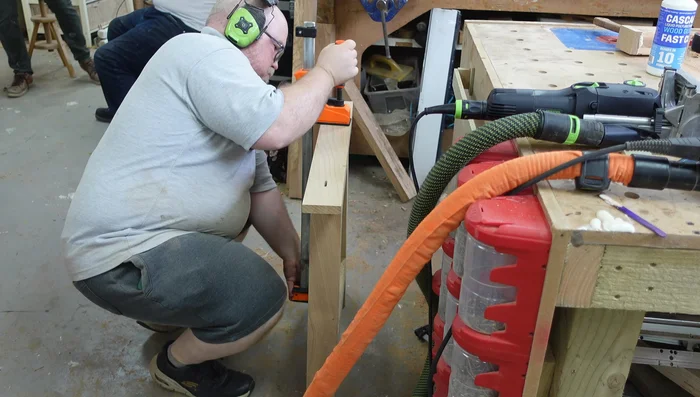
- Sand the tabletop slab to bare wood using a Festool Rotex sander with 40 grit sandpaper.
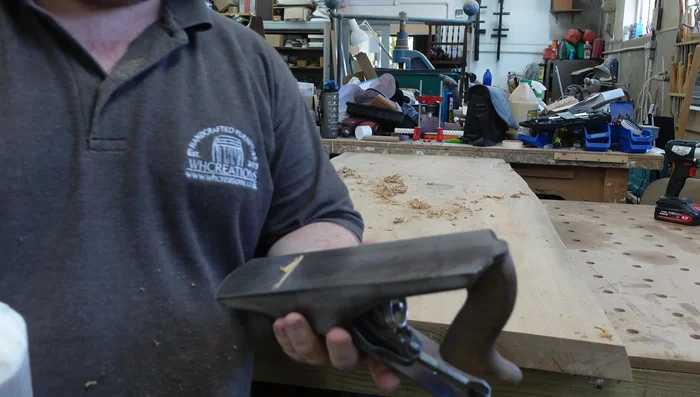
- Use a hand plane to smooth out high spots. Apply candle wax to the plane's sole to reduce friction.

Tabletop Preparation Preparing the Leg Material
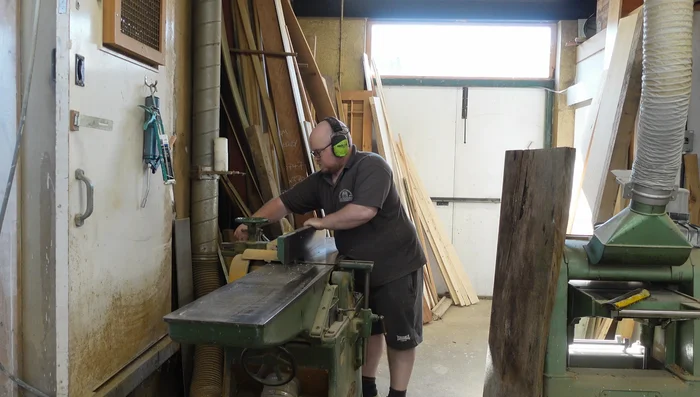
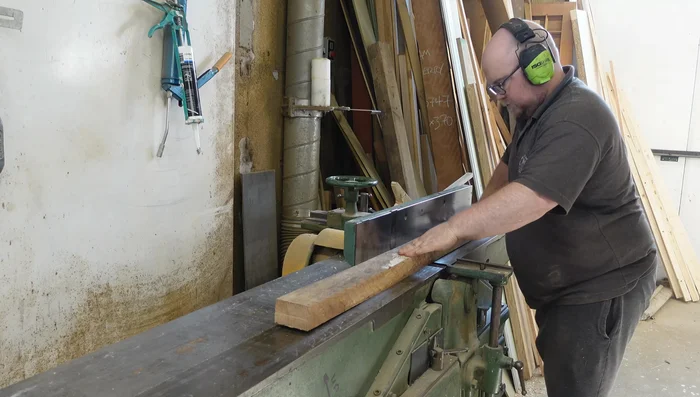
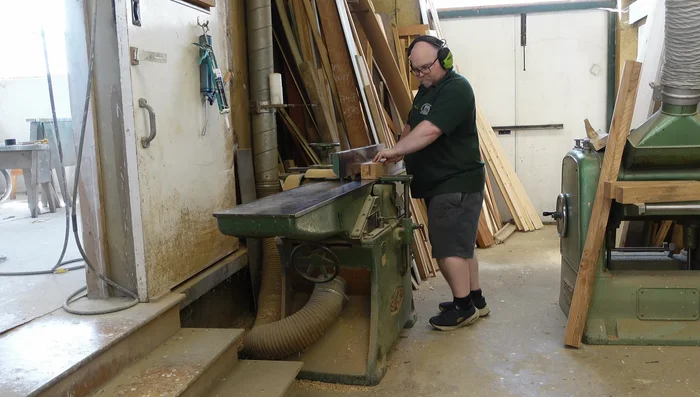
- Joint one edge of the second slab on the planer.
- Rip the second slab into 75mm strips using a table saw.
- Plane the new edges of the strips to square them up and then use a thicknesser to achieve consistent dimensions.
- Rough cut the boards to manageable sizes for the panel saw. Use the saw's fence with a simple plywood backing piece and reference lines for accurate cuts.
Preparing the Leg Material Leg Assembly Glue-up
- Glue up the leg and cross pieces (doubled up for added strength), using Casmite polyurethane glue. Clamp in a veneer press to cure, then scrape off excess glue.
- Plane and thickness all parts to their final dimensions for easier joinery and clean surfaces.
Leg Assembly Glue-up Cutting Leg Angles
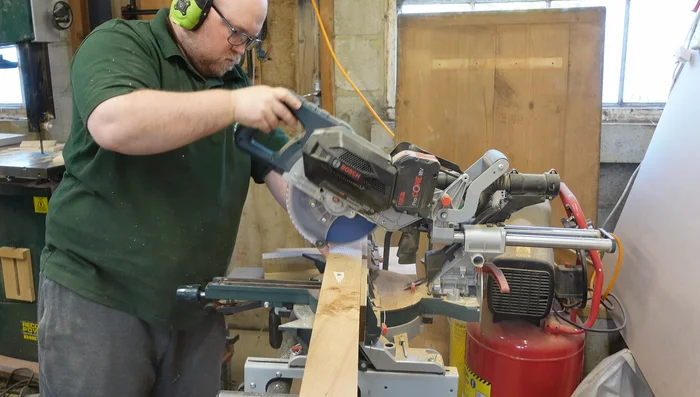
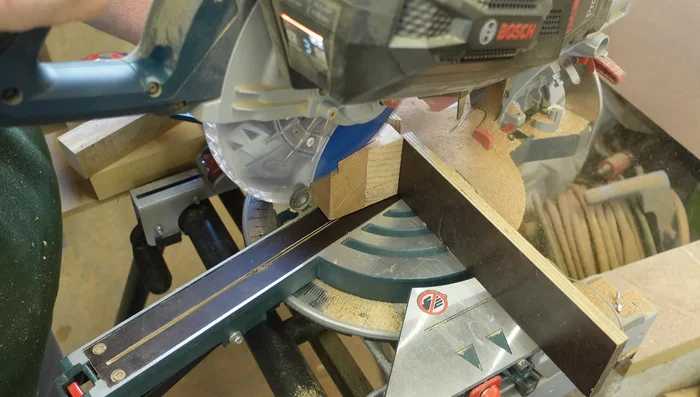
- Cut 12° angles for the legs using a chop saw.
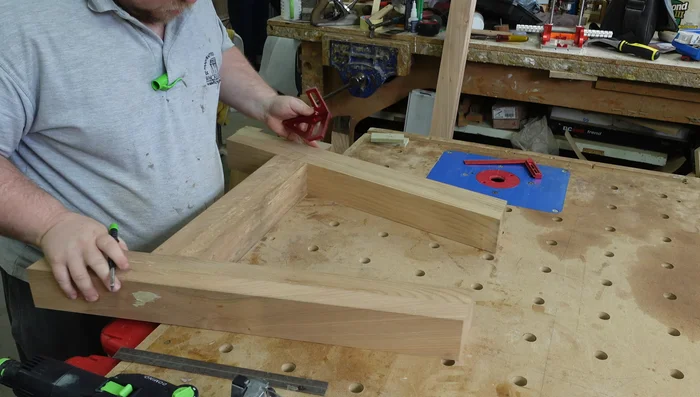
Cutting Leg Angles Leg Frame Assembly
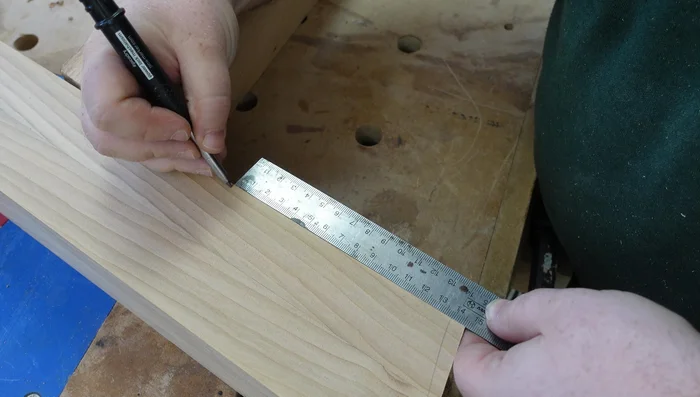
- Assemble the leg frames. Mark layout lines and use a Festool Domino to cut the mortises (using exterior grade dominoes).
- Cut 12° clamping blocks to aid in gluing the angled joints.
- Glue and clamp the leg frames. Scrape off excess glue once cured.
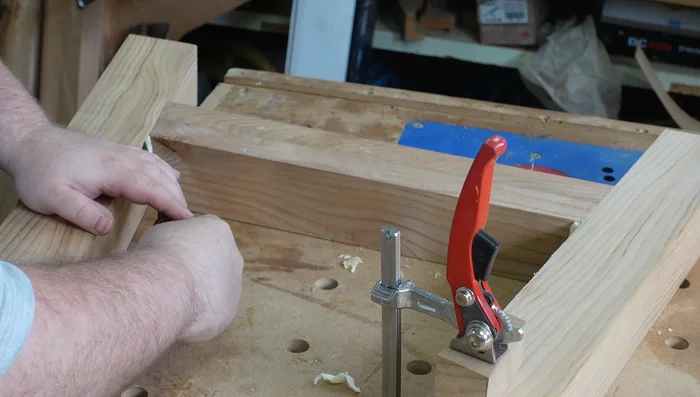
Leg Frame Assembly Attaching Stretchers
- Mark and cut mortises for the lower stretcher (leaving it unglued for easier transport).
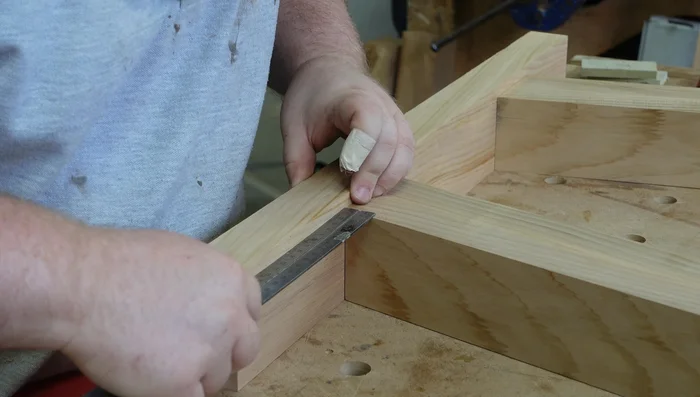
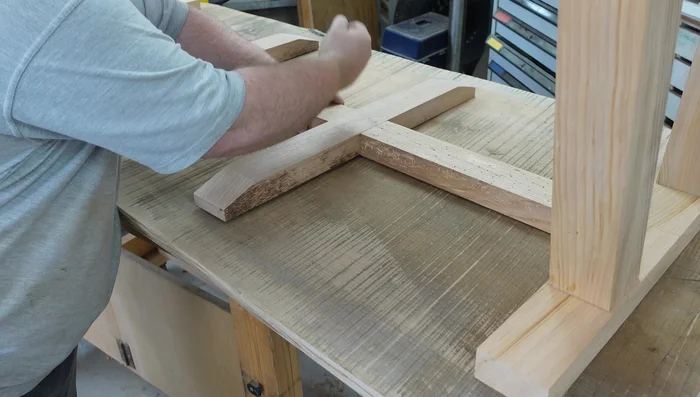
- Cut the top stretcher and add bevels to the ends of the cross pieces (using a simple jig for accuracy).
- Cut half-lap joints on the top stretcher using a simple jig. Plane off burn marks.
Attaching Stretchers Mounting Holes and Final Assembly
- Cut mounting holes for threaded inserts using a Domino (using a clamp to achieve the necessary depth).
- Glue the top stretchers to the leg assemblies.
- Drill holes for threaded inserts using a drill press.
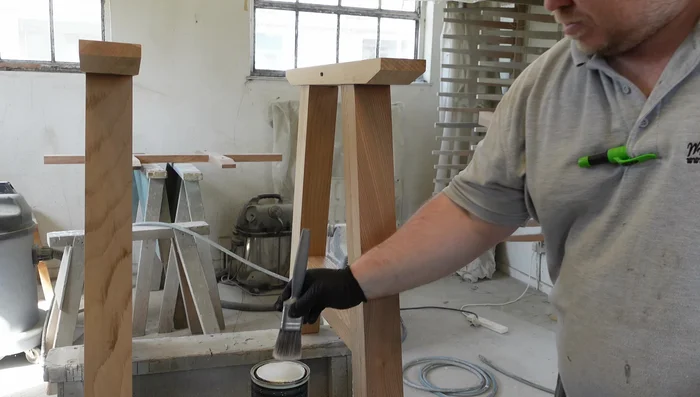
Mounting Holes and Final Assembly Finishing
- Apply two coats of Rubio Monocoat Wood Cream, allowing an hour between coats, and leave overnight to cure.
Finishing

Read more: Build a Sag-Proof Wood Fence Gate: The Ultimate DIY Guide
Tips
- Apply candle wax to your hand plane's sole to reduce friction and improve gliding.